


About
Adorable & practical!
**Need 'clothes pins/pegs'...the flat ones that open, not the round ones**
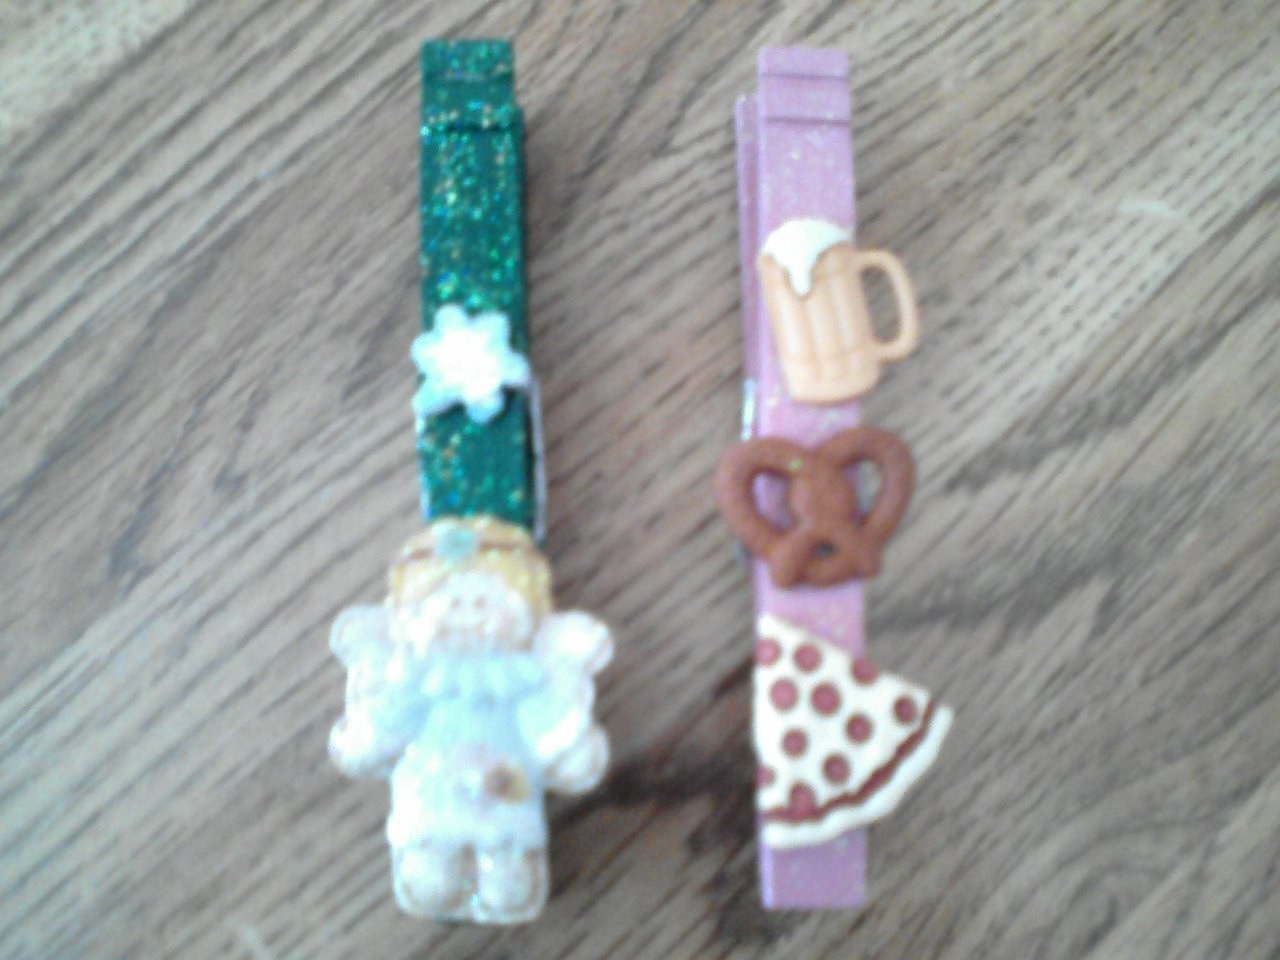
My mother-in-law inspired me to make these chip clips (snack bag clips). She originally added a magnet to the back of hers to be used as a magnetic note holder, but I found myself clipping them to seal bags of cereal, chips, snacks, frozen veggies, prepackaged salad, etc.
(The last photo with the 2 clips (angel & snacks/beer) were the original ones from my mother-in-law...she also made ones for the holidays).
Tags
-
 Kepi added her project Cute Chip Clips to I'd Rather Be a Mermaid
13 Feb 23:58
Kepi added her project Cute Chip Clips to I'd Rather Be a Mermaid
13 Feb 23:58
-
 Danielle T. favorited Cute Chip Clips
25 Apr 16:13
Danielle T. favorited Cute Chip Clips
25 Apr 16:13
You Will Need
-
 Step 1
Take your wooden clothespin and paint the entire thing (i even painted the metal hardware).
This will actually take awhile to complete, because there are so many sides to it and you have to let each side dry.Tip: every now and then when the paint is drying or after you will want to open the clip, to make sure the paint doesn't make it stick shut.
-
 Step 2
Either use a clear varnish or glitter varnish and paint that over the dried paint; let dry.
Again...open clip after drying. -
 Step 3
Take your buttons, foam or wood peices, or whatever you are going to use to put on them.
I bought a small packet of buttons from Michael's for about $1.99-$2.99 each, which was enough for about 5 clips...you will have to clip off some of the backings that stick out using a pair of dykes or another tool. -
 Step 4
Figure out where you will place your items before glueing, then once your happy with the positioning...glue them on!
(I use Aleene's tacky glue...it's the best!)Let dry. -
 Step 5
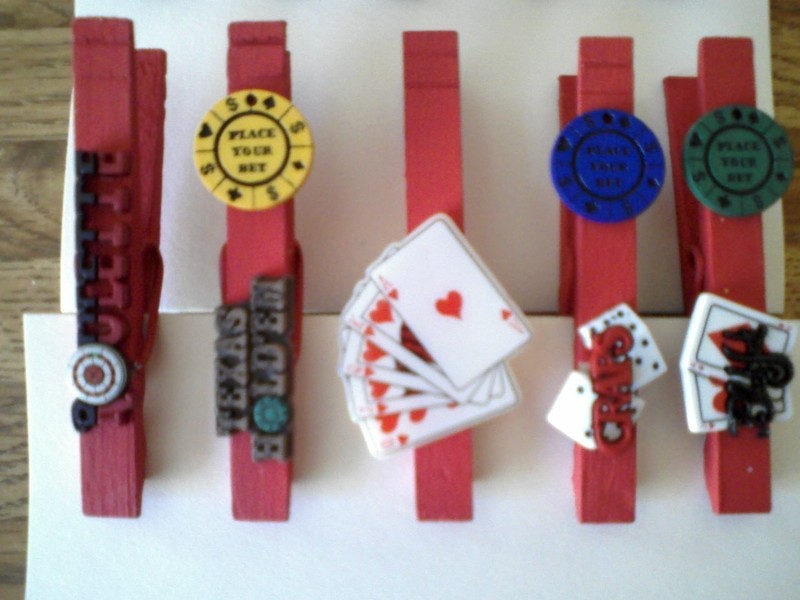
Once it's completely dry, I put my group of themed clips on a folded notecard, which makes a nice display if you want to give them as gifts.
DONE...BOOYAH!


Versions


Comments

