


About
If you're going green, you might as well keep your drink cold!
Did you get one of those really great stainless steel water bottles to carry around in your bag because you wanted to reduce waste? Like me, did you find that while it did keep your drink cold for while, it wasn't keeping that cold for a good long time?
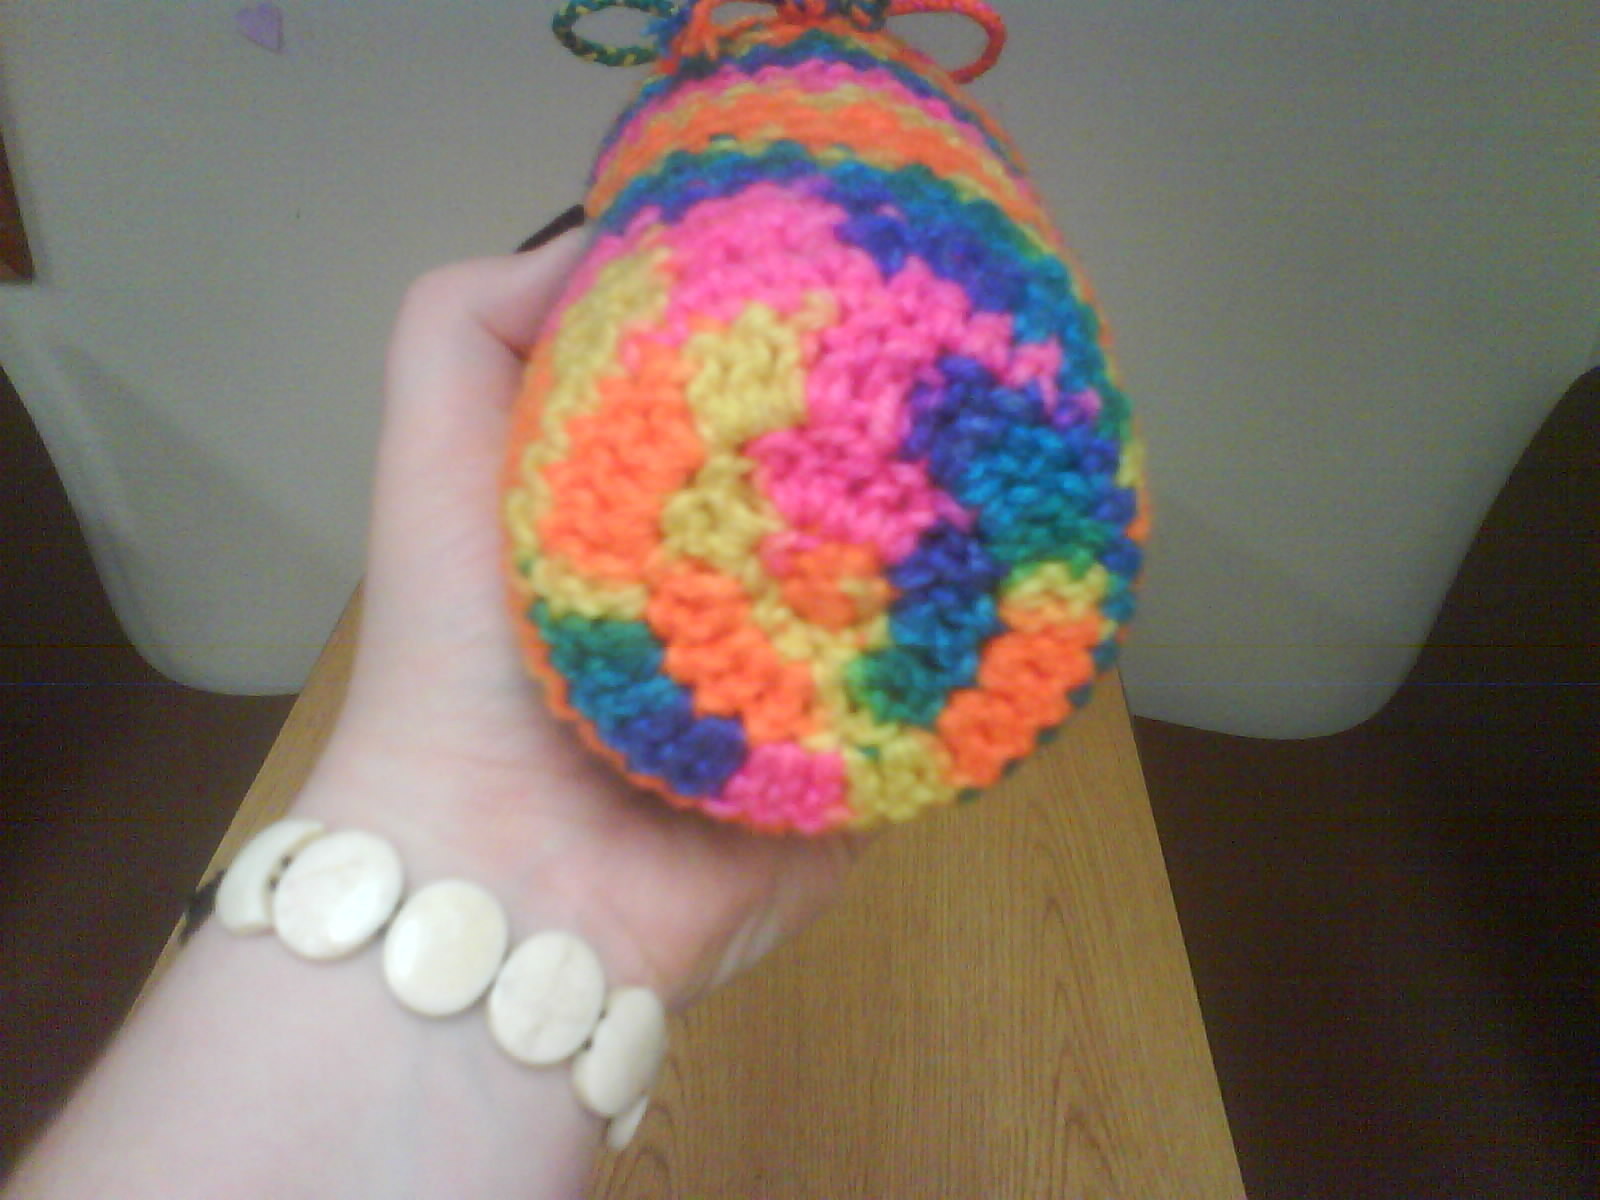
Maybe you should do what I did and crochet this really simple water bottle cover (don't call it a cozy!).
I had to take photos of this at work because a co-worker loved it so much she offered to buy it off of me! :D
I apologize for the lack of photographs, but as I said, I had to take these photos on the fly. I promise to add some at a later date.
You Will Need
-
Step 1
Fair warning, I suck at READING crochet patterns, so I'm probably not going to write in the official way.
Anyway, first you're going to start by making a round. Anyone who is familiar with the basics of crochet will probably have this skill nailed down.
You'll need a US SIZE G crochet hook, and I recommend a skein or two of your standard inexpensive kitchen cotton, as cotton is absorbant and will keep your bottle colder. (And it's easy to find it in a lot of fun colors!)
Start by chaining 5, and make your beginning loop by fastening the two ends of the chain together with a slip stitch.
-
Step 2
For this particular project you'll be making rounds without turning: if you're unfamiliar with this technique, it means that at the end of a row you'll use a slip stitch to join the row together, then chain however many you need to begin the next row.
To make the bottom of your water bottle cover, you'll now create three rows:
Row 1: Make two Single Crochets in each of the five chains. You'll have 10 stitches. (My personal preference with all of my projects is to work my first row into the wrong side of my beginning chains, but you can do it whatever way you're most comfortable with.)
Row 2: Make two Double Crochets in each of the 10 stitches. You should have 20 Double Crochets, now.
Row 3: Make two Double Crochets in each of the 20 stitches. Now your row should have 40 stitches.
-
Step 3
Alright! So you've made it this far, you've finished the bottom of your bottle. The rest of the project is going to be a piece of cake.
Now, I'm going to offer you a choice before we get started on the rest of the bottle cover.
Your Row 4 can be a round of Single Crochets, one worked into each Double Crochet of Row 3 (so your Row 4 will be 40 Single Crochets).
The advantage to doing this is that you will have a nice, crisp angle leading from the bottom up the side of your bottle, giving your bottle cover a more crisp look.
The disadvantage is that adding this as your Row 4 can actually make the cover a little bit loose, not really very "skin tight" against the bottle. At least that was the case for my particular bottle, which I found out much to my chagrin. So it's your choice.
After Row 4, for Rows 5 - 19: Make one Double Crochet in each stitch, resulting in 40 Double Crochets per row.
-
Step 4
Assuming you decide NOT to do a row of Single Crochets for your Row 4:
For Rows 4 - 19: Make one Double Crochet in each stitch, resulting in 40 Double Crochets per row.
-
Step 5
Now that you've finished the main body of the water bottle cover, all that's left is to make the draw string!
Cut 3 2' lengths of your cotton yarn. Tie a thick knot in one end, leaving about 1" of yarn unknotted at the end as a tassel.
Now, braid the three lengths of yarn together until you come close to about 1" away from the other end, then tie a small knot to keep the braid together, but not too large, as you're going to be working the drawstring in and out between the stitches of Row 19 and you don't want to have a hard time at it.
-
Step 6
Starting with the end of the drawstring with the thick knot inside the body of the bottle cover (which, when finished, will be turned inside-out and function as the OUTSIDE of the cover), use your crochet hook to feed the drawstring in and out between the stitches.
MAKE SURE to end with the other end of the drawstring also inside the body of your work.
-
Step 7
Now turn your bottle cover right-side out, and make a thick knot in the other end of your drawstring.
Stick a bottle in there, pull the drawstring tight, and tie a pretty bow.
You're done!


