About
Holds everything you need for crochet (or anything else you want)
I made this for my mother. Now she can take her crochet nessecities everywhere. It matches the needle book I made for her.
Depending on what you put in it you can either roll it up or fold it up.
-
 Whitney I. favorited Crochet Organizer
12 Aug 08:33
Whitney I. favorited Crochet Organizer
12 Aug 08:33
-
 Laouen favorited Crochet Organizer
16 Dec 20:38
Laouen favorited Crochet Organizer
16 Dec 20:38
-
 pandanomz added Crochet Organizer to my list
09 Sep 14:22
pandanomz added Crochet Organizer to my list
09 Sep 14:22
-
 Pamela M. added Crochet Organizer to Compare these
20 May 20:14
Pamela M. added Crochet Organizer to Compare these
20 May 20:14
-
Pamela M. added Crochet Organizer to Gotta try it
20 May 20:12
-
 Miss_Fit added Crochet Organizer to Next Steps
17 May 23:28
Miss_Fit added Crochet Organizer to Next Steps
17 May 23:28
-
Miss_Fit added Crochet Organizer to Purses, Bags, and Wallets
29 Mar 11:39
-
 Marakyo favorited Crochet Organizer
22 Oct 10:41
Marakyo favorited Crochet Organizer
22 Oct 10:41
You Will Need
-
 Step 1
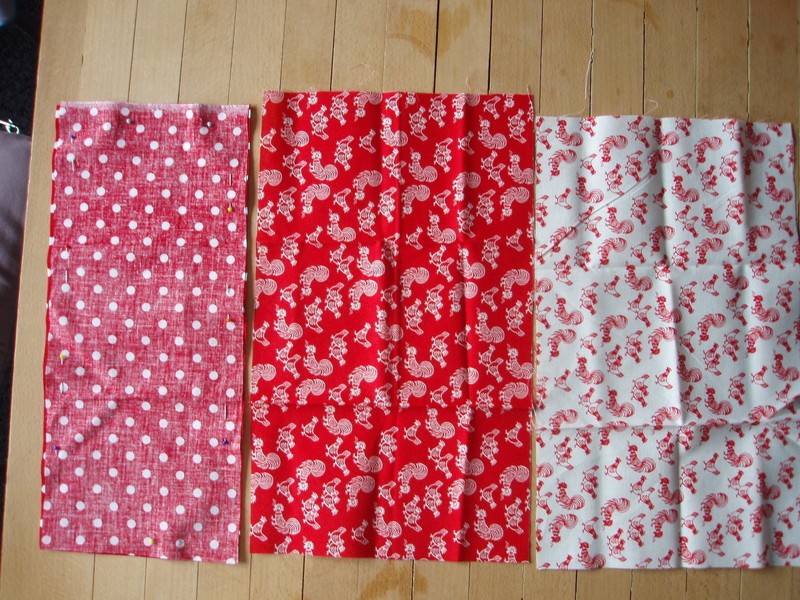
Cut out the following:
A. 2 pieces 31 x 19 cm + seam allowance
B. 2 pieces 31 x 14 cm + seam allowanceIron vliseline* on inside of fabric of both pieces A.
* don't know what that is in English. It's that stuff you iron on the fabric to make it more firm)
-
 Step 2
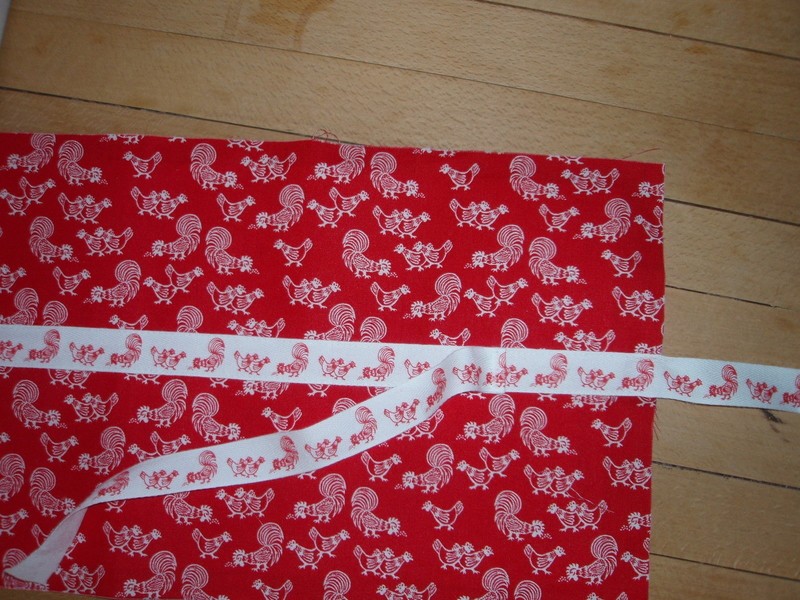
Sew pieces B with good side of fabric facing each other on one long side.
Put it down on what you want to be the inside of finished project.
Sew several lines from top of smaller piece to bottom on the left of your project. Make sure your crochet hooks fit quite tightly so they won't fall out easily.
-
 Step 3
Cut out 2 pieces of fabric shaped like this. Sew them on each other with good sides facing each other. Leave the top open. Turn inside out.
-
 Step 4
Sew them on the inside like this.
-
 Step 5
Fold the little flap up and sew it again like this. That way you have no fringe to worry about.
Sew another line from top to bottom right next to the pocket flap thingie.
-
 Step 6
Sew another piece of ribbon on the outside of the organizer. Can't really tell you where exactely, you'll have to roll the project up and try.
-
 Step 7
Put the two pieces you now have on each other with the good sides of the fabric facing each other.
Sew it, leaving the left short side open.
Turn inside out and close the gap either by hand or on your machine.
-
 Step 8
Done!