About
Quick and Easy with fabulous results!
This tutorial will show you a simple way to paint stripes and also how to use silk screens to create a stunning piece to be proud of!
The great thing about this project is you need little to no artistic talent and your end product will look fabulous
Unless you're lucky enough to own a kiln then you're best off doing this project at your local paint your own pottery shop - a quick google search is sure to find one near to you. Ask them if they have silk screens - unless you have your own.
Tags
Downloads
- 113357_2F2016-02-11-064801-scooter+project.jpg 571 KB [ Download ]
-
 Alissa B. favorited Creating Stripes And Using A Silk Screen On Pottery
08 Mar 02:01
Alissa B. favorited Creating Stripes And Using A Silk Screen On Pottery
08 Mar 02:01
-
 Crafty Monkey published her project Creating Stripes And Using A Silk Screen On Pottery
04 Mar 09:00
Crafty Monkey published her project Creating Stripes And Using A Silk Screen On Pottery
04 Mar 09:00
-
 Step 1
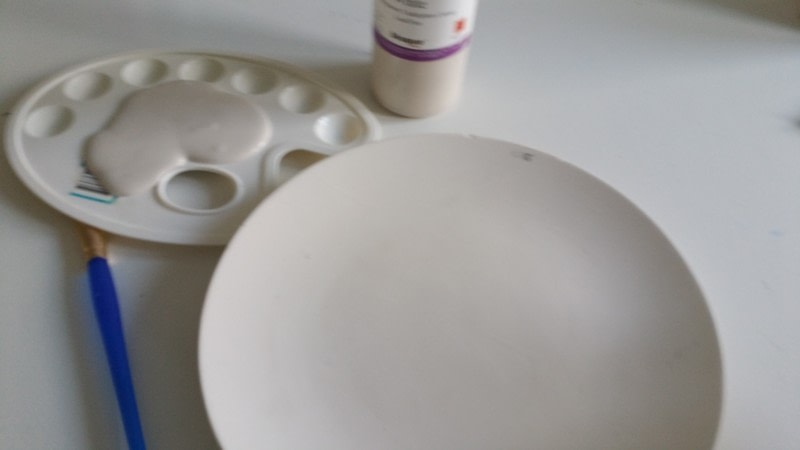
Select a piece of pottery - it needs to be quite flat. I chose a coupe plate but tiles work great.
-
 Step 2
Start by dipping the sponge in the container of water and then squeezing out as much water as you can so the sponge is a little damp. Give your piece of pottery a good wipe over.
-
 Step 3
Pour some of your base colour onto your pallet - you need to make sure it's a pale colour. I've gone for white.
Dip the sponge into the paint and sponge on the paint - the sponging technique involved dabbing the sponge on the plate and not dragging the sponge.
To get a solid colour you need to apply three coats of underglaze and make the item is completely covered.
-
 Step 4
Put the plate to one side and get your sheet of paper.
You can either rip the paper into strips or use a paper cutter (guillotine) if you want straight edges. I have gone for the ripped effect.
-
 Step 5
Submerge the strips of paper into the container of water.
-
 Step 6
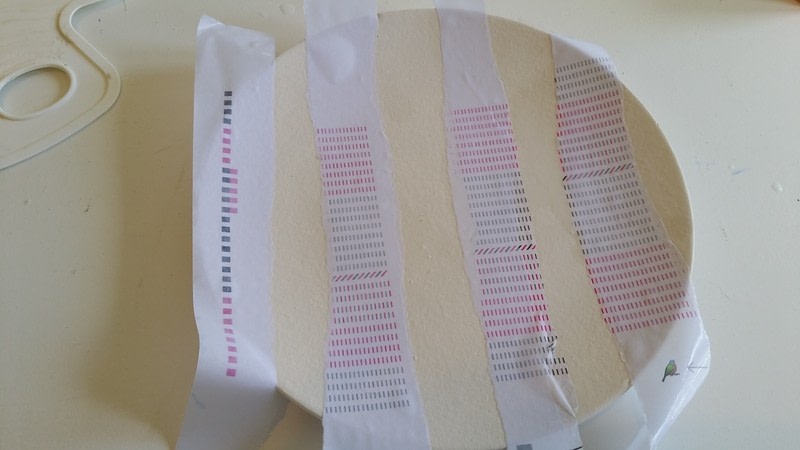
Next take your plate - you don't want the paint to be completely dry but still a bit tacky - and position the strips of wet paper onto the plate leaving a gap inbetween. The wet paper should stick to the paint but you may need to pat down in places to make sure there are no air bubbles or raised bits.
-
 Step 7
Pour the underglaze colour you want the stripes to be onto the pallet. You don't want to use too dark a colour as the top image may not show. I've gone for a nice aqua marine blue.
Using a wide flat brush apply three coats of the underglaze to all the exposed areas. You could always sponge the colour on instead.
-
 Step 8
Once you have painted all the exposed areas,carefully peel off the paper strips and dispose of them. You need to do this while the paint is still wet.
-
 Step 9
Put the plate to one side to allow for it to dry. This could take an hour or so.
-
 Step 10
You now want to pour the colour underglaze you want to use for the design onto the pallet and either mix with a thickening agent - I've just gone for sauce flour that I found in my kitchen cupboard but you could pour out the paint directly after the last step and leave the underglaze to sit on the plate as this will thicken it up.
There are thickening powders you can buy also.
-
 Step 11
Once the plate is dry, place your silk screen on top of the plate and position it where you want it to be.
Next apply masking tape to hold it in place.
-
 Step 12
Using your finger rub the thickened paint onto the stencil making sure you push the paint into all areas of the stencil.
-
 Step 13
Now comes the exciting bit! Carefully remove the masking tape and gently peel away the silk screen to hopefully reveal a fabulous print!
All that is left to do is to glaze and fire it.