


About
Now that you've created the project it's time to put it together
After using the watercolor paints in your papercrafting, it's time now to put those pieces together to create a project.
Tags
-
 Sarah Sylvia S. favorited Creating A Project With The Using Watercolor Paints In Your Papercrafting Tutorial
18 Jul 05:42
Sarah Sylvia S. favorited Creating A Project With The Using Watercolor Paints In Your Papercrafting Tutorial
18 Jul 05:42
-
 Rebecca M. favorited Creating A Project With The Using Watercolor Paints In Your Papercrafting Tutorial
11 Jun 13:00
Rebecca M. favorited Creating A Project With The Using Watercolor Paints In Your Papercrafting Tutorial
11 Jun 13:00
-
 Kinhime Dragon favorited Creating A Project With The Using Watercolor Paints In Your Papercrafting Tutorial
10 Nov 15:22
Kinhime Dragon favorited Creating A Project With The Using Watercolor Paints In Your Papercrafting Tutorial
10 Nov 15:22
-
 Peg R. published her project Creating A Project With The Using Watercolor Paints In Your Papercrafting Tutorial
10 Nov 06:00
Peg R. published her project Creating A Project With The Using Watercolor Paints In Your Papercrafting Tutorial
10 Nov 06:00
-
Step 1
Begin by creating a card base that will fit the size of your watercolored piece. This card base is a 5" x 7". Also, cut a piece of patterned paper that will fit the card, too. The sheet used in this project is a 4 5/8" x 6 1/2".
-
 Step 2
Distress the edges of the focal piece.
-
 Step 3
Also, distress the edges of the patterned paper.
-
 Step 4
Layer the focal piece on top of the patterned paper and then onto the card base adding lines of tape to the back side of them to adhere them.
-
 Step 5
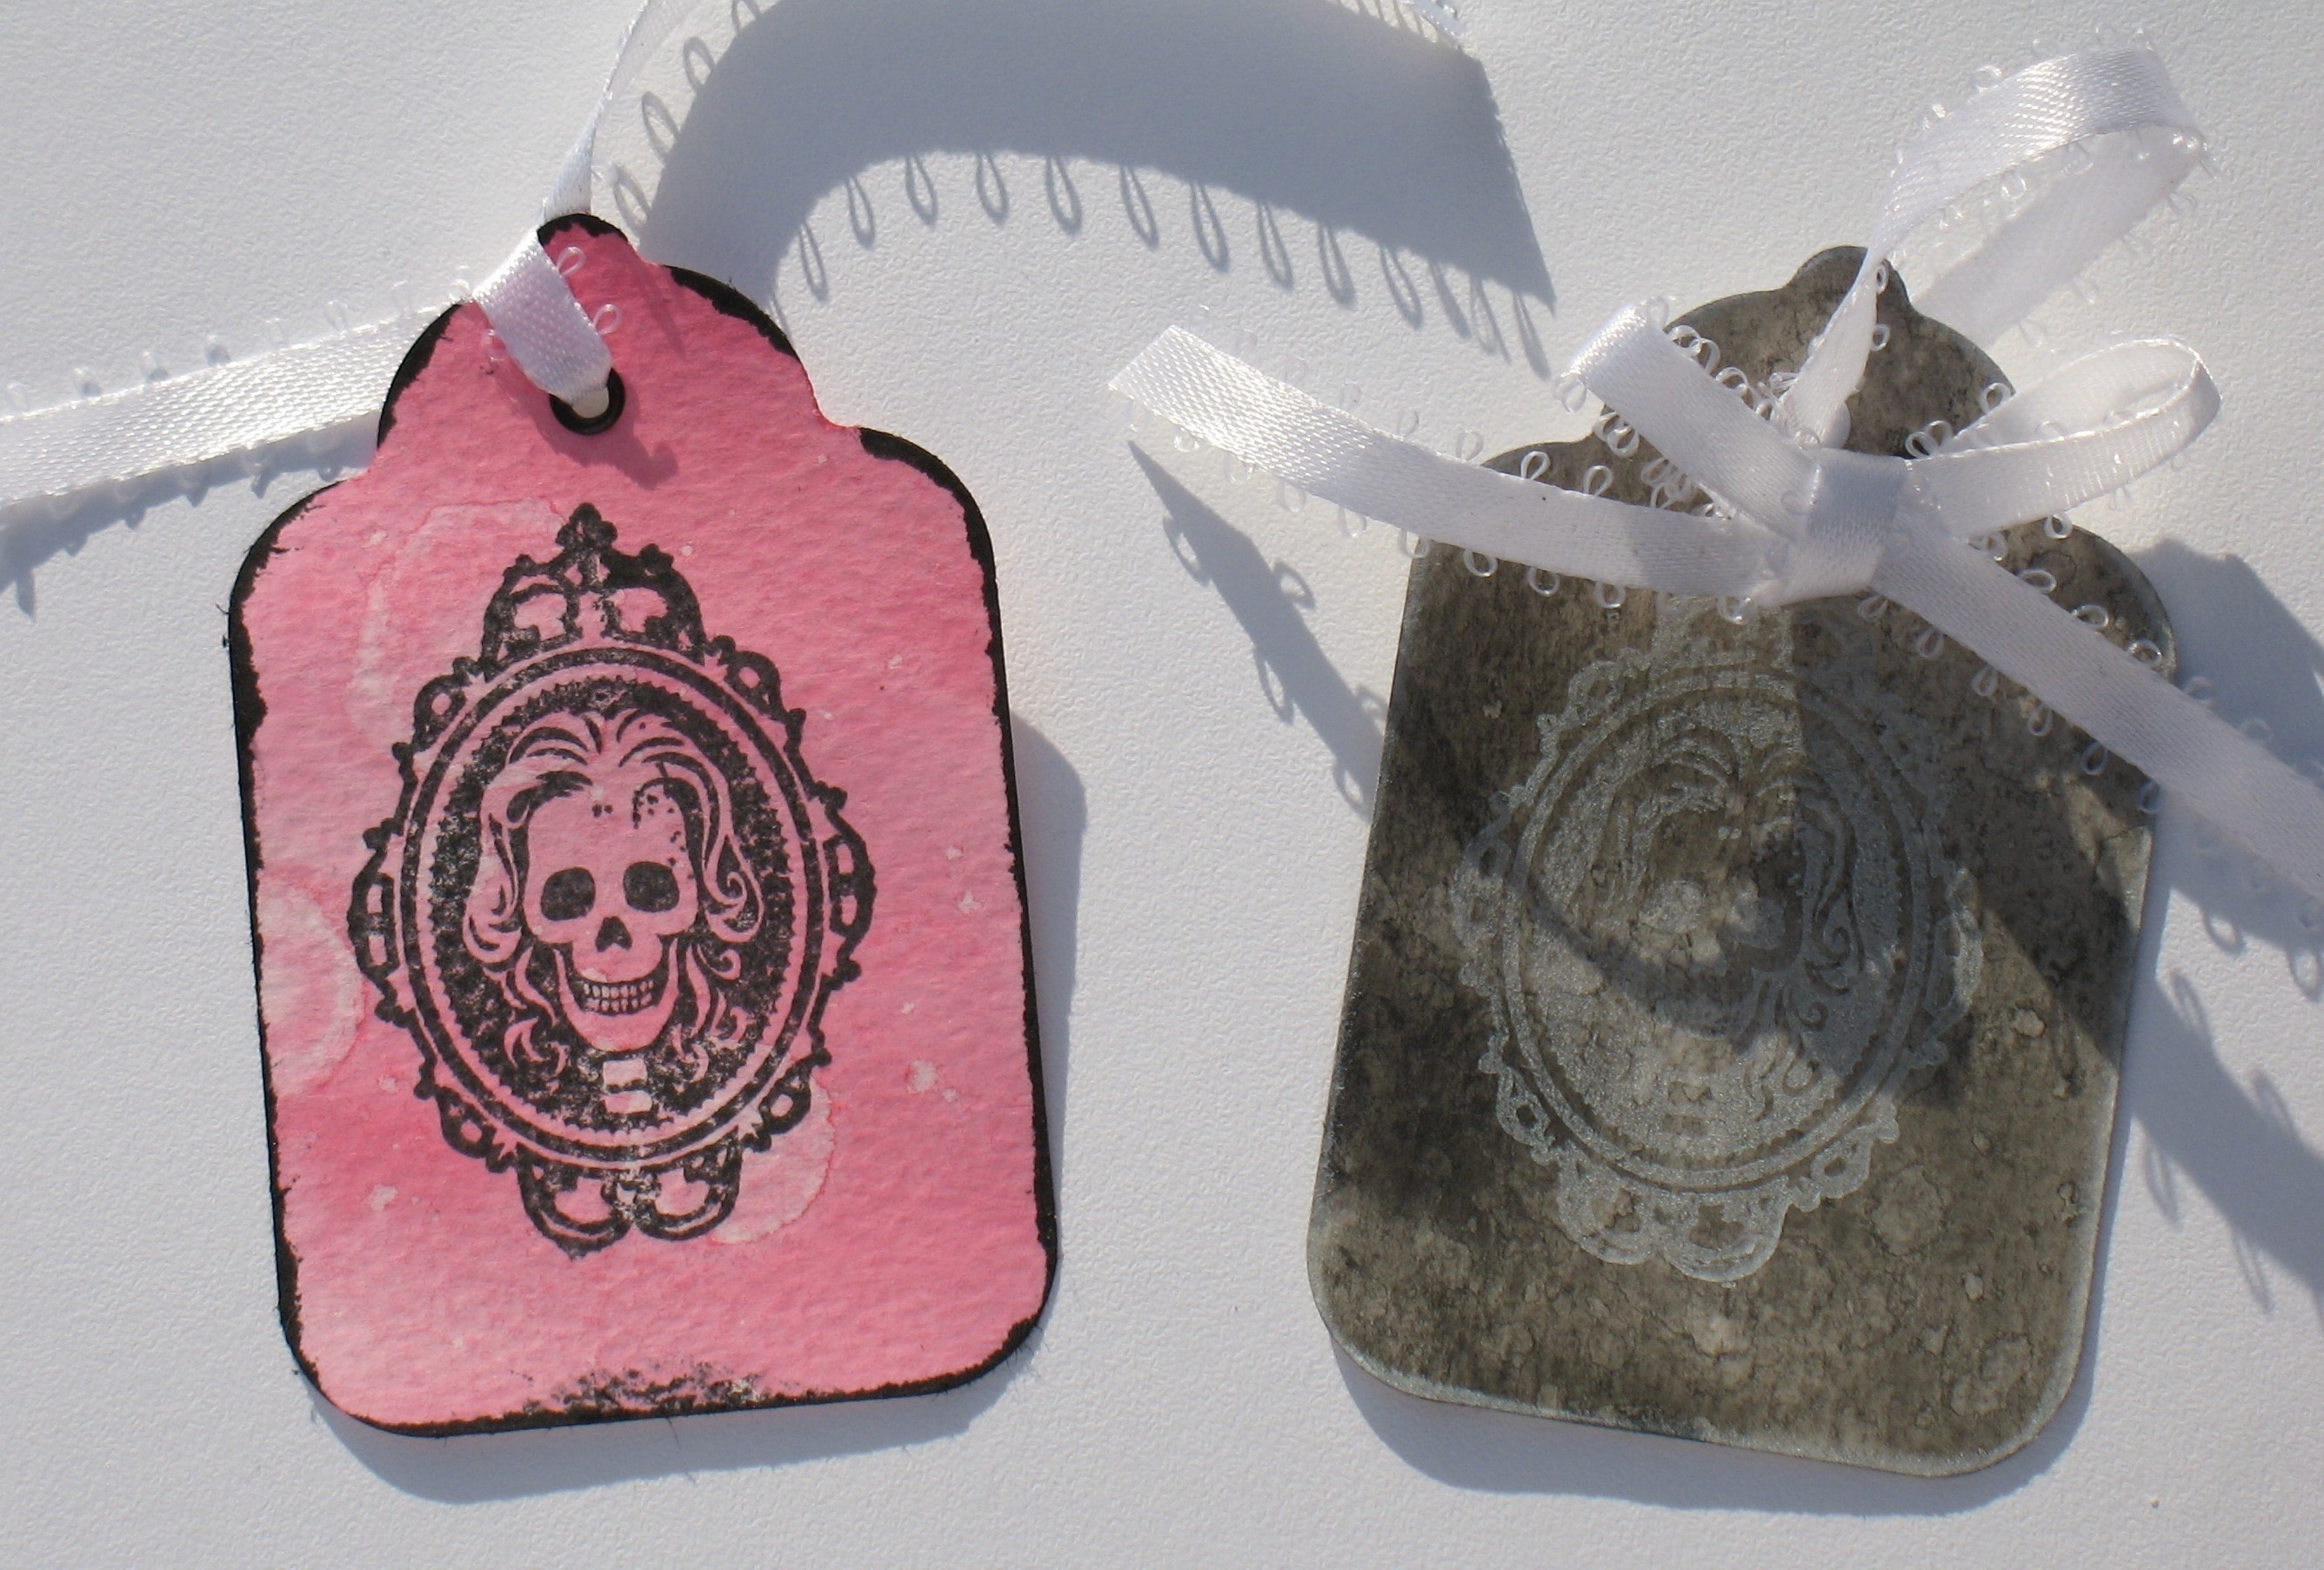
Finish the tags using the following steps.
-
 Step 6
Punch a hole in the center of each tag using a hole punch and then set an eyelet into the hole.
Tie the ribbon through the hole and knot it towards the back to hold it into place.
-
Step 7
Whether creating a card, a treat bag tag or a bookmark, the watercolor paints and this technique add a whole other layer to your projects!


