


About
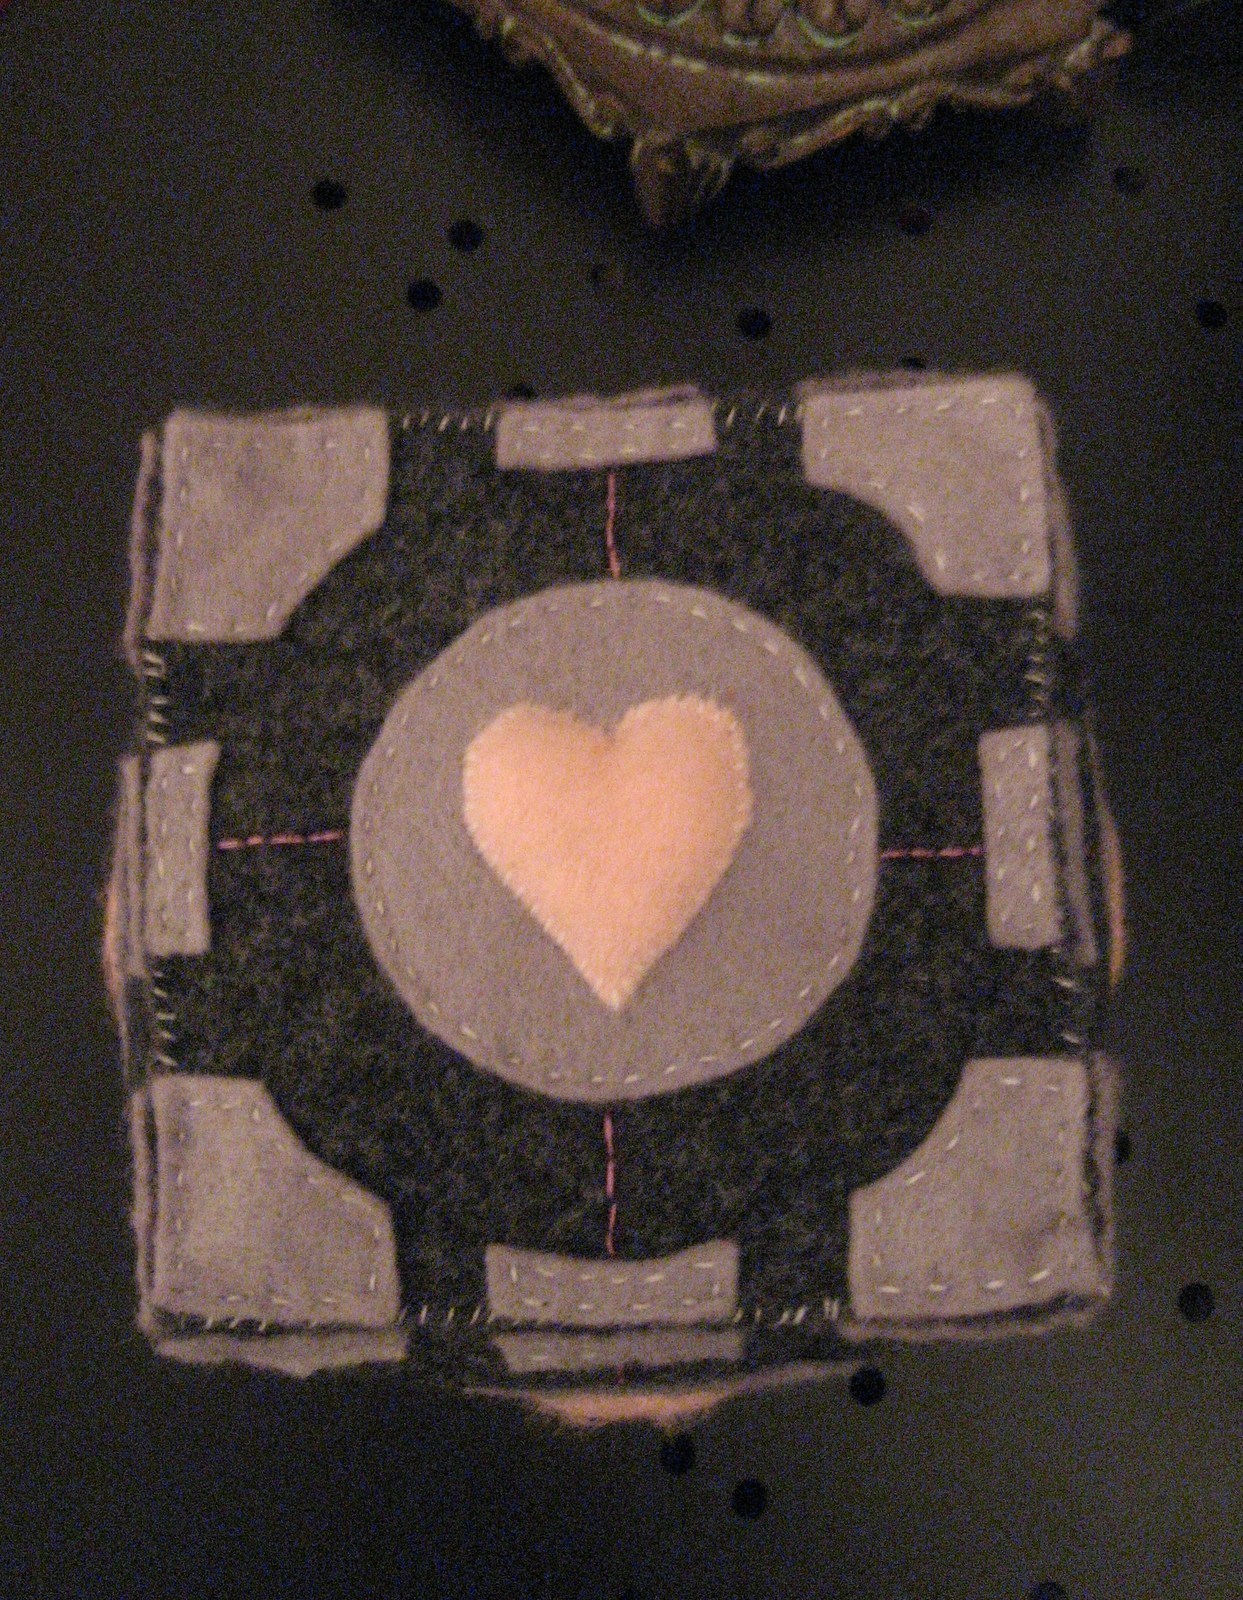
More hug-able than an actual cube.
I wanted to make a Companion Cube from Portal as a gift for someone, but most of the How-To's I've come across seemed to have come out more ball-like than actual cubes so I thought I'd put this up for anyone else looking.
It took a LOOOOOONG time to make this, a couple of days actually, but I hand sewed the entire thing in order to make sure it came out in a proper cube shape. Probably anyone with a little more experience in making 3D sewing projects will manage a bit more easily.
**Once I got to the actual sewing together part I didn't actually take any pictures because it seemed mostly self-explanitory, but I'll describe the process with as much detail as I can.
Tags
-
 HylianWriter534 favorited Companion Cube Plush
19 Dec 05:39
HylianWriter534 favorited Companion Cube Plush
19 Dec 05:39
-
 vicky.mcnair.1 favorited Companion Cube Plush
20 Oct 18:59
vicky.mcnair.1 favorited Companion Cube Plush
20 Oct 18:59
-
 PineconePrincess favorited Companion Cube Plush
29 Jul 18:45
PineconePrincess favorited Companion Cube Plush
29 Jul 18:45
-
 Skyliva favorited Companion Cube Plush
24 Apr 16:48
Skyliva favorited Companion Cube Plush
24 Apr 16:48
-
 gloomy-smiles favorited Companion Cube Plush
06 Jan 00:35
gloomy-smiles favorited Companion Cube Plush
06 Jan 00:35
-
 mmotse03 favorited Companion Cube Plush
16 Nov 10:28
mmotse03 favorited Companion Cube Plush
16 Nov 10:28
-
 Nimh M. favorited Companion Cube Plush
08 Aug 16:42
Nimh M. favorited Companion Cube Plush
08 Aug 16:42
-
 Calah L. added Companion Cube Plush to MUST DO
24 Jan 20:29
Calah L. added Companion Cube Plush to MUST DO
24 Jan 20:29
-
 pandanomz added Companion Cube Plush to my list
08 Sep 17:57
pandanomz added Companion Cube Plush to my list
08 Sep 17:57
-
 nina.eriksen.90834 added Companion Cube Plush to Gift ideas
16 May 07:32
nina.eriksen.90834 added Companion Cube Plush to Gift ideas
16 May 07:32
-
 Step 1
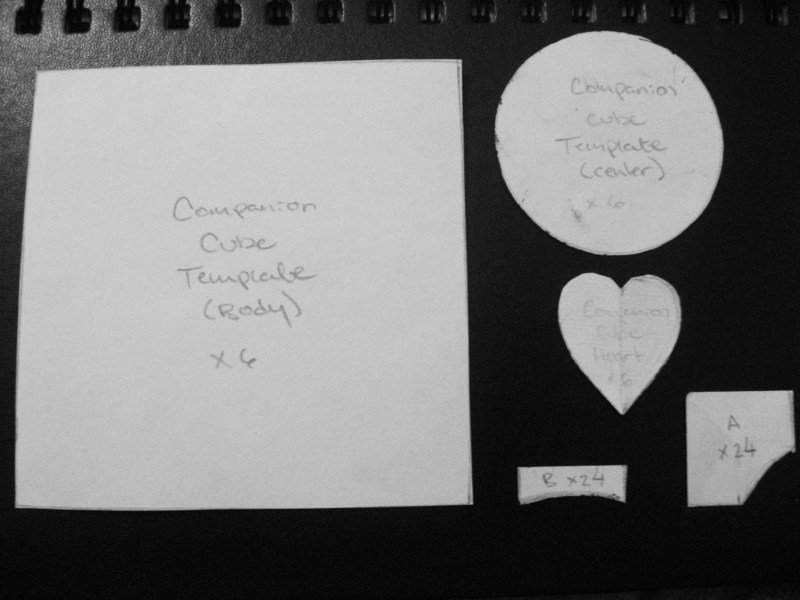
My first step was to make myself some templates in order to make sure it would all fit together and look proportional.
To do this I marked out a 4x4 square (the body of the cube), then a circle around the center of that and a heart shape that would fit inside of it for the main pieces. The most exact way to get the corner and edge pieces is the make another circle around your center circle and mark out their shapes in the right places (this is where the compass came in handy).
-
 Step 2
<-- This is what it looked like placed according to where the pieces would be.
You will need to cut out:
6 squares (dark grey felt)
6 circles (light grey felt)
6 heart shapes (pink felt)
24 corner pieces (light grey)
24 edge pieces (light grey) -
 Step 3
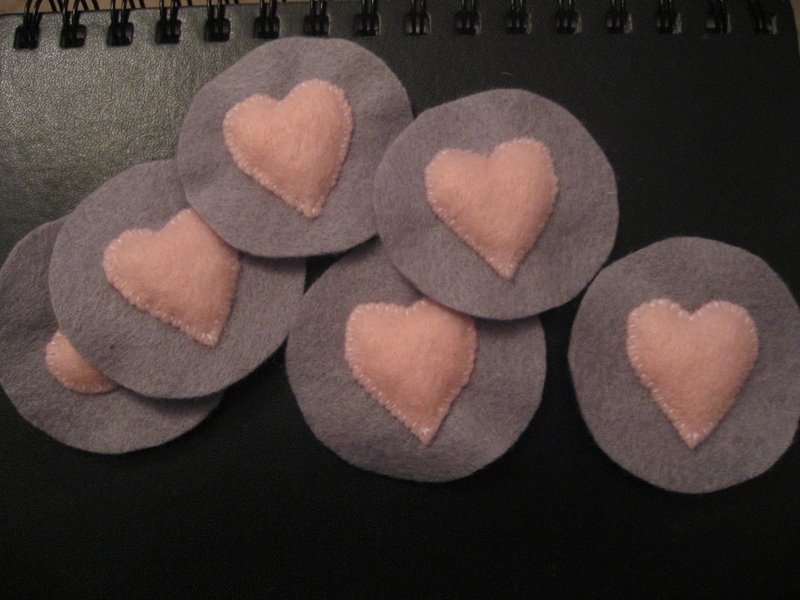
Start by making each face separately. I don't have a picture of it laid out, but here you can see the hearts stitched to the center circles.
To add another dimension to it I stuffed the hearts as well just before I completed stitching them onto the circles.
-
 Step 4
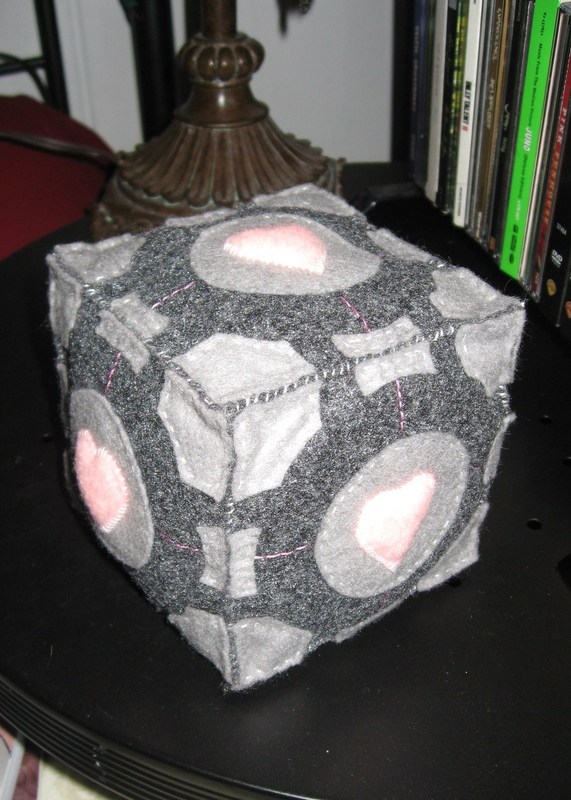
In the end you should have six pieces that look like this. I used white thread to sew everything together, but you'll also need pink that is close to the colour of the hearts in order to stitch the four lines which quarter each side.
Try your best to line everything up the same on each face because when you sew it all together it looks very off when a piece doesn't line up with everything else.
-
 Step 5
The next step (and this is the trickiest part) is to sew all the sides together. Make sure you lay out the pieces with the hearts all faceing the same direction when you sew it together. It should look like the diagram when laid out.
To begin with you will have to hold the pieces at an angle to eachother in order to keep the cube shape. I used the edge of a book to help me do this so I only needed to hold the pieces together as I sewed. When you've got a corner made it gets a bit easier to sew it in shape.
-
 Step 6
And finally, just before you close up the last side of the last piece, leave maybe an inch or two and fill your companion cube with stuffing. Then sew it all up, give your fingers a break and enjoy your companion cube.


Comments


