
About
by Nails by KC
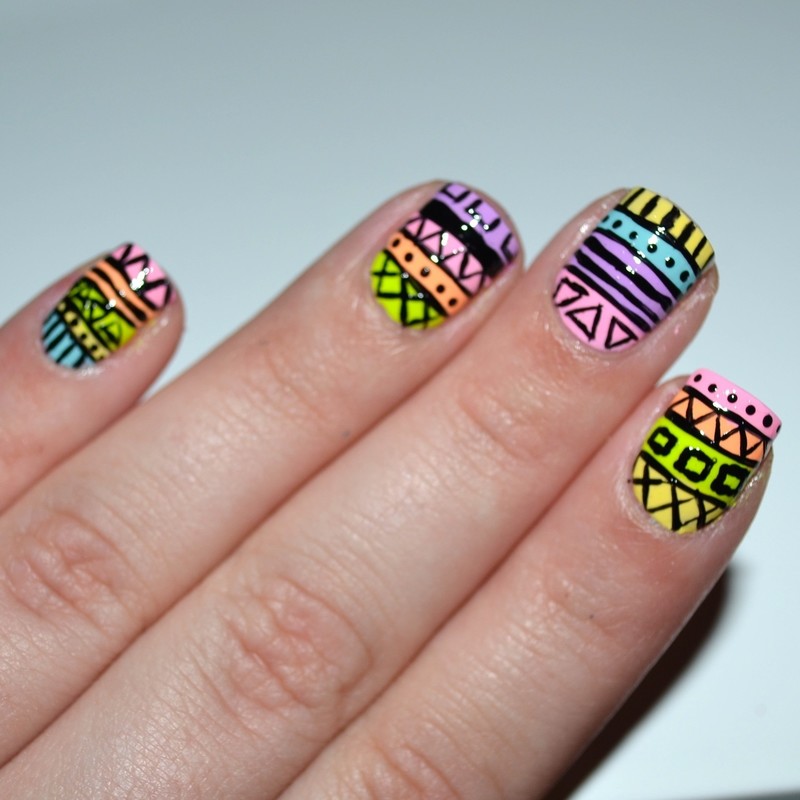
Easy nail art inspired by tribal designs to brighten up your nails!
-
 kiki w. added Tribal Nail Art to Makeup
29 Jan 04:41
kiki w. added Tribal Nail Art to Makeup
29 Jan 04:41
-
 Jemmy L. favorited Tribal Nail Art
01 Jul 16:30
Jemmy L. favorited Tribal Nail Art
01 Jul 16:30
-
 Jordyn N. favorited Tribal Nail Art
02 Feb 17:05
Jordyn N. favorited Tribal Nail Art
02 Feb 17:05
-
 Nails by KC published her project Tribal Nail Art
26 Oct 05:19
Nails by KC published her project Tribal Nail Art
26 Oct 05:19
-
 Step 1
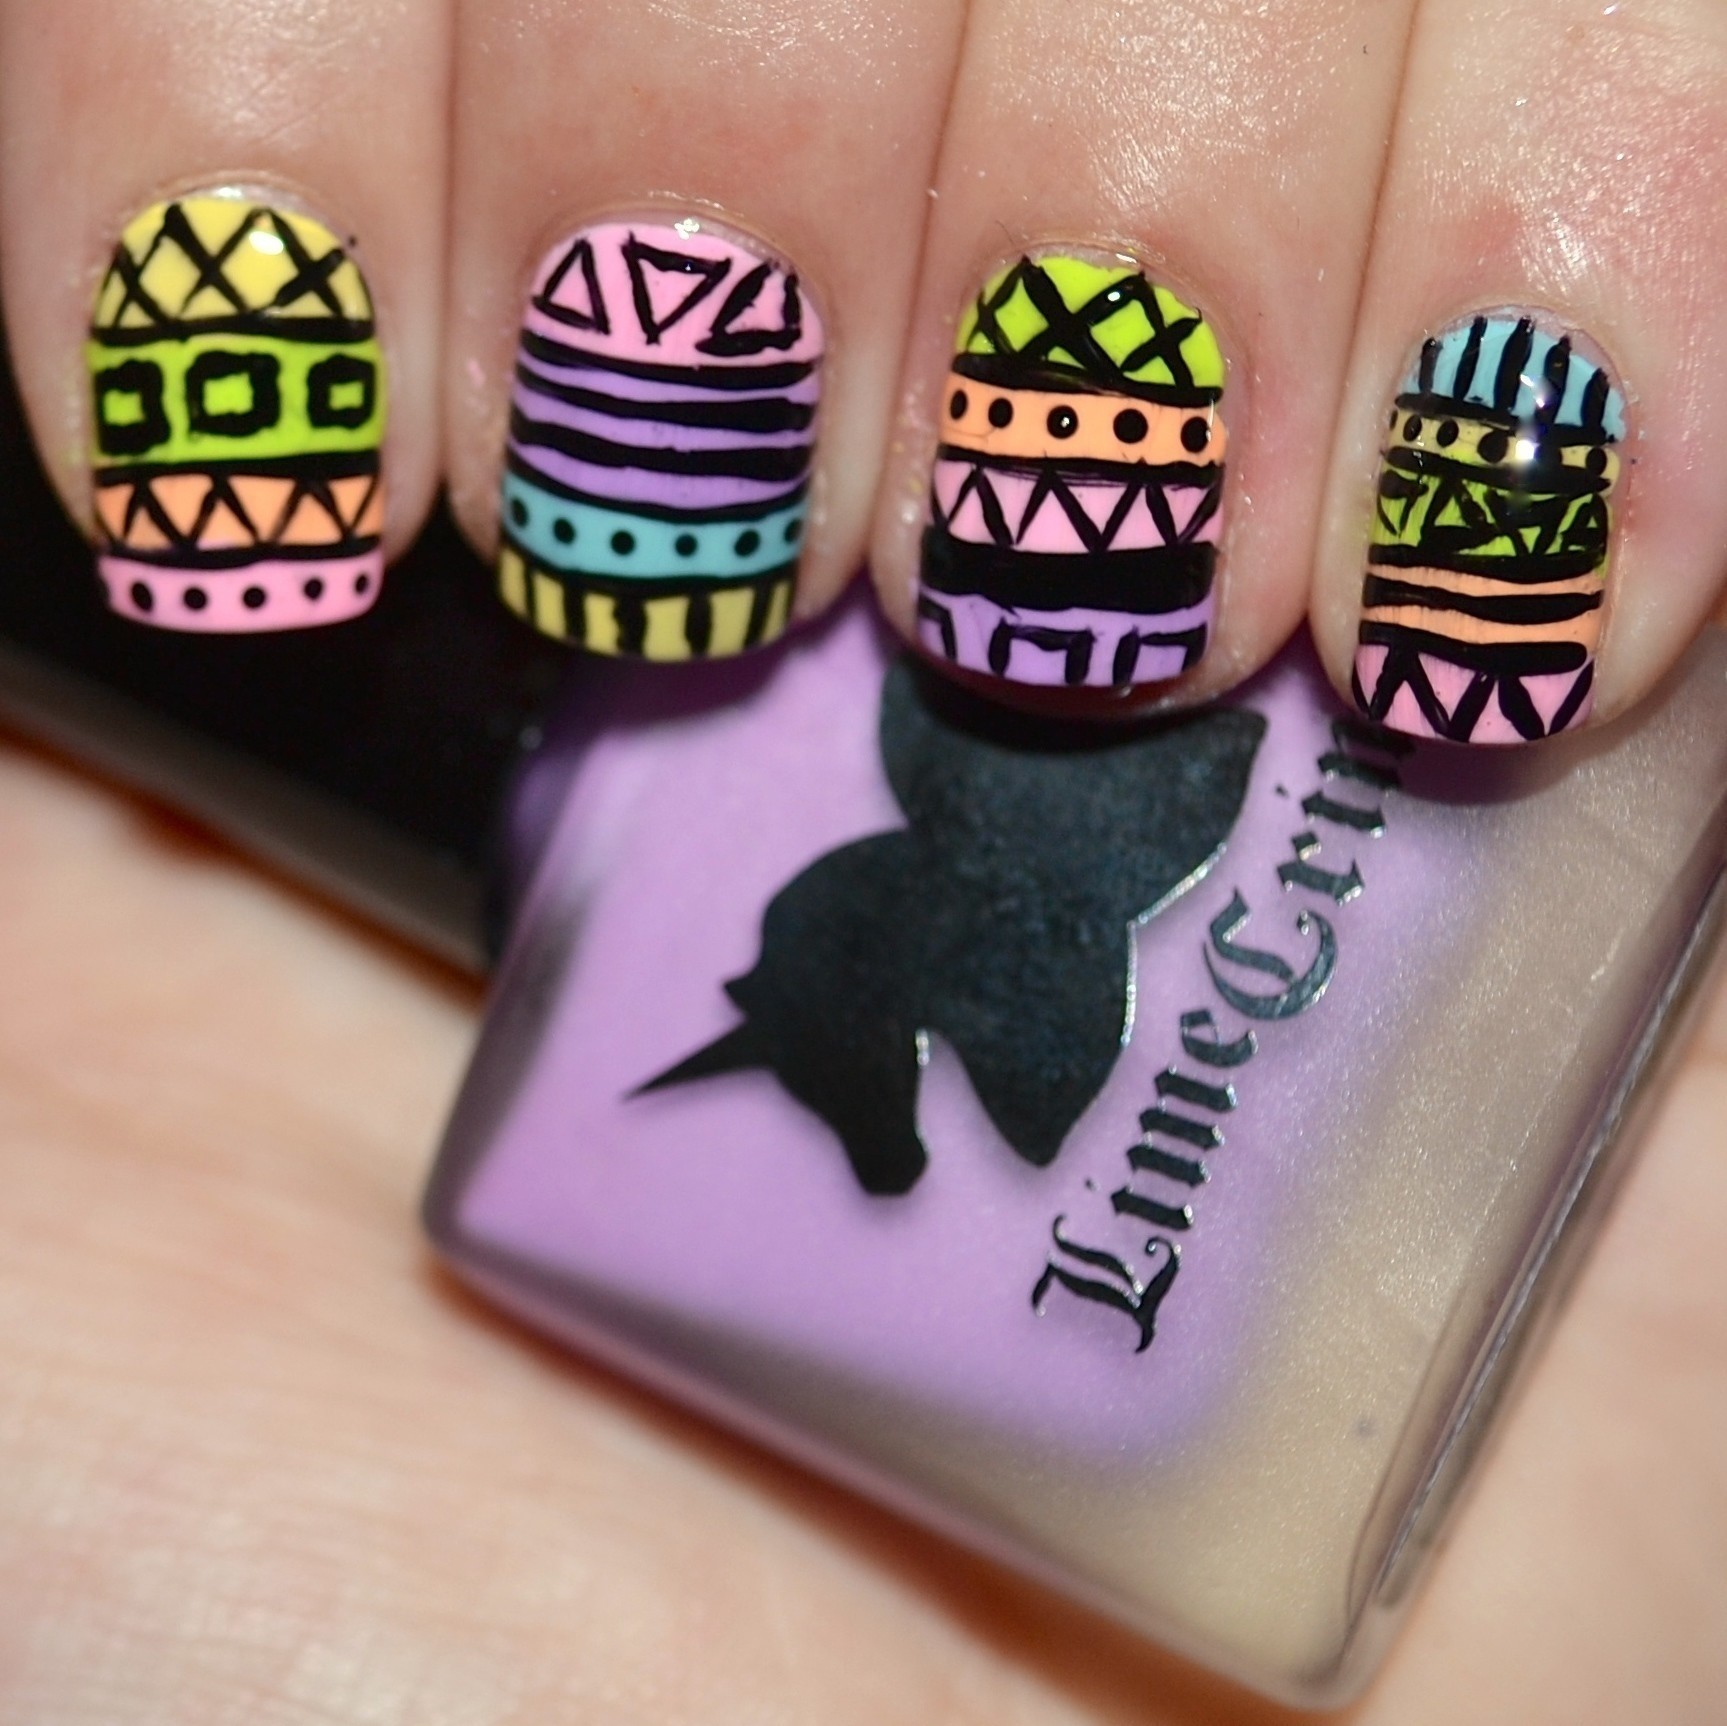
After you have painted a base coat, choose a few different nail polish colours - I have selected 6 Lime Crime polishes.
Paint stripes on each nail, varying in width. This part does not have to be too neat as we are going to paint over it.
I then painted one layer of a top coat over the top to seal in the colours. -
 Step 2
Using a nail art striper in black (or a thin paint brush dipped in black polish) paint a black line to separate each colour. The lines can be of different thickness if you wish.
-
 Step 3
Then the fun begins! In each section create a different pattern for the tribal art effect. I have started off by using a dotting tool to add a few dots - a bobby pin or tooth pick can be used if you don't have a dotting tool.
-
 Step 4
Get creative, do whatever patterns you wish. Triangles, lines, crosses, dots.... anything you want.
One you have filled in all the gaps with your desired patterns, be sure to wait until the black is completely dry before adding your top coat. If the black is even the slightest bit wet it will smudge when you add the top coat.