


About
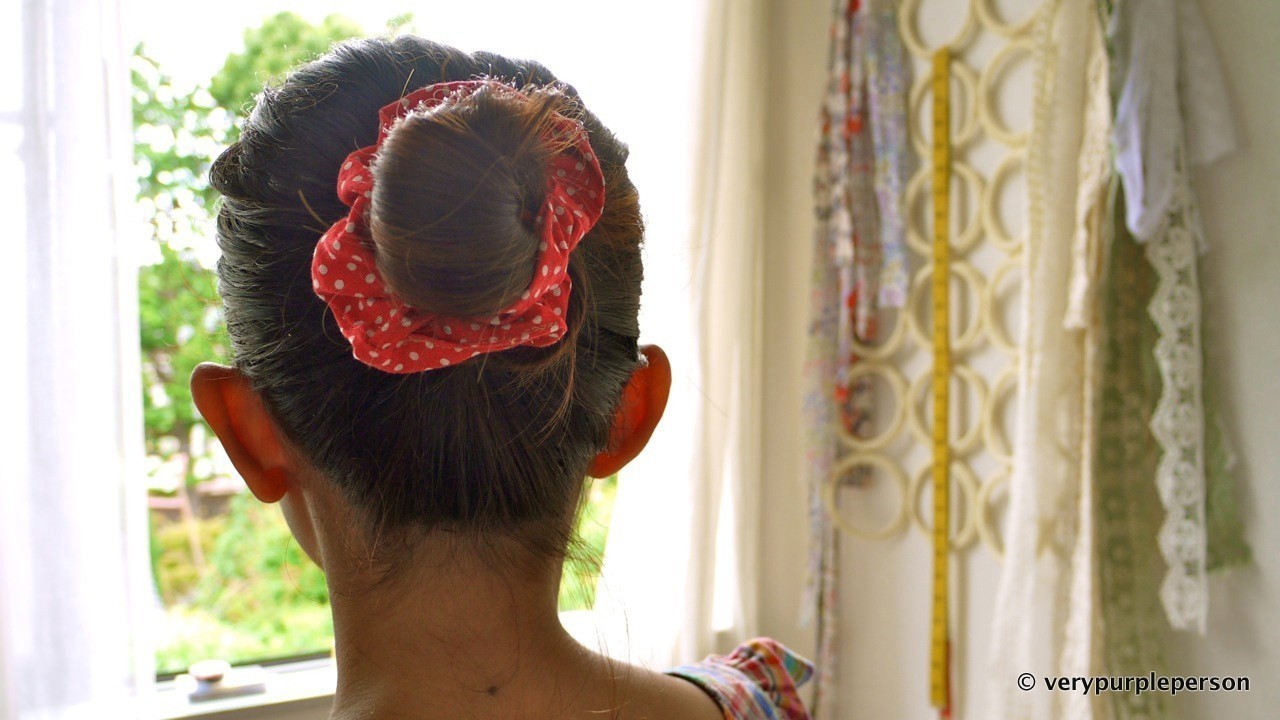
Making chou-chou (hair scrunchie) - easy and quick sewing!
Not a very spectacular project, but this thing proves to be very useful in summer. I think it is also called scrunchie, but it is called chou-chou here and I like the name better.
I found several tutorials for making chou-chou, but they always involve hand-stitching, which I’m too lazy to do for such a simple thing. Then I see another way of doing it, it is much easier, and more importantly: no hand-sewing! This project only took around 10 minutes to make, and it is also a good way to make use of all the fabric scraps.
-
 Carolina C. favorited Chou Chou (Hair Scrunchie)
10 Jul 21:25
Carolina C. favorited Chou Chou (Hair Scrunchie)
10 Jul 21:25
-
 marilyn.steckly favorited Chou Chou (Hair Scrunchie)
20 Apr 23:23
marilyn.steckly favorited Chou Chou (Hair Scrunchie)
20 Apr 23:23
-
Nikia N. favorited Chou Chou (Hair Scrunchie)
09 Nov 21:45
-
 Sandra B. favorited Chou Chou (Hair Scrunchie)
31 Jul 04:49
Sandra B. favorited Chou Chou (Hair Scrunchie)
31 Jul 04:49
-
 kelsi.bunnell favorited Chou Chou (Hair Scrunchie)
13 Mar 19:06
kelsi.bunnell favorited Chou Chou (Hair Scrunchie)
13 Mar 19:06
-
 Ievars favorited Chou Chou (Hair Scrunchie)
02 Mar 21:23
Ievars favorited Chou Chou (Hair Scrunchie)
02 Mar 21:23
-
 11lizzie :) favorited Chou Chou (Hair Scrunchie)
10 Feb 15:47
11lizzie :) favorited Chou Chou (Hair Scrunchie)
10 Feb 15:47
-
 Chinese_Food_Product favorited Chou Chou (Hair Scrunchie)
24 Nov 15:27
Chinese_Food_Product favorited Chou Chou (Hair Scrunchie)
24 Nov 15:27
-
 Annie.Beep favorited Chou Chou (Hair Scrunchie)
25 Sep 22:41
Annie.Beep favorited Chou Chou (Hair Scrunchie)
25 Sep 22:41
-
 Suki favorited Chou Chou (Hair Scrunchie)
27 Aug 18:50
Suki favorited Chou Chou (Hair Scrunchie)
27 Aug 18:50
You Will Need
-
 Step 1
You will need:
Fabric: 10×50 cm. Use non slippery fabric so the chou-chou won’t slip off your hair. My fabric here is cotton/linen mix. The measurement is not exact, you can make it longer or wider. I just snip 10 cm off my 50 cm cut fabric.
Elastic: 20 cm. I use ordinary hair elastic, but you can use any thin elastic strip.
-
 Step 2
Sew the short ends together with 1 cm seam allowance.
-
 Step 3
Fold the upper fabric inside as pictured, and hold it with one finger.
-
 Step 4
Fold the lower fabric over, sort of wrapping the first fold of fabric inside.
-
 Step 5
Starting with a backstitch, sew the edge with 1 cm seam allowance. Don’t catch the fold of fabric inside.
When you almost reach the end, just pull the fold of fabric inside and continue sewing. It is easier done than written here!
-
 Step 6
Stop stitching about 3 cm from the first stitch. Backstitch to secure. Now you have a sort of crumpled tube with a little opening.
-
 Step 7
Here’s the fun part! Reach into the little opening and pull the tube out.
-
 Step 8
Suddenly you have this!
-
 Step 9
Using a big safety pin, thread the elastic inside.
-
 Step 10
Tie the ends together. Pull the elastic several times to make sure that it is tight and secure. If you use thin elastic strip, you can also stitch the end together.
-
 Step 11
Tuck the elastic inside and stitch the opening closed.
-
 Step 12
Backstitch both ends of stitching to secure. If you want to be neater, you can also use hand-stitching to close the opening.
-
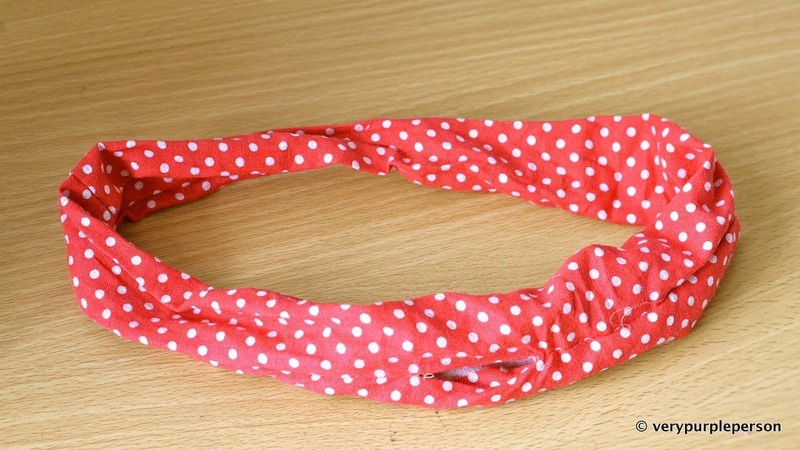
 Step 13
Turn the stitched edge to the inner side and there’s your chou-chou.


Versions

Comments


