About
Immortalise your little darlings' artworks - then sit on them!!
I made this as a thank you to my son's main carer at nursery - she loved it!
-
 Karen D. favorited Children's Picture Applique Cushion
06 Oct 02:27
Karen D. favorited Children's Picture Applique Cushion
06 Oct 02:27
-
 Sarah T. favorited Children's Picture Applique Cushion
05 Mar 16:05
Sarah T. favorited Children's Picture Applique Cushion
05 Mar 16:05
-
 Sophie S. published her project Children's Picture Applique Cushion
05 Jan 14:30
Sophie S. published her project Children's Picture Applique Cushion
05 Jan 14:30
-
 Step 1
Get your little one to draw a picture - nice and big, ideally the size you want the finished image to be. If you are using a smaller/larger image then you need to enlarge/shrink it to the right size for your cushion using a photocopier.
-
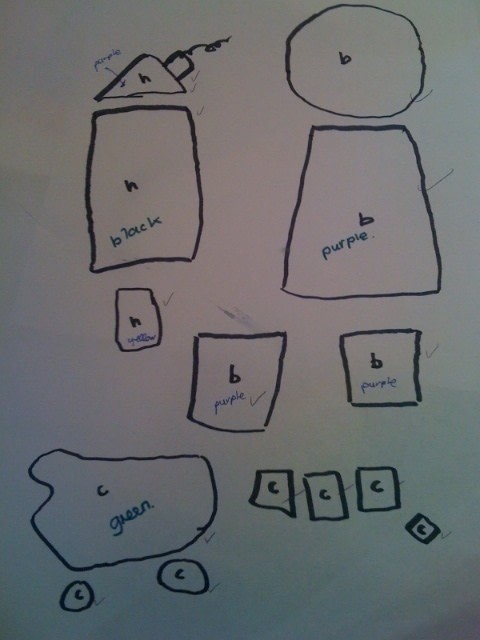
 Step 2
Break down the main parts of the picture and trace onto Bondaweb. I used the body, head and sleeves for the person and left out all the details - you add them later.
Iron the shapes onto various scraps of fabric and cut out the shapes.
-
 Step 3
Arrange the shapes right side up onto a blank piece of fabric big enough to be the front of your cushion. Your picture will be a mirror image of the original.
Take the paper off the Bondweb and iron the pieces into place. Now you can sew details in using your favourite embroidery. I used blanket stitch, french knots and running stiches but the sky's the limit here.
Assemble cushion cover using your favourite method. I added in a dotty border for fun and a label on the side with 'thank you' written on it with fabric marker.Enjoy!