


About
Crafter To The Stars: Audrey Kitching. Sew the purrfect sequinned cat fascinator!
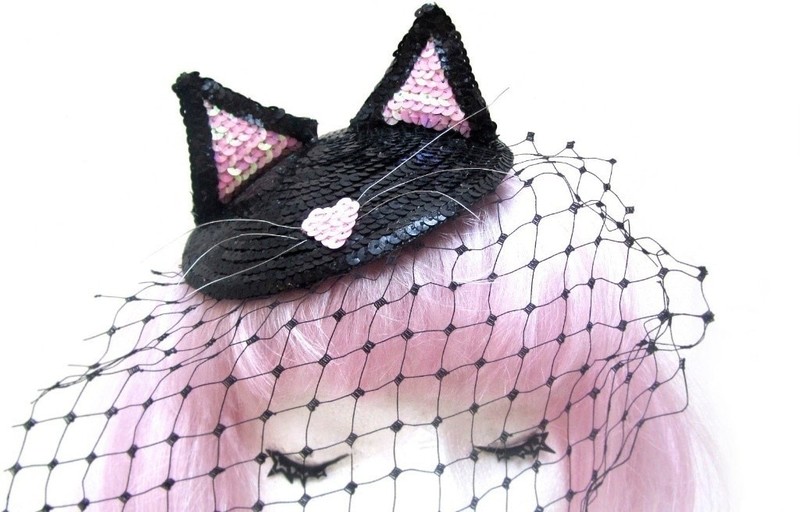
For this week's Crafter To The Stars I'm making a sequinned cat fascinator for model, designer and style icon Audrey Kitching. You can find out what Audrey thought about it and read an interview with her on my blog.

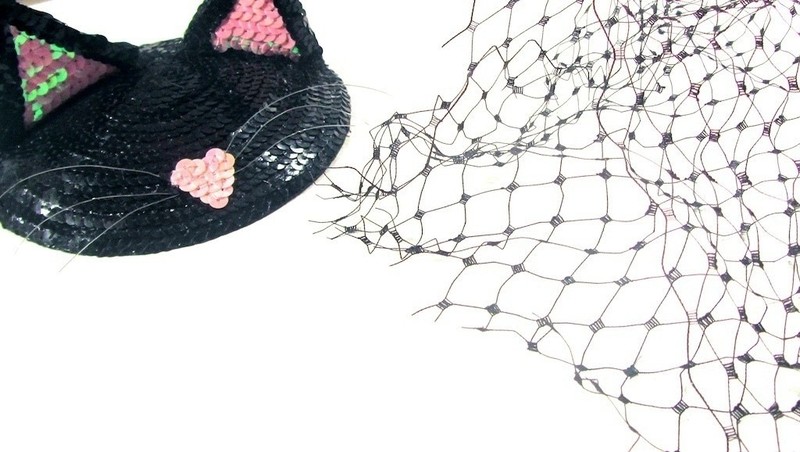
Audrey loves cats so I knew she'd be able to pull off the feline look perfectly and I was so excited to see the finished look. The black sequins add sparkle to the fascinator while the touches of pink match Audrey's hair perfectly. The ears are wired on the inside, so they can be bent in different directions and the veiling can be worn up or down, letting you mix up the look. Ready to make one for yourself? Here's the how-to:
Tags
-
 Key West Witch favorited Audrey Kitching Cat Fascinator
27 Jun 01:28
Key West Witch favorited Audrey Kitching Cat Fascinator
27 Jun 01:28
-
 Barbara M. favorited Audrey Kitching Cat Fascinator
11 May 04:42
Barbara M. favorited Audrey Kitching Cat Fascinator
11 May 04:42
-
trinity z. favorited Audrey Kitching Cat Fascinator
13 Dec 17:28
-
 Conner W. added Audrey Kitching Cat Fascinator to Things to try and make/ideas
13 Feb 18:54
Conner W. added Audrey Kitching Cat Fascinator to Things to try and make/ideas
13 Feb 18:54
-
Conner W. added Audrey Kitching Cat Fascinator to fashion
09 Feb 02:47
-
Conner W. favorited Audrey Kitching Cat Fascinator
09 Feb 02:46
-
 Tierra T. favorited Audrey Kitching Cat Fascinator
10 Nov 18:20
Tierra T. favorited Audrey Kitching Cat Fascinator
10 Nov 18:20
-
Katt C. favorited Audrey Kitching Cat Fascinator
23 Aug 21:42
-
 mmotse03 favorited Audrey Kitching Cat Fascinator
29 Jun 00:15
mmotse03 favorited Audrey Kitching Cat Fascinator
29 Jun 00:15
-
Lisa W. favorited Audrey Kitching Cat Fascinator
14 May 18:01
-
 Step 1
We're going to start by covering our fascinator base with the black sequin trim.
-
 Step 2
Glue an outer ring of sequins around the fascinator.
-
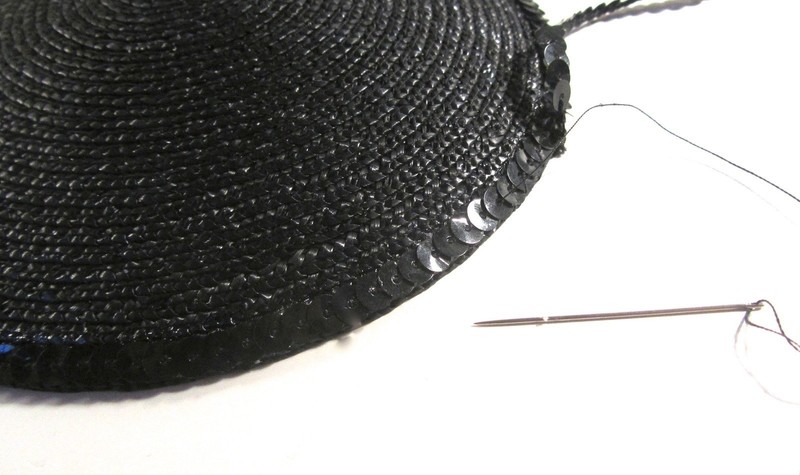
 Step 3
Secure this row of sequins in place with a needle and thread. We're not going to stitch every single sequin in place ongoing but it's good to get your first row sewn in to place.
-
 Step 4
Glue down your second row of sequins by glueing small segments at a time and working your way around the row.
-
 Step 5
Keep going...
-
 Step 6
Keep going until you reach the middle of the fascinator.
-
 Step 7
Stitch the final sequin in place with a needle and thread. Snip off the remaining trim. Continue stitching sequins in place all over the fascinator to make sure that the trim is secure. You don't need to be too thorough - just make sure you get an even selection around the base.
-
 Step 8
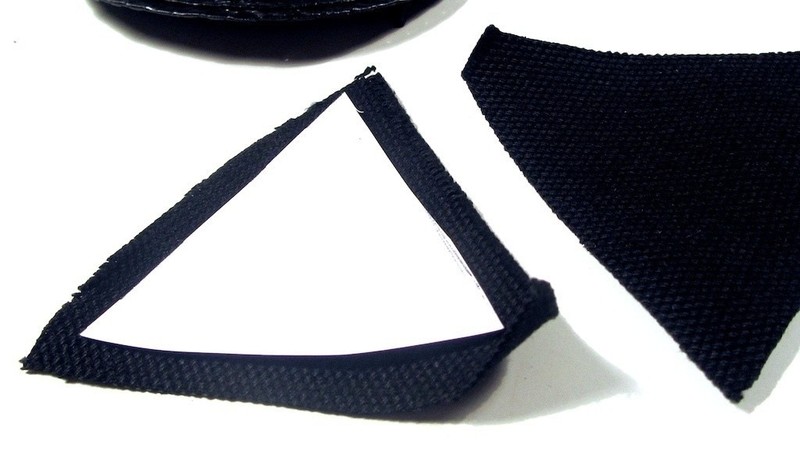
Cut a triangle template out of paper, in the size you'd like your ears to be.
-
 Step 9
Cut around this on to thick fabric, like canvas, leaving 1cm of fabric around the edges.
-
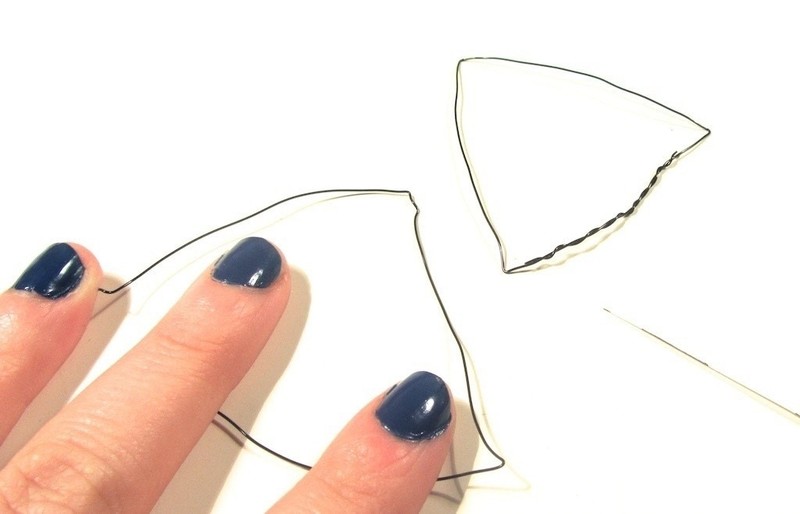
 Step 10
Use the template to bend a piece of wire in to the exact shape you'd like the ears to be.
-
 Step 11
Lay the wire in the center of your fabric and cut a notch out of the top of the triangle.
-
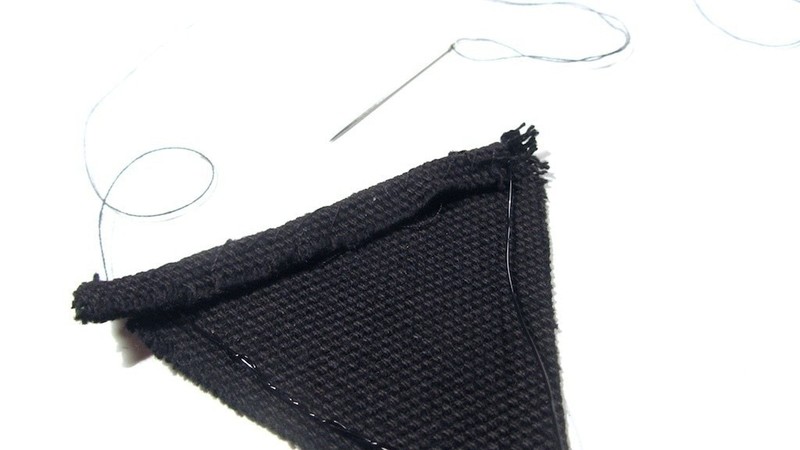
 Step 12
Fold the edges of the fabric over the wire...
-
 Step 13
and stitch in place.
-
 Step 14
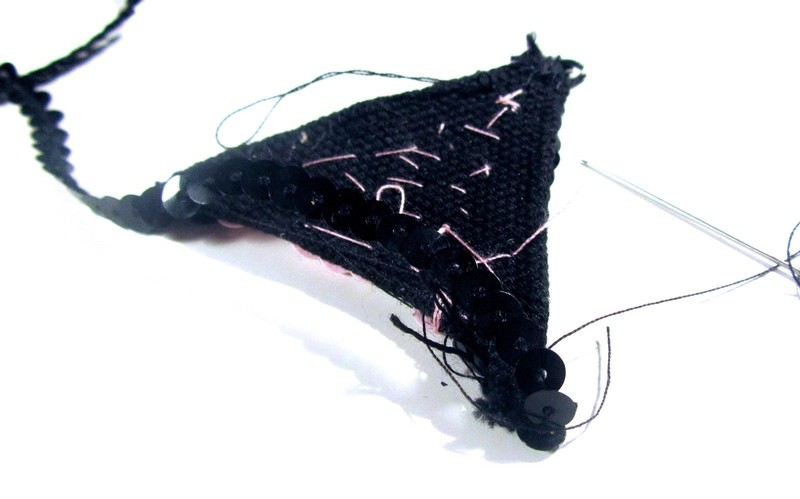
Starting at the bottom edge, stitch a row of pink sequins in place using a needle and pink thread, leave a gap (measuring roughly two sequins wide) at either side. Continue stitching more rows, decreasing by one sequin or so with every row.
-
 Step 15
Keep going until you reach the top.
-
 Step 16
Now stitch a row of black sequins on the outer edge of the ear. When you reach the top, fold it down the other side and then sew a second row back the way you came.
-
 Step 17
It should look like this when you're finished.
-
 Step 18
Flip the ear over and continue the same technique to stitch rows of black sequins to the back of the ear.
-
 Step 19
When you get to the end, leave a long tail of sequins.
-
 Step 20
Now fold and glue the sequin trim around the edges of the ear, stitching in place.
-
 Step 21
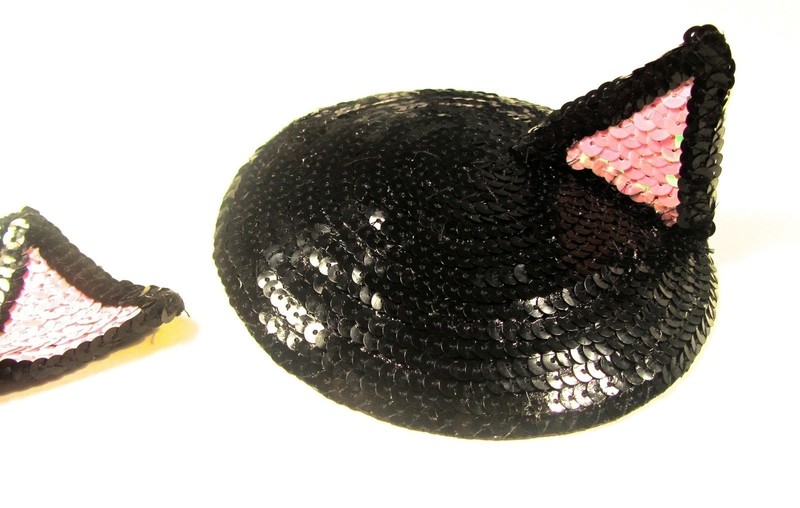
You're finished ear should look like this.
-
 Step 22
Repeat with the other ear.
-
 Step 23
Decide where you'd like the ears to go and stitch in place with black thread.
-
 Step 24
Cut a paper heart template that will look cute as a nose.
-
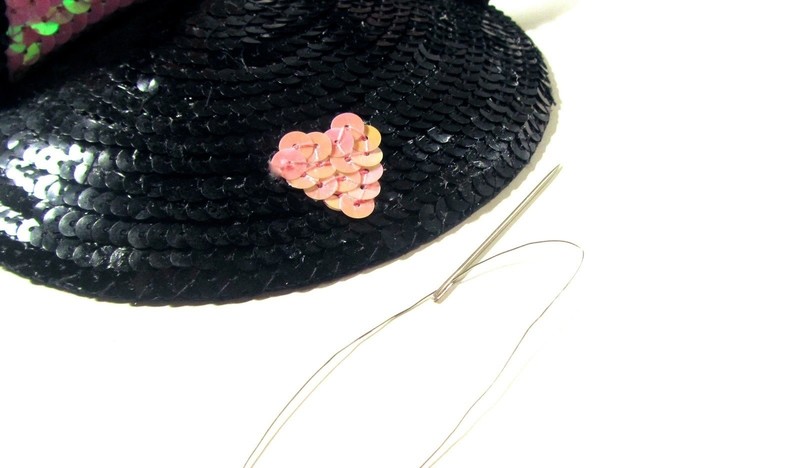
 Step 25
Stitch pink sequins in the heart pattern to make the nose.
-
 Step 26
Thread a needle with silver wire.
-
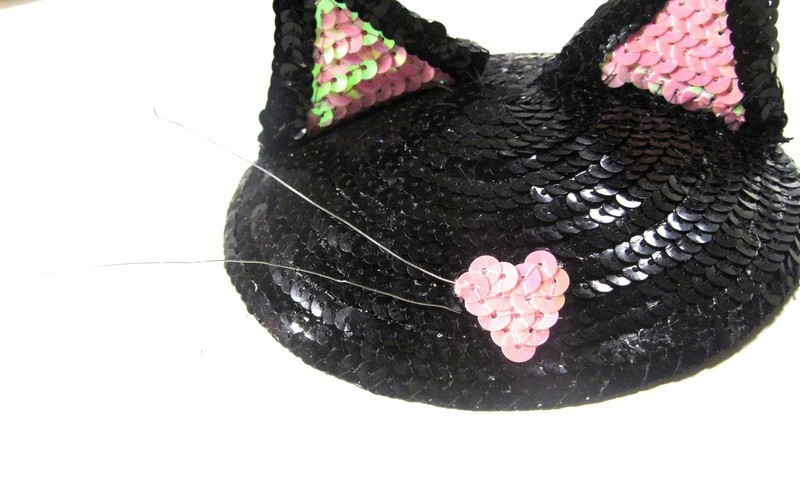
 Step 27
Pull the needle through the fascinator behind the nose. Knot the wire behind the fascinator then pull the wire back through the front.
-
 Step 28
Repeat twice more. Cut your whiskers to the right size and bend to look the way you like.
-
 Step 29
Cut a small felt circle and glue it to the inside, where the wire pierces through the fascinator.
-
 Step 30
Cut a generous length of veiling.
-
 Step 31
Position the veiling underneath the fascinator, so that it falls across your face nicely and then stitch in place. It's a good idea to look in a mirror to get the veiling just right.
-
 Step 32
Stitch a hair comb on to the bottom of your fascinator and it's ready to wear.
-
 Step 33
Play with the veiling, bend the ears and position the whiskers in a way you like.


Comments


