


About
I heard you liked bags, so I made a bag of your bags, so you can bag while you bag.
Because I can never remember to take my environmentally friendly reusable shopping bag when I go to the supermarket, the bloke and I have ended up with a mass amount of carrier bags (is it just me who keeps carrier bags? I use them as bin liners, but still have loads!).
The bag I was keeping these bags in got way too full to function, so I decided to do something with all these carriers. Make a super carrier! Or handbag.
Bagception.
Tags
-
 angel.zoey favorited Carrier Bag Handbag
01 Apr 11:25
angel.zoey favorited Carrier Bag Handbag
01 Apr 11:25
-
 Sheri O. added Carrier Bag Handbag to To-make list
14 Sep 16:32
Sheri O. added Carrier Bag Handbag to To-make list
14 Sep 16:32
-
 Ichigo M. favorited Carrier Bag Handbag
18 Jul 00:39
Ichigo M. favorited Carrier Bag Handbag
18 Jul 00:39
-
 lindasuu favorited Carrier Bag Handbag
12 Jul 03:25
lindasuu favorited Carrier Bag Handbag
12 Jul 03:25
You Will Need
-
 Step 1
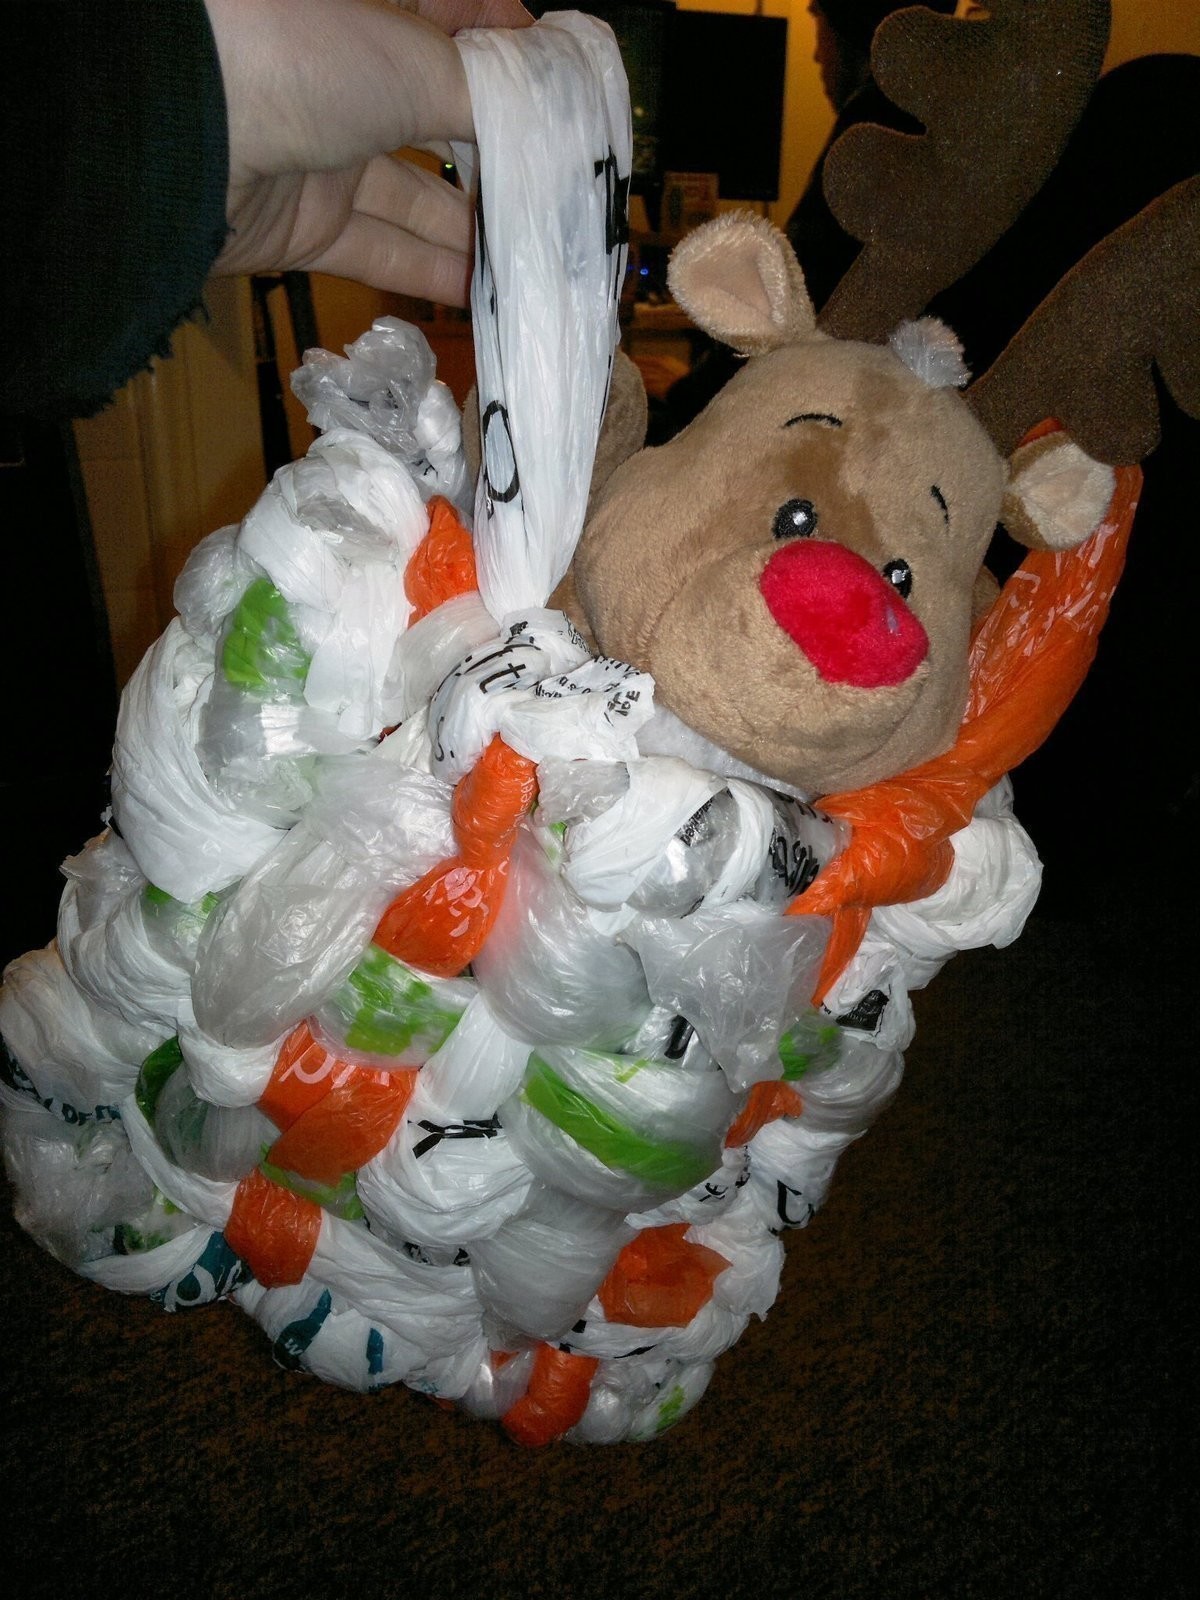
Firstly, gather your bags. My finished product is probably 30cm x 20cm, a bit smaller than a standard carrier bag. I used 40 carriers to create it, so if you want bigger you'll need more!
Take 4 carriers and straighten them out, then tie the ends together to create a rough rectangle. -
 Step 2
Grab another carrier bag and tie it length ways across your square. If you loop the carrier round the edge-bag and through it's own handles it holds secure, then you just tie the other end in place.
-
 Step 3
Repeat until you have something like shown. For me, this was six bags. Alternate the looped side so it's on the left one time, then the right next time etc. This'll make it stronger, and you can actually use the loops to hold down the tie end above (not done on the photo 'cos I realised later I could do that!).
-
 Step 4
Make sure you have the tied on bags running top to bottom, then grab another bag (orange on my photo), loop to the left edge, and weave it through. Tie off the end.
On your next weave, run from right to left, and make sure you're over/under is alternated from the one above.
(That sounds complicated, but I'm sure you know what I mean). -
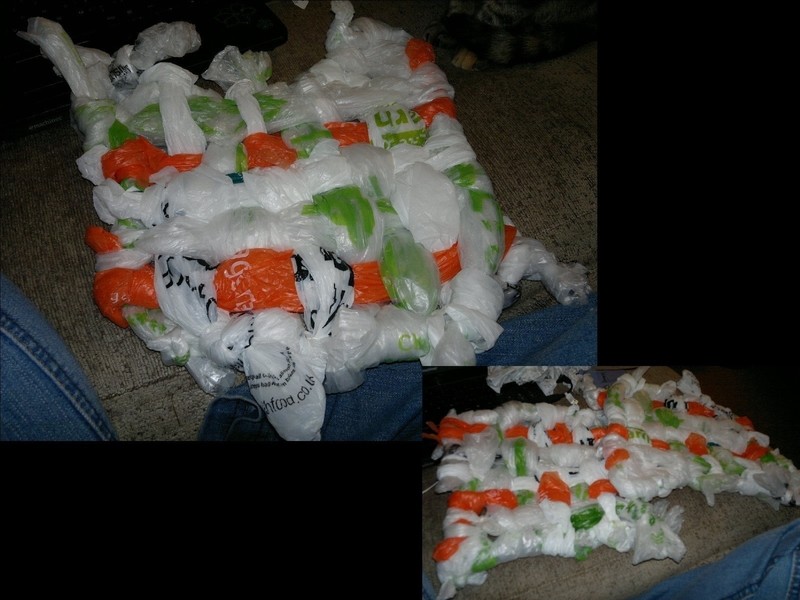
 Step 5
Carry on weaving until you have a side completed (took me 5 carrier bags). Don't worry that it looks a bit scruffy for now.
Repeat steps 1 to 5 so that you have two sides. -
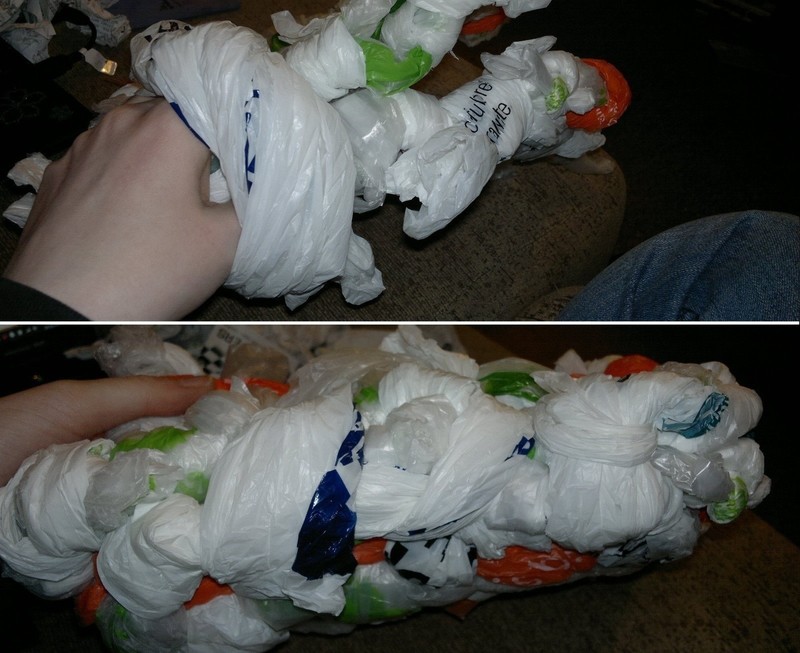
 Step 6
Now we need to join the two together!
Start at one corner. Tie together with a carrier using your loop technique, then wrap the carrier down the side. It took me four bags to join three sides.
-
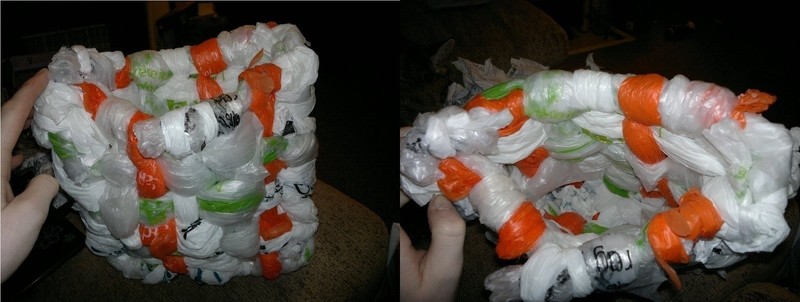
 Step 7
That's the body of your bag done! Tuck in any sticking up bits of bag (you can just weave them in, or glue gun them down if you'd prefer).
-
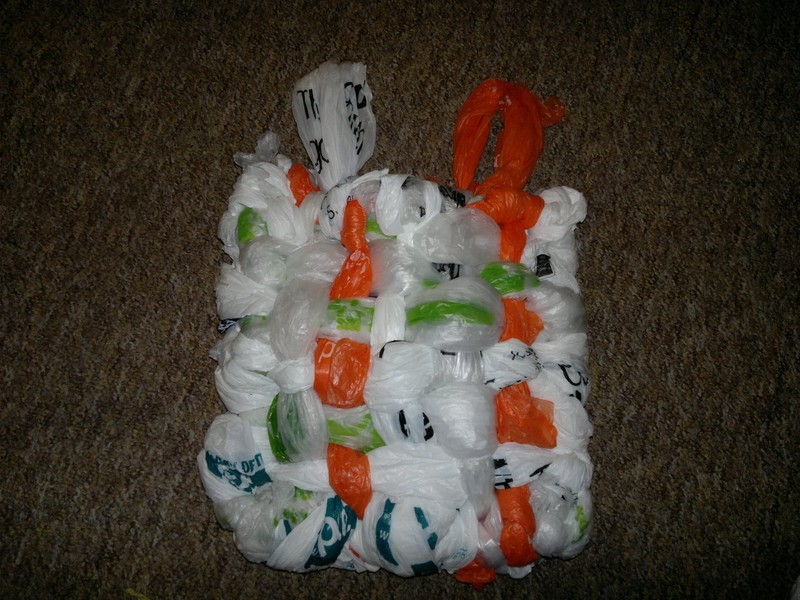
 Step 8
To make handles, take another carrier and loop attach it to one side. Take it over the open top and tie it to the other side. Repeat with another bag for a second handle.
If you want longer handles, you could tie a few bags together before attaching. -
 Step 9
That's it.
I'm not sure how much weight it could take, but it'll be fun to experiment. Or do as I'm doing and store your spare carrier bags in your carrier bag made of carrier bags!