

About
A quick basically free way to transform your clothing and household items
have been wanting to try silkscreening for some time now but the complication of the process and cost of materials have sort of set me off it. I decided to use some of the materials that I already had to create a new look on a shirt that is very comfortable for lazying around in on the weekends, but had a bleach spot right on the front (not unlike most of my t-shirts that have some sort of stain or spot on them).
-
 Oscar Marshall favorited Cardstock Cupcake Stencil
24 Jun 06:28
Oscar Marshall favorited Cardstock Cupcake Stencil
24 Jun 06:28
-
 Ellen P. favorited Cardstock Cupcake Stencil
16 Feb 22:16
Ellen P. favorited Cardstock Cupcake Stencil
16 Feb 22:16
-
 Bella O. favorited Cardstock Cupcake Stencil
30 Sep 22:48
Bella O. favorited Cardstock Cupcake Stencil
30 Sep 22:48
-
 Melody C. added Cardstock Cupcake Stencil to poo.
29 Sep 07:04
Melody C. added Cardstock Cupcake Stencil to poo.
29 Sep 07:04
-
Evening S. favorited Cardstock Cupcake Stencil
08 Jul 17:43
-
 Lise S. added Cardstock Cupcake Stencil to To-make list
18 Apr 08:27
Lise S. added Cardstock Cupcake Stencil to To-make list
18 Apr 08:27
You Will Need
-
 Step 1
I started off by scanning an image I had sketched and cropping it in Photoshop Elements. Any black and white clip art or hand drawn image will work.
-
 Step 2
I couldn’t find any cardboard laying around to place inside the shirt but found a piece of scrap wood in the garage that would fit inside nicely.
I am also using regular acrylic craft paints for this project but you could use fabric paint if you wanted. If you use acrylic paints I do reccomend adding textile medium to it as the acrylic paint tends to wrinkle with the material and be stiff over a few washings. I personally don’t mind this effect because it gives it more vintage feel but the textile medium is good if you want a more professional look (or plan on wearing your garment outside of the house). -
 Step 3
I have a huge pile of ugly cardstock that I will probably never use for any paper crafting projects. I decided that I would use some of it for my stencil. I printed off three copies of the same image as I plan to use three different colors for the base of my stencil.
You will print off the same amount of images as you want layers of paint so that you have a stencil for each layer. Or conserve and use one sheet for multiple layers that don't need to be cut out next to each other. -
 Step 4
Next came cutting out the part of the stencil that I wanted to paint white. I used a glass mat and a regular sharp craft knife and cut around the outside of my design.
The bottom and the top of my cupcake have been cut out and are now ready for painting onto the shirt. I also used a third stencil for the small heart at the top, but this is something that could be freehanded if you wanted to.
-
 Step 5
Then, I lightly sprayed the back of my “stencils” with my all time favorite craft supply, spray adhesive. I turned the stencils face down with the glue pointing up to dry a bit and get a little tacky. I recommend doing this outdoors due to the fumes and the fact that no matter where you aim it the floor still gets sticky. I don’t do those things…….. but I still recommend it.
I placed my first stencil down on the t shirt and smoothed around the edges I cut out to make sure the paint would leave crisp lines when it was pulled up. -
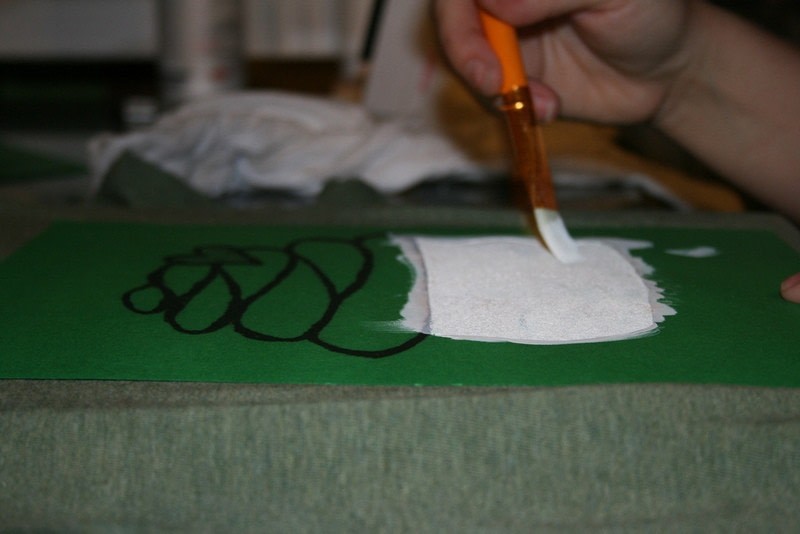
 Step 6
Painting in my stencil, allowing each color to dry before putting down the next part on top of it.
-
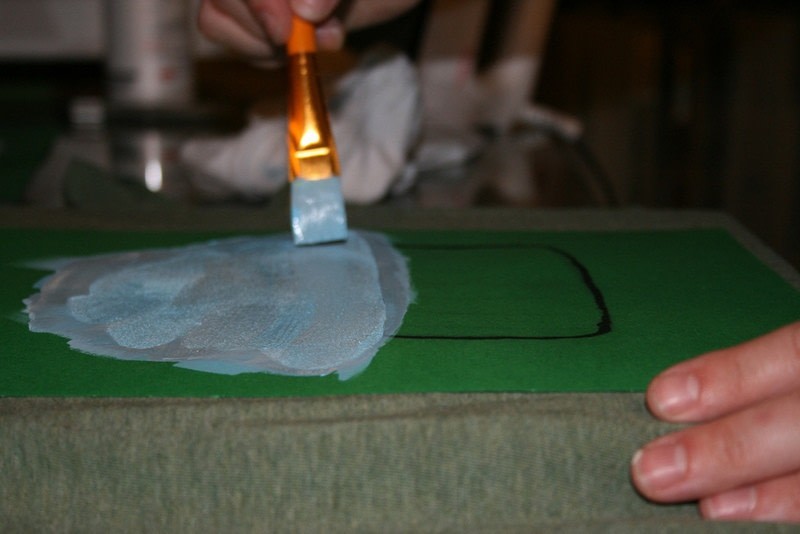
 Step 7
The second color being added
-
 Step 8
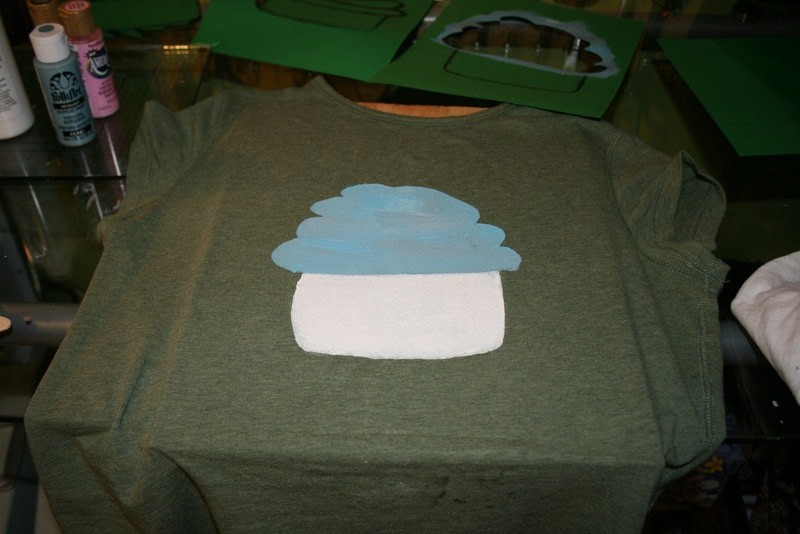
After two layers have been painted on.
-
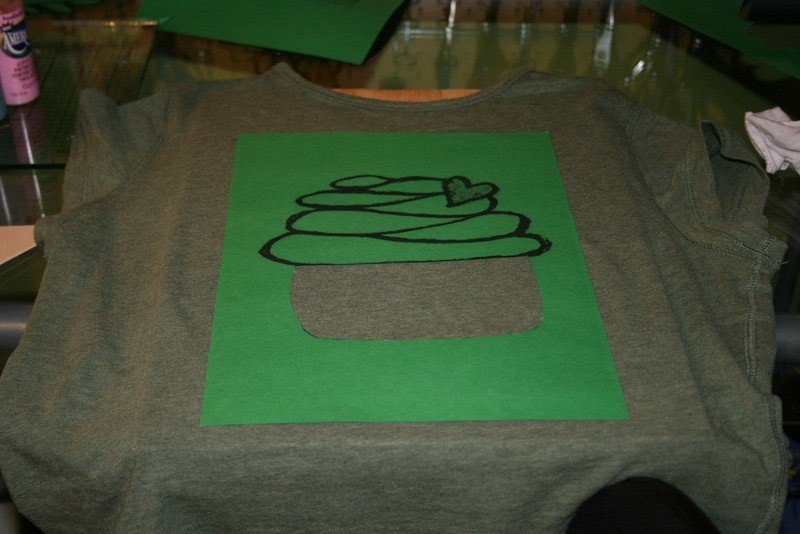
 Step 9
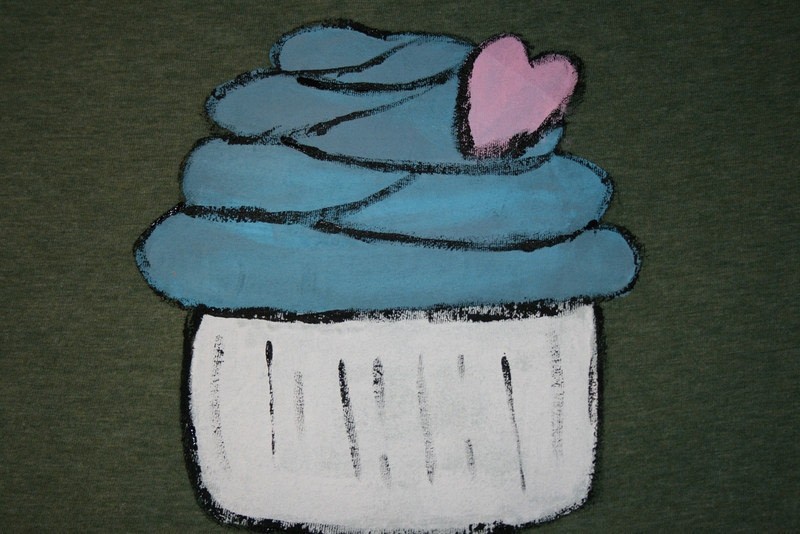
After all the layers I wanted had been painted and had dried I took black paint on a fairly thin paintbrush and gently went around the edges. In this case I was going for a drawn on cartoony effect so I brushed it on a little sloppy. This is a good method because if you do mess up it is not as noticable.
-
 Step 10
I decided to put the stencils between several sheets of waxed paper so that I can reuse them at a later date.
-
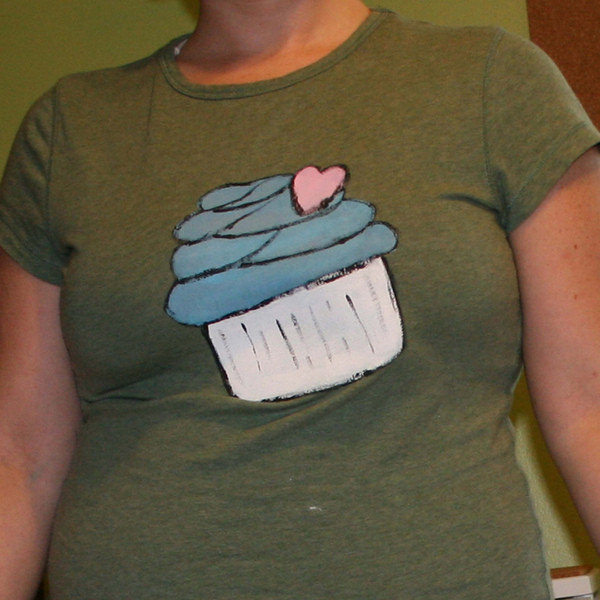
 Step 11
TAH-DAH! The finished product. If you look closely you will see that in the process of trying to cover up one stain I created another one by getting some stray white paint on the belly.


great idea with usein the differnt stencils for different colors (usaly im a half ass and freehand anything i paint on shirts)