About
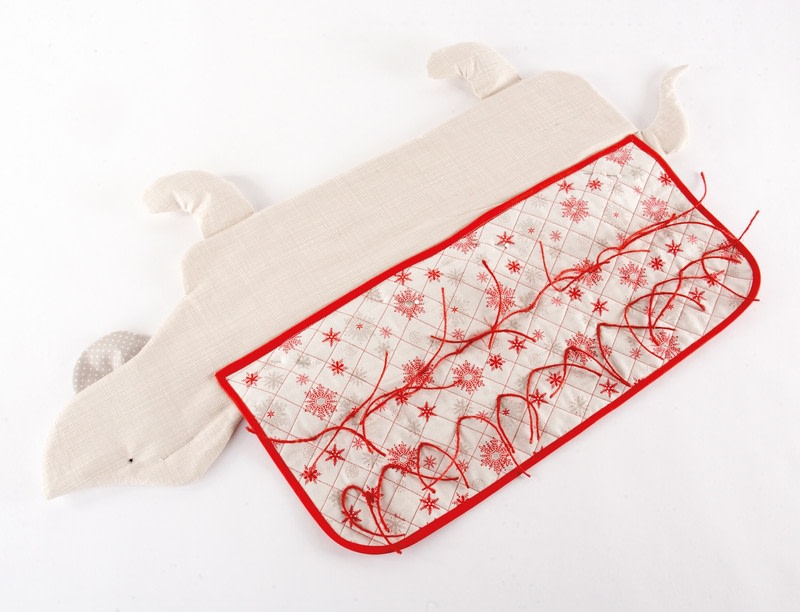
Sew Advent Calendars
There’s no need to leave your faithful friend out of the festive fun this year – but do make sure you hang their calendar out of reach so that the biscuits aren’t all eaten on the first day!
Finished size
79 x 28cm (31 x 11in)
Tags
Downloads
- 2017-10-23-102701-canine+templates+_1__100.eps 1.08 MB [ Download ]
- 2017-10-23-102705-canine+templates+_2__100.eps 874 KB [ Download ]
- 2017-10-23-102709-canine+templates+_3__100.eps 903 KB [ Download ]
- 2017-10-23-102713-canine+templates_100.eps 13.5 MB [ Download ]
-
 JadeSucksAtLife favorited Canine Calendar
25 Feb 11:05
JadeSucksAtLife favorited Canine Calendar
25 Feb 11:05
-
 Crafterella featured Canine Calendar
12 Nov 23:00
Crafterella featured Canine Calendar
12 Nov 23:00
-
 Pam favorited Canine Calendar
10 Nov 18:30
Pam favorited Canine Calendar
10 Nov 18:30
-
 Search Press published her project Canine Calendar
08 Nov 09:00
Search Press published her project Canine Calendar
08 Nov 09:00
You Will Need
-
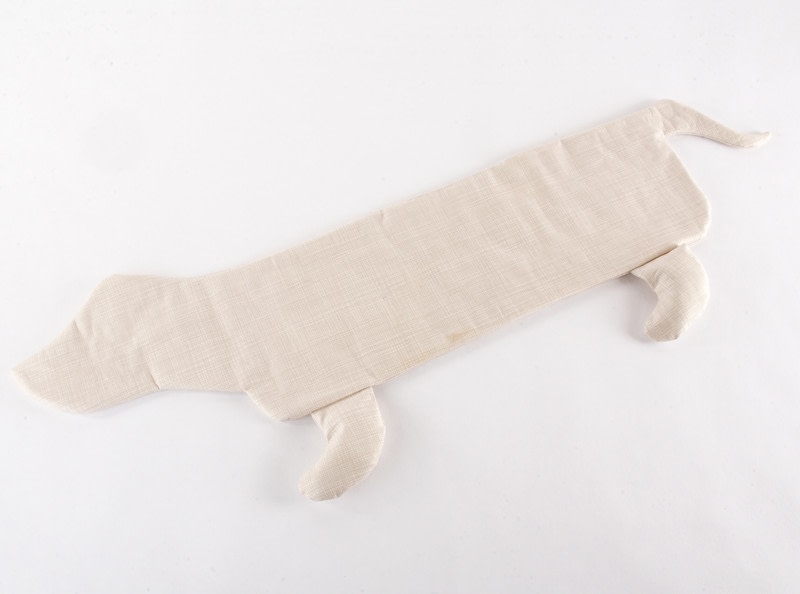
Step 1
Mark on your body fabric a rectangle measuring 49.5 x 18cm (19½ x 7in), but don’t cut this out yet. Place your dog head template at the top of one end and the tail at the top of the other end; draw around these shapes onto the fabric. Round off the bottom two corners of the rectangle with your circle template. You’ll have a long, legless dog shape; cut out two pieces.
-
 Step 2
Cut out four foot pieces using your template. Sew right sides together in pairs, leaving the top open. Snip into the curves, turn right side out and stuff with a little toy filler.
-
 Step 3
Cut a piece of wadding/batting to the same shape as the body. Fuse it to the wrong side of the front of the dog with spray adhesive if you wish. Tack/baste the feet, facing upwards, to the tummy, 5cm (2in) from each side.
-
 Step 4
Pin the two body pieces right sides together and sew all the way round, leaving a turning gap of about 10cm (4in) across the dog’s back. Remove the pins and turn right side out. Hand sew the opening closed.
-
 Step 5
Cut out two ear pieces using your template. Sew right sides together, leaving the top open. Snip around the curves, then turn right side out and press, with the open top tucked inwards.
-
 Step 6
Pleat the top of the ear and sew to the dog’s head, 2.5cm (1in) from the centre top. Hand sew a French knot as an eye.
-
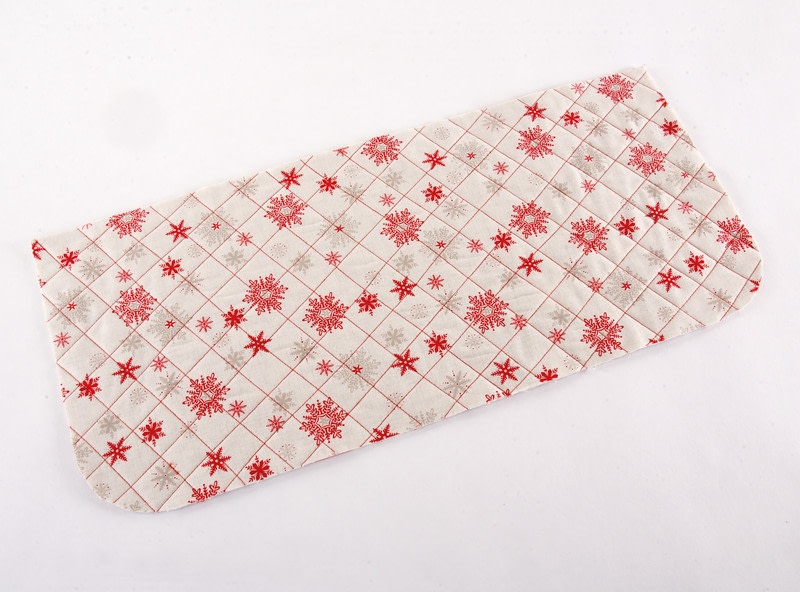
 Step 7
To make the coat, draw a 2.5cm (1in) grid all over the outer fabric with an erasable ink pen. Place the lining wrong sides together with the outer fabric, with the wadding/batting sandwiched in between, then sew over each line to quilt. Trim the edges if necessary, then use your circle template to curve the bottom two corners, as shown.
-
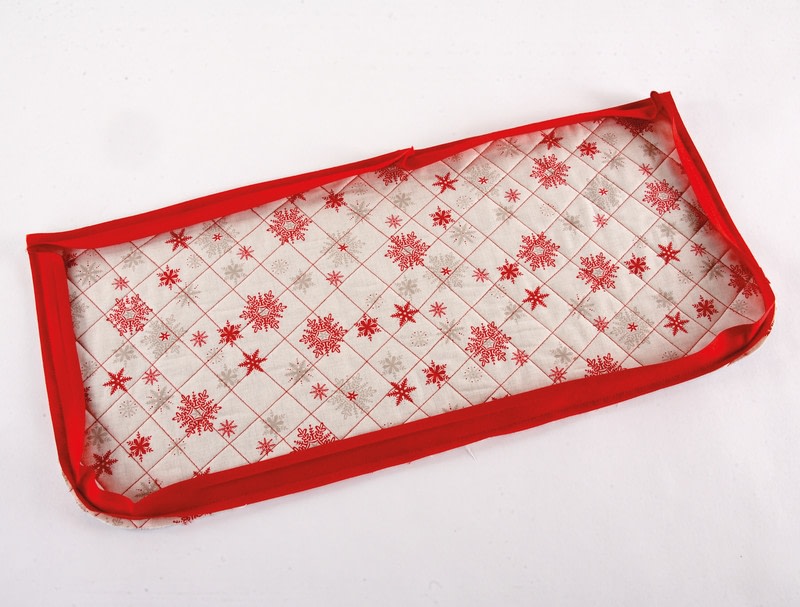
 Step 8
Apply bias binding all around the coat; fold over the first end of the tape, then overlap the opposite end when they meet.
-
 Step 9
To mitre the corners, stop sewing 5mm (¼in) before the corner, keep the needle in the fabric but lift the presser foot, then fold the tape to create a neat triangle. Line up the edges of the tape and coat and continue sewing along the next edge:
[ Applying bias binding
And here’s how to apply your bias binding. A neat, mitred corner really gives a professional finish to a project, and it’s not difficult when you know how...
1 Open out the bias tape and pin right sides together with the edge of your project. Fold over the first end of the binding. Sew along the crease line but stop 1cm (½in) from the corner and back-tack to stop the stitches coming undone.
2 Take the tape along the second side, making a triangular pleat in the corner. Fold the pleat away from your stitch line, pin in place, and sew along the second side, again stopping 1cm (½in) from the end.
3 Continue in the same way around the next three corners. When you’re back to where you started, overlap the ends of the tape by about 5mm (¼in).
4 Fold the tape over to the back, tucking the folded edge under, and you should see neat mitres forming: mirror the same mitres on the reverse. You might need to use fabric clips to hold the edges together as the fabric will now be quite thick. Sew the bias tape in place by hand with a slip stitch, making sure your machine stitch line is covered by the tape.
5 When you’re finished you’ll have really neat, square corners both from the front of your work and from the back! ] -
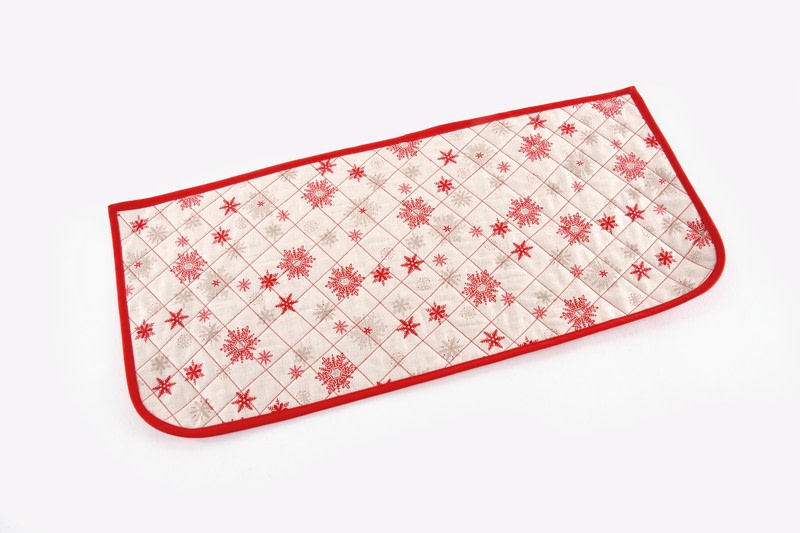
 Step 10
Wrap the binding around the edge of the coat and sew, either by hand from the back of the coat or by machine from the front.
-
 Step 11
Draw two lines across the coat with an erasable ink pen, 11.5cm (4½in) and 16.5cm (6½in) from the top. Make twelve marks across each line, 4cm (1½in) apart. Cut twenty-four 15.25cm (6in) lengths of string, and hand sew one over each of these marks.
-
 Step 12
Place the coat over the dog, wrapping the top of the coat over the dog’s back by about 4cm (1½in). Pin, then sew to the back of the dog across the top of the bias binding.
-
 Step 13
Fold the coat back over the dog. Tie a biscuit to each piece of string, then trim the string if necessary. Glue numbers 1–12 across the top of the first row, and numbers 13–24 underneath the second row. Pop a little glue onto the back of the coat to hold it in place.
-
 Step 14
Thread the dowelling through the back of the coat and tie the remaining string to each end to hang.
Tip
You could use a button for the eye, and why not make your pooch a collar?