About
Create your own Cake Stand or Jewellery Holder!
Tags
-
 meg B. favorited Cake Stand / Jewellery Holder
11 Mar 21:03
meg B. favorited Cake Stand / Jewellery Holder
11 Mar 21:03
-
 Serena A. entered her project Cake Stand / Jewellery Holder to Mum's
15 Feb 20:33
Serena A. entered her project Cake Stand / Jewellery Holder to Mum's
15 Feb 20:33
-
 Marie B. added Cake Stand / Jewellery Holder to projects a
13 Jul 18:47
Marie B. added Cake Stand / Jewellery Holder to projects a
13 Jul 18:47
-
 Harley Q. added Cake Stand / Jewellery Holder to Inspiration to be Creative
27 Jan 07:36
Harley Q. added Cake Stand / Jewellery Holder to Inspiration to be Creative
27 Jan 07:36
-
 neca.maki2 favorited Cake Stand / Jewellery Holder
21 Oct 19:50
neca.maki2 favorited Cake Stand / Jewellery Holder
21 Oct 19:50
-
 Kathy Gregson favorited Cake Stand / Jewellery Holder
15 Oct 22:00
Kathy Gregson favorited Cake Stand / Jewellery Holder
15 Oct 22:00
-
Serena A. favorited her project Cake Stand / Jewellery Holder
12 Oct 19:30
-
 Molly R. favorited Cake Stand / Jewellery Holder
12 Oct 11:38
Molly R. favorited Cake Stand / Jewellery Holder
12 Oct 11:38
-
 lisa123 favorited Cake Stand / Jewellery Holder
11 Oct 19:44
lisa123 favorited Cake Stand / Jewellery Holder
11 Oct 19:44
-
 Caitlin favorited Cake Stand / Jewellery Holder
09 Oct 16:19
Caitlin favorited Cake Stand / Jewellery Holder
09 Oct 16:19
You Will Need
-
 Step 1
YOU’LL NEED:
1. Some plates of different dimensions, I bought these at IKEA.
2. Two wooden cylinders, I got these cut by my father from an old broom, height: 12,5 cm, diameter 2,5 cm. You can choose the diameter, I suggest to have them a little bigger then mine!
3. Acrylic enamel spray, I’ve used the “Saratoga HAPPY COLOR” one.
4. Loctite Super Attack Glue.VI SERVIRANNO:
1. Dei piattini di diverse dimensioni, questi li ho presi all’IKEA.
2. Due cilindri di legno, questi li ha tagliati mio padre da un bastone di una scopa, altezza: 12,5 cm, diametro: 2,5 cm . Potete sceglierlo voi, io vi consiglio di utilizzarli un po’ più spessi di questi!
3. Smalto spray acrilico, io ho utilizzato la marca Saratoga HAPPY COLOR.
4. Colla Loctite Super Attack. -
 Step 2
1. Plant two little nails at the center of the two cylinders and with some wire hang them outside or in your courtyard or in a place properly covered with some newspapers.
1. Piantate un piccolo chiodino al centro dei cilindri di legno e appendeteli con del fil di ferro all’esterno, nel cortile oppure in un luogo protetto con dei giornali.
-
 Step 3
2. Shake the spray for a minute then spraypaint the cylinders staying 20/25 cm away from them.
2. Agitate la bomboletta per un minuto. Spraiate i bastoncini con lo smalto del colore che preferite stando ad almeno 20/25 cm di distanza.
-
 Step 4
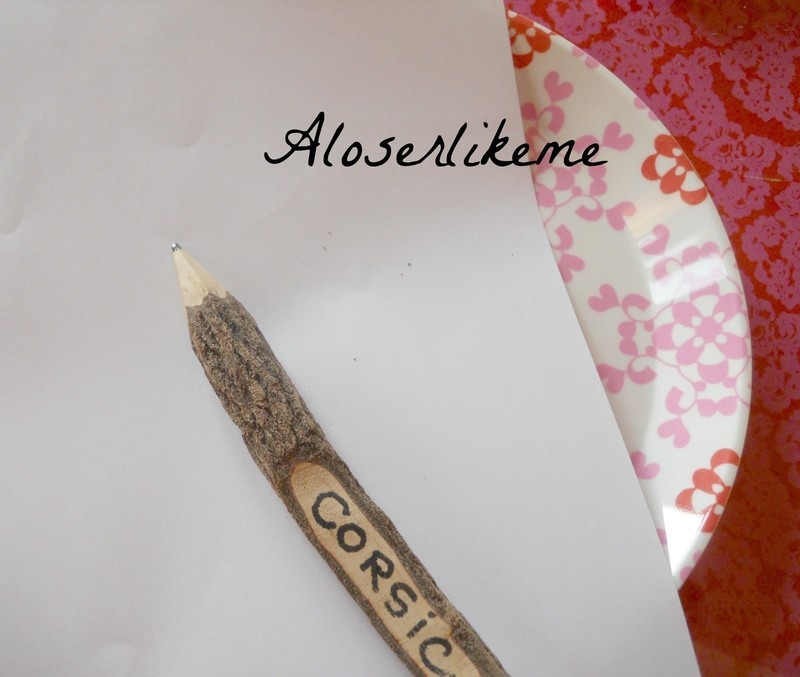
3. Let the cylinders dry and meanwhile, take a paper sheet, put it in the centre of the plate and draw the circle of the plate with a pencil.
3. Mentre i bastoncini asciugano prendete un foglio di carta, mettetelo al centro del piatto e disegnate con una matita il cerchio del piatto.
-
 Step 5
4.1. Cut out the circle.
4.2. Fold it in half.
4.3. Fold it in half again.
Now you have the center of the circle!4.1. Ritagliate il cerchio.
4.2. Piegatelo a metà.
4.3. Piegatelo ancora a metà..
Così avrete ottenuto il centro del piatto! -
 Step 6
5. Put the paper on the plate and thread the needle in the center, try to scratch the surface of the plate in order to create the reference point at the center. You don’t have to do this for one of the smaller plates.
5.Appoggiate il foglio sul piatto e piantate l’ago nel centro che avete ottenuto, cercate di graffiare la superficie del piatto per crearvi il punto di riferimento al centro.
-
 Step 7
6.Repeat the same step also “under” each smaller plate.
6. Ripetete lo stesso passaggio per il “sotto” dei piattini più piccoli.
-
 Step 8
7. Put a little drop of Super Attack and press the first cylinder on it for at least one minute.
7. Mettete un po’ di Super Attack al centro del piatto e premeteci sopra il primo bastoncino per un minuto.
-
 Step 9
8. When you’re sure the glue has adhered turn the plate upside down and glue the cylinder to another plate. Repeat the process for the other plate!
8. Quando siete sicuri che la colla abbia fatto presa girate il piatto ed incollate il bastoncino ad un altro piatto. Ripetete il procedimento per l'altro piatto!
-
 Step 10
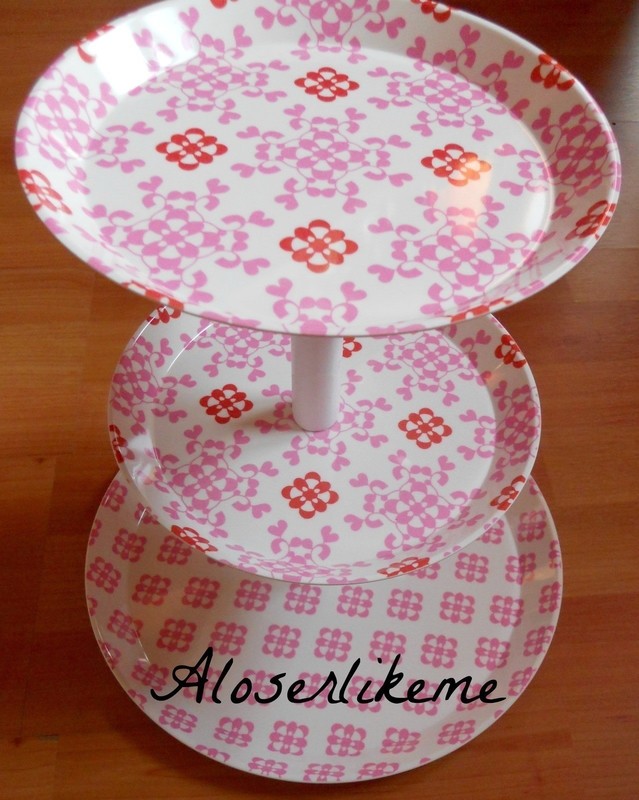
9.And here’s your DIY jewellery holder! =) Isn't it cute???
9. Ed ecco il vostro portagioielli DIY! =) Non é carino??