

About
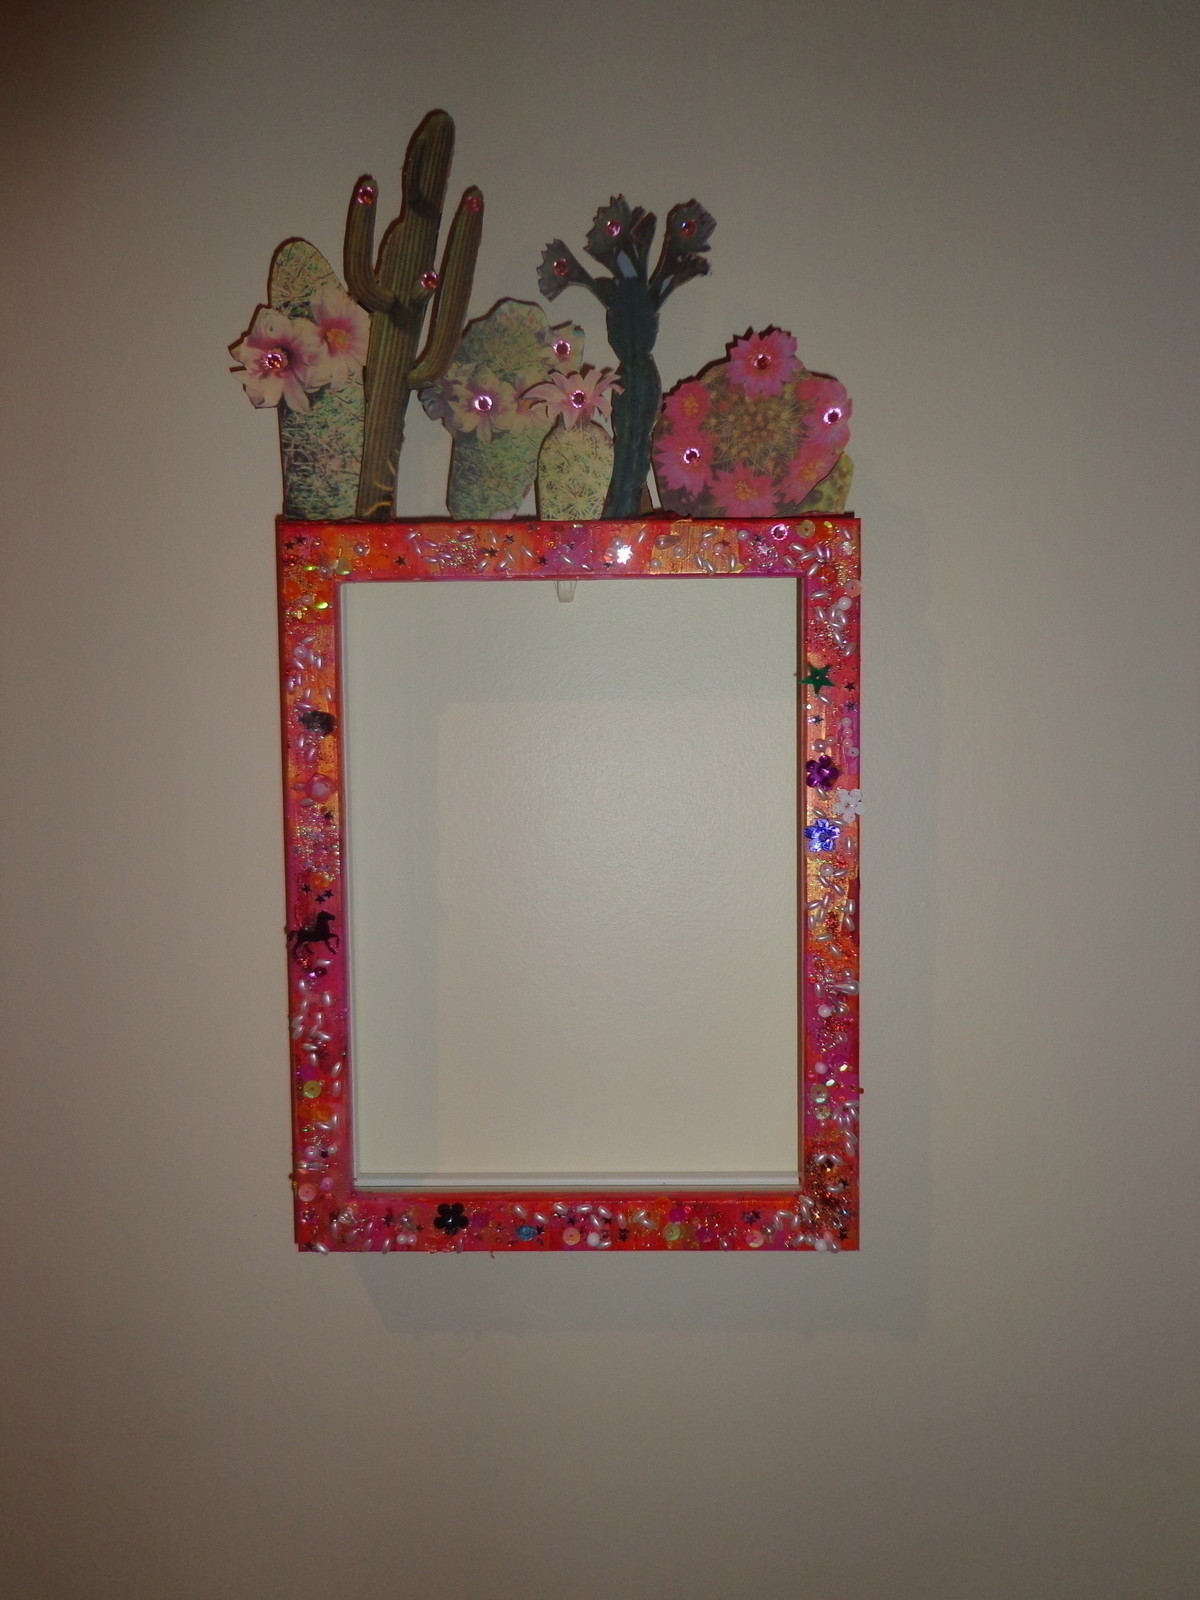
Funk things up, Mexican style!
The key to this is having time to let the different steps dry. Patience is a virtue! Also use your imagination- my frame used up things I had lying around but feel free to use anything! stickers would have worked perfectly, the same goes for the cactuses on top - be creative and use what you want!
-
 smith fintch favorited Cactus Decorated Frame
21 Dec 08:35
smith fintch favorited Cactus Decorated Frame
21 Dec 08:35
-
 Summer O. favorited Cactus Decorated Frame
08 Jun 07:17
Summer O. favorited Cactus Decorated Frame
08 Jun 07:17
-
 IDreamOfArizona favorited Cactus Decorated Frame
12 May 23:16
IDreamOfArizona favorited Cactus Decorated Frame
12 May 23:16
-
 Maddi L. favorited Cactus Decorated Frame
03 Jul 17:20
Maddi L. favorited Cactus Decorated Frame
03 Jul 17:20
-
 Dink favorited Cactus Decorated Frame
12 Apr 01:17
Dink favorited Cactus Decorated Frame
12 Apr 01:17
-
 Nancy! favorited Cactus Decorated Frame
03 Feb 22:05
Nancy! favorited Cactus Decorated Frame
03 Feb 22:05
-
Nancy! commented on Cactus Decorated Frame
03 Feb 22:05
-
 go-go-chi favorited Cactus Decorated Frame
26 Jan 21:23
go-go-chi favorited Cactus Decorated Frame
26 Jan 21:23
-
 mykki favorited Cactus Decorated Frame
31 Dec 00:42
mykki favorited Cactus Decorated Frame
31 Dec 00:42
-
 Mary P. favorited Cactus Decorated Frame
24 Dec 13:36
Mary P. favorited Cactus Decorated Frame
24 Dec 13:36
You Will Need
-
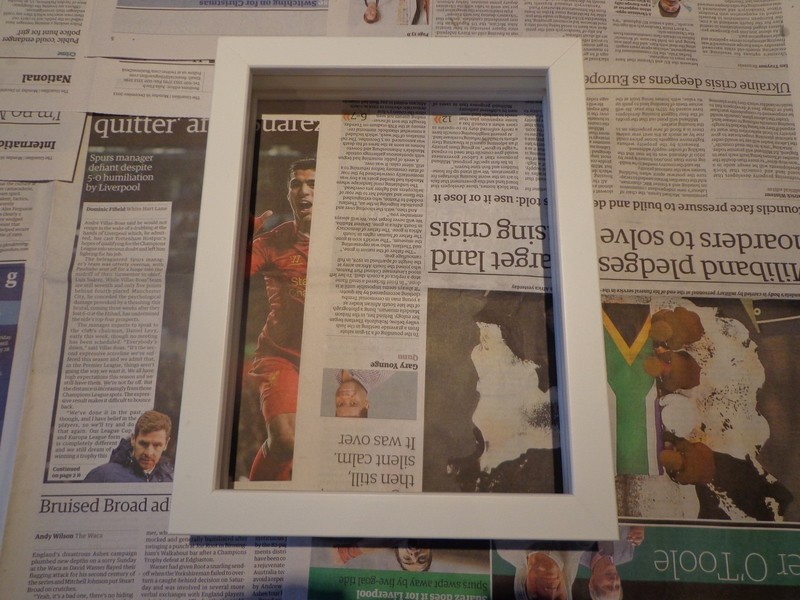
 Step 1
Layout your frame, using an old frame would be better, but as this is a gift I cheated. A deep wooden frame is recommended.
-
 Step 2
Remove the glass and sand down the areas you are going to paint, my frame had a shiny white layer which prevented paint from sticking to it - sandpaper did the trick!
-
 Step 3
Begin to paint! I used a mixture of reds, pinks yellows and gold. (I have an acrylic metallic gold which looked great.) Dont worry too much about it being messy as the beads will cover it up! - using just one colour would also be fine.
tip: paint the inner edges as well as these will be visible! -
 Step 4
Leave that to dry.
-
 Step 5
To make the 3D cactus's for the top print of any pictures you like (I got mine from my tumblr) Stick onto cardboard and cut around. If you have a fiddly bit - such as flowers, you can just stick the image onto a piece of cardboard smaller than it and let the edges of the paper go further than the edges of the cardboard - therefore you avoid having to cut these bit out of cardboard aswell.
Leave enough at the bottom of the cactus to bend around creating a triangle structure to support the cactus (see step 8)
Make 5-6 the more the merrier! -
 Step 6
Stick on a variety of beads and trinkets. I used up things I had lying around such as old necklaces and gems. I used PVA glue for this part which takes a while to dry and I had to do the glueing in two batches. THE MORE PVA GLUE THE BETTER! completely covering the beads in glue is the safest option and the glue is hardly visible once dried so don't worry about it looking messy.
-
 Step 7
In order to make sure my cactus shapes stayed up right, I made cardboard triangles to support them from the back - these I painted a deep red to camouflage them better.
-
Step 8
Now all you have to do is find a picture to frame! I'm leaving this decision to my mum, however I was thinking a nice cactus painting would suit it, or a collage of photos using the same coloured paint as on the frame!
Hope you like it!