


About
Simple button and thread necklace for the purist in you ;)
I looked all over the internet for instructions on how to make a button necklace like this one my mom has - the buttons lie flat and there is no overlapping or weird hardware involved. So I just tried to remembere as much as I could about its construction and experimented away this weekend until I think I got a pretty good technique down.
I chose autumn coloured buttons that actually all came in a little bag I got on sale at Walmart. This necklace is for a craft swap that I'm doing and it's the first time I'm really trying my hand at jewelry of any sort.
It's a bit complicated to explain, but I'll do my best. Here goes:
-
 Marci M. favorited Button Necklace
04 Aug 01:14
Marci M. favorited Button Necklace
04 Aug 01:14
-
 Donita S. favorited Button Necklace
29 Apr 03:11
Donita S. favorited Button Necklace
29 Apr 03:11
-
 Funkinfurdro favorited Button Necklace
24 Nov 06:56
Funkinfurdro favorited Button Necklace
24 Nov 06:56
-
 Step 1
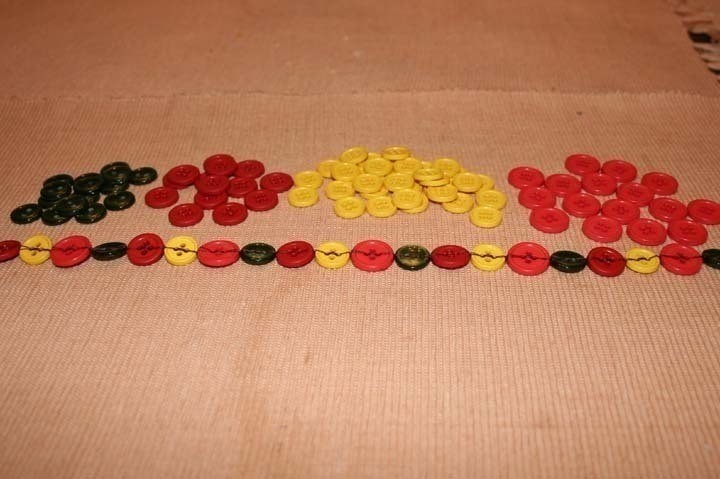
First step is that if your beads are different colours or shapes and you want to do a pattern, lay them all out in the order you want them in.
-
 Step 2
Thread your needle and fold the thread in half so you have two strands all the way down.
-
 Step 3
Tie the two ends to your first button and leave an inch or two for when you want to close it up.
-
 Step 4
So make sure to start with that your thread is coming out the bottom of your button.
-
 Step 5
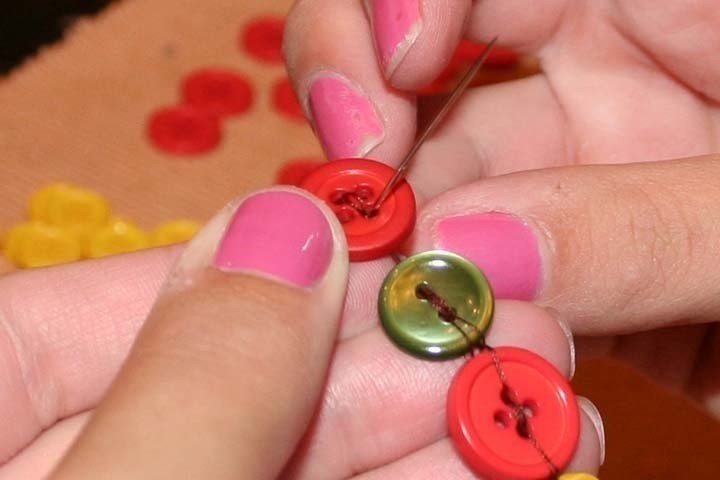
Now thread your next button on up from underneath...
-
 Step 6
and then back through and down again.
-
 Step 7
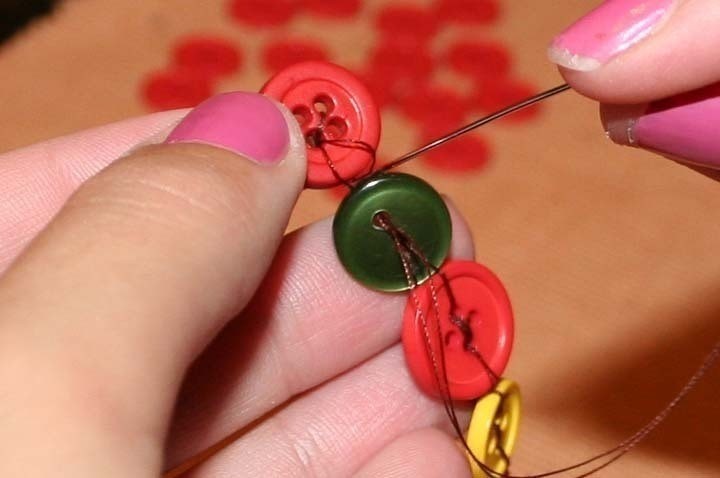
Now come up through that first hole of your button. Don't pull the thread too tight, you need a bit of breathing room for the next couple of steps.
-
 Step 8
So now you want to bring your needle in between the two buttons and put it in between the two threads that is connecting them right now. Again, don't pull toooo tight.
-
 Step 9
OK so now that your needle is on the bottom again, you need to come up through the 2nd hole (closest to the new button) and pull the thread through - again not too tight!
-
 Step 10
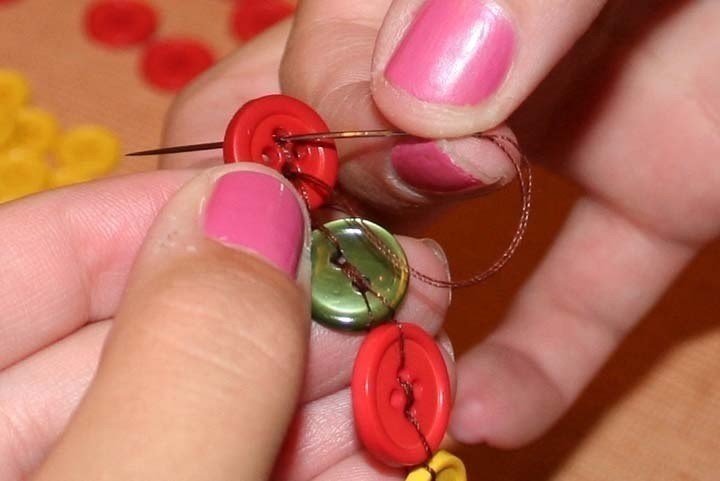
Now you want to take your needle and poke it through the two strands of both the upper and lower connecting threads. Pull the needle right through and now is the time you can work the buttons and the needle to make the threads taught so the buttons sit right up against each other nice and flat.
-
 Step 11
Last step before you start it all over again with your next button: bring your needle back up through the first hole of the 2nd button and back out and down again. Now you're right back to where you began and you can add your next button!
-
Step 12
Since I haven't used jewelry fixin's before, I decided not to start today and just tied the two ends together after I weaved them into each other like the rest. I also found that I had to add extra thread a couple of times so I just knotted it in and cut the ends really short and superglued them down.
-
 Step 13
Here's one last close up of how it looks when you finish. I used 48 of these small/medium sized buttons and used my boyfriend's head as a guide to how big to make it - I wanted my swap buddy to be able to fit it over her head so hopefully her head isn't bigger than his!


Thanks again for sharing, I think you will go very far, keep it up!!