


About
made from melted stuff
This is another idea I wanted to test out for a project I'm doing on a much bigger scale. works out alright... but it's a LOT of work for something of this size so I can't imagine doing it for what I was hoping to use it for!
-
 Brenda A. favorited Butterfly Suncatcher
26 Jun 07:37
Brenda A. favorited Butterfly Suncatcher
26 Jun 07:37
-
 Brigit favorited Butterfly Suncatcher
26 Dec 15:27
Brigit favorited Butterfly Suncatcher
26 Dec 15:27
-
 Emilyp favorited Butterfly Suncatcher
22 Sep 05:43
Emilyp favorited Butterfly Suncatcher
22 Sep 05:43
-
Michelle kim K. favorited Butterfly Suncatcher
13 May 01:04
-
 Spookachtige favorited Butterfly Suncatcher
12 Apr 14:13
Spookachtige favorited Butterfly Suncatcher
12 Apr 14:13
-
 Allie W. favorited Butterfly Suncatcher
22 Feb 05:57
Allie W. favorited Butterfly Suncatcher
22 Feb 05:57
-
 njsnyder62 favorited Butterfly Suncatcher
13 Feb 10:10
njsnyder62 favorited Butterfly Suncatcher
13 Feb 10:10
-
 blufairy favorited Butterfly Suncatcher
07 Jul 05:48
blufairy favorited Butterfly Suncatcher
07 Jul 05:48
-
 Rebecca P. favorited Butterfly Suncatcher
21 Jun 01:11
Rebecca P. favorited Butterfly Suncatcher
21 Jun 01:11
-
 Step 1
pick an image you wanna use. I found a stained glass butterfly online.
you'll need to decide what final size you want your plastic to be, and enlarge it 300%.
I printed both sizes out so I had something to make a pattern from before I shrunk it and afterwards so I could piece it all back together correctly.
-
 Step 2
you'll need to either use the Shrinky Dink plastic, or find a no. 6 plastic lid. I used a casserole lid I had laying around.
-
 Step 3
cut out your pieces and color them... or color them and cut them out. I put my pattern under my plastic and colored the shapes and then cut them out. whatever way works for you.
-
 Step 4
you can melt your pony beads as is, or place them in a form - I used a round cookie cutter on a piece of foil.
-
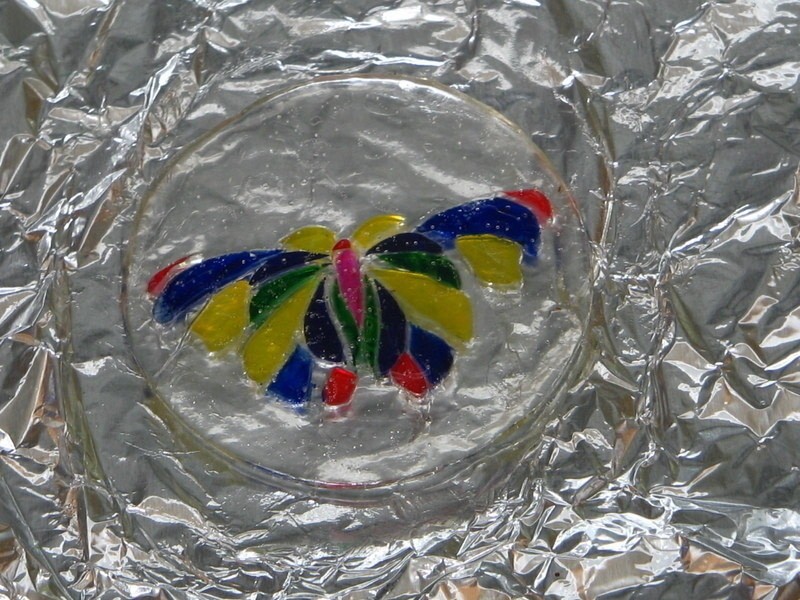
 Step 5
throw them in the oven (400ºF) until all the beads have run together (maybe 10-20 minutes or so - just keep an eye on it) then pull it out and pop it out of the mold, clean up the edges and set on top of your cheat sheet. if you want a hole in it, this is a good time to drill one. I didn't until I finished so I might go back and try to melt it a bit around the edges of the hole with a blow torch... maybe :P
-
Step 6
place your plastic cut outs on some foil, colored sides up, and watch them until they're done shrinking. try to make them as flat as possible so they lay flat on your melted pony bead base.
Sorry no pic! I forgot to take one of them shrinking :(
-
 Step 7
place them how you want them, color side down on the melted bead base. tweezers might help here if you use tiny pieces like I did! carefully place it back in the oven on the foil until the base starts looking melty.
-
 Step 8
pull it out and lay a piece of foil on top of it and press something flat (I used a metal cup) on top to mash the shrunken pieces into the melted beads.
-
 Step 9
once it's cool, flip it over and put it back in the oven on the foil until it looks melty again and then pull it out and mash it again.
-
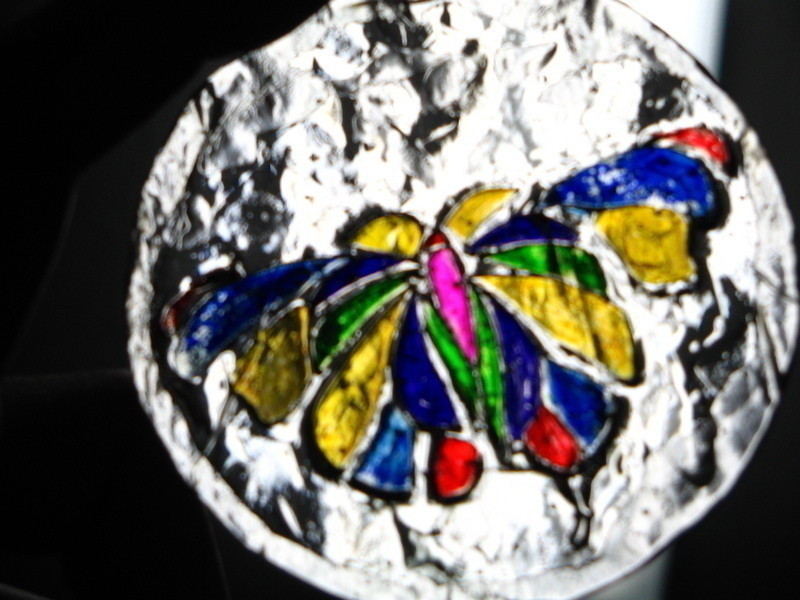
 Step 10
let it cool, string it up, and hang it.


Really? How did I not know this?!
Thanks for the info and the project is AWESOME!