


About
easy but particular!
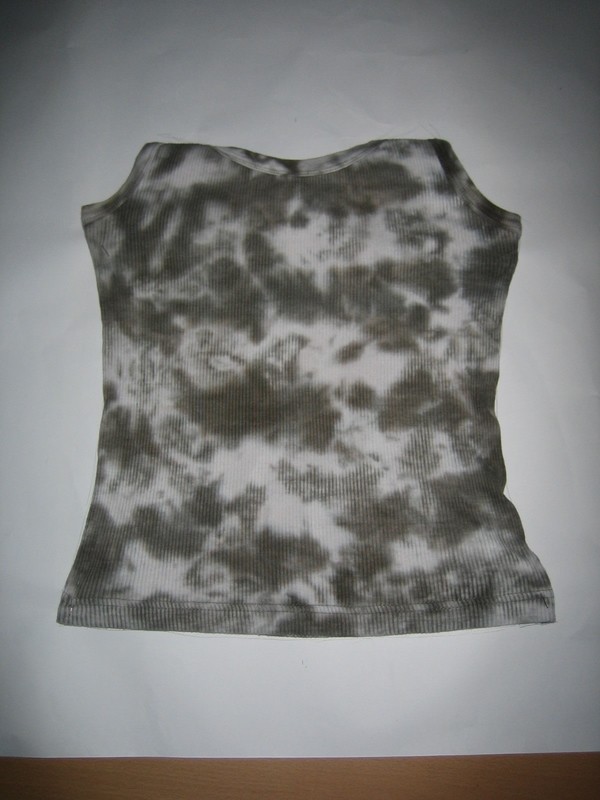
This top was inspired by a top from a lip service collection (Step in Time, Camisole top)... and Beetlejuice! Somebody might know, i´m working on a minicollection just for fun which is beetlejuice inspired (only with himself by now, but who knows what will follow)
so, the most special thing about this top is the insert at the hips which are covered with flounces.
for the straps i used grommet tape that crosses at the back.
for sewing this top i recommend a serger and sewing machine with a twin needle.
i think the costs for this project is about 5 euros!
Tags
-
 Key West Witch favorited Bustled Camisole Top
26 Jun 02:23
Key West Witch favorited Bustled Camisole Top
26 Jun 02:23
-
 Mz.Green Eyed Beauty favorited Bustled Camisole Top
13 Apr 11:33
Mz.Green Eyed Beauty favorited Bustled Camisole Top
13 Apr 11:33
-
 Corvii added Bustled Camisole Top to Tops
13 Jul 22:39
Corvii added Bustled Camisole Top to Tops
13 Jul 22:39
-
 Nymmie M. favorited Bustled Camisole Top
26 Mar 05:23
Nymmie M. favorited Bustled Camisole Top
26 Mar 05:23
-
 Victoria L. favorited Bustled Camisole Top
01 Jan 08:32
Victoria L. favorited Bustled Camisole Top
01 Jan 08:32
-
 Sarah M. favorited Bustled Camisole Top
09 Aug 01:02
Sarah M. favorited Bustled Camisole Top
09 Aug 01:02
-
 Katie M. favorited Bustled Camisole Top
06 Jul 05:08
Katie M. favorited Bustled Camisole Top
06 Jul 05:08
-
 VillainousNinja added Bustled Camisole Top to Goth/Punk
17 Aug 00:25
VillainousNinja added Bustled Camisole Top to Goth/Punk
17 Aug 00:25
-
Vi F. favorited Bustled Camisole Top
07 Feb 23:14
-
 Jackkie added Bustled Camisole Top to Maeve Millay
05 Jan 15:11
Jackkie added Bustled Camisole Top to Maeve Millay
05 Jan 15:11
You Will Need
-
 Step 1
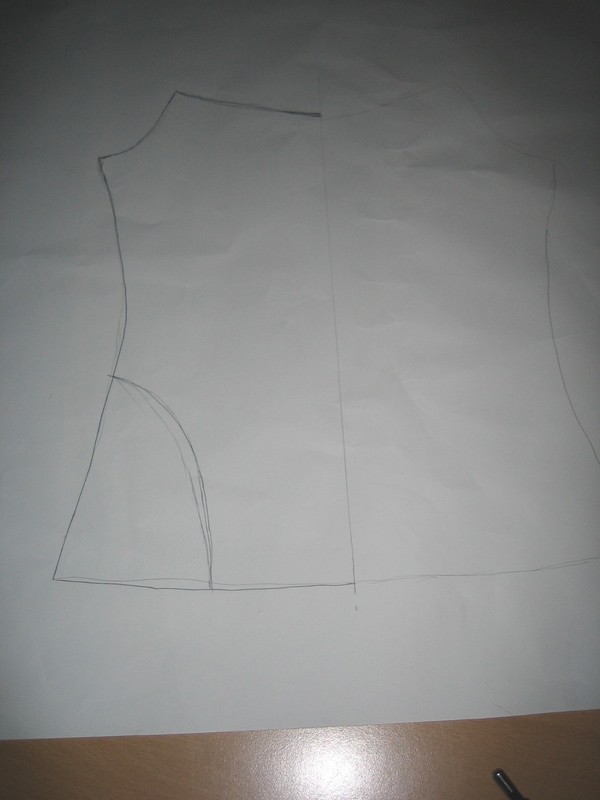
Pin a fitting tank top to some paper and trace around the edges. Measure where the middle of the tank is and mark it. Adjust the two sides to an equal level.
-
Step 2
Decide where you want the insert to be and draw a smooth curve on both sides of the pattern.
-
 Step 3
on one half define the collar and on the other half define the back (for the back, just draw a straight line from the center to under the arm, right angle at the center back).
Cut out; you should have four pieces (front, back, insert front and back). -
 Step 4
Glue together the two insert pieces at the side seams.
Divide the piece in three parts for the flounces.
If you want the top edge of the second and third flounce not to be shown later, mark a cm above your lines. -
Step 5
if you have three pieces, divide each by four and cut from bottom to top. decide how many width you want to add to each flounce. i added 1cm per cut for the small flounce, 1.5cm p. cut for middle flounce and 2cm p. cut for the big flounce. add the width only to the lower edge! you can see it on the pic of step 4.
-
Step 6
now cut
*1 Front piece on fold
*1 Back piece on fold
*2 insert pieces
*2 small flounces
*2 middle flounces
*2 big flounces
*bias tape for pipingSeam allowances: i added 2cm to the lower edges and 0.5cm to all the other edges.
grommet tape as long as you need it or some fabric strips for straps -
Step 7
hem the lower edges of all parts. i flipped over the allowance, used a twin needle (sew on the right side) and cut the excess on the inside after sewing.
-
 Step 8
pin the flounces to the insert and sew the horizontal seams.
-
Step 9
sew the side seams together right sides facing.
-
 Step 10
Insert the flounce pieces (right sides facing).
-
 Step 11
finish the upper edges with piping (out of your bias tape): fold the bias tape in half lengthwise and pin it to the right side of the top (raw edges together). when you sewed, just flip up the tape and you have a finished edge, if it flip back, some handstitches will help to hold it inside.
-
Step 12
pin the grommet tape from the side seams up to the end of the collar and topstitch on both sides.
-
Step 13
divide the back piece by four and sew on the grommet tape at the two outer marks.


I'm not as talented at sewing & would surely screw this up lol ...but its so pretty.