About
Burlap Container Tutorial
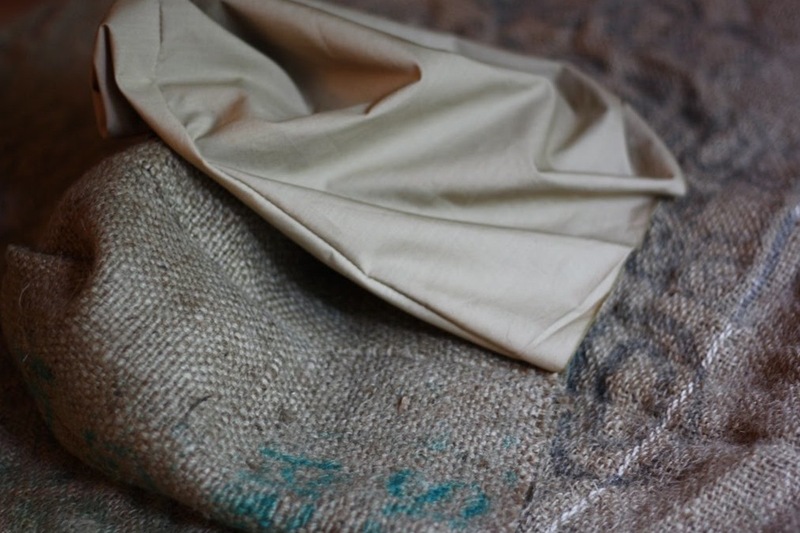
There are so many things you can do with burlap. It's natural, flexible, holds its shape and just a pleasure to work with. Before you start, I recommend washing your burlap sack - it gets nice and soft then.
- KARMA favorited Burlap Container 21 Mar 23:45
-
 kelsi.bunnell favorited Burlap Container
02 Jul 21:37
kelsi.bunnell favorited Burlap Container
02 Jul 21:37
-
 Romana S. favorited Burlap Container
21 Jun 08:12
Romana S. favorited Burlap Container
21 Jun 08:12
You Will Need
-
 Step 1
Determine how big you want your container to be. Multiply the diameter by 3.14 and that will be your circumference - that's how wide your rectangular should be. Then determine the desired height of your container and add half of the diameter (radius) and add one inch for stitching. Mine was about 27" by 16". I used interface but burlap is quite stiff so feel free to skip this. Cut your lining to be the same size.
-
 Step 2
Sew side seams.
-
 Step 3
Place this side seam in the center.
-
 Step 4
Sew the bottom so it looks like brown paper bag.
-
 Step 5
Turn your container and your lining right sides out. Align side seams together and begin sewing the top edges together.
-
 Step 6
It should look like this. Then insert the lining inside and sew along the top for a finished look.
-
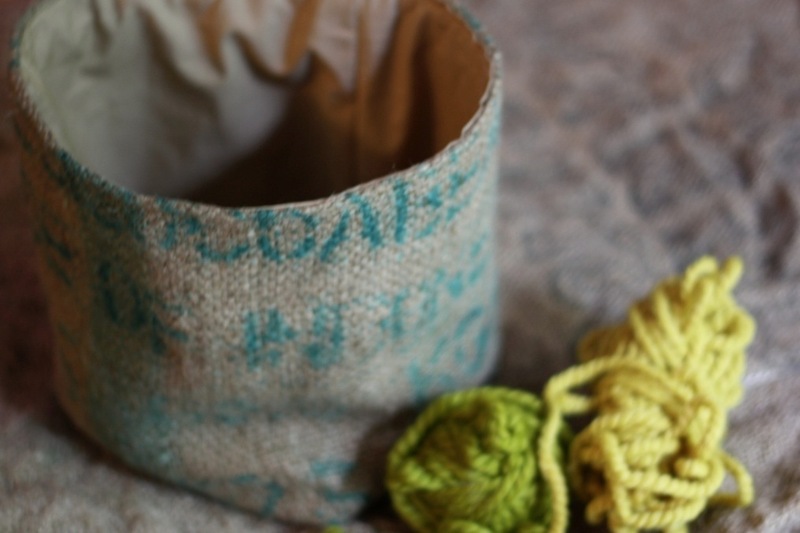
 Step 7
Done! I love how it turned out!