


About
Bunny slippers
Cute and simple floppy bunny slippers. I wanted to make them odd so I made sure they were floppy with mismatched eyes:D
This is version one, I'm adding another version of bunny slippers that are sewn. These are mostly non sewn.
Their very comfy and warm, so if you want summer slippers I suggest not using fleece:D
Tags
-
 DocDoolittle favorited Bunny Slippers Version 1
30 Jul 02:02
DocDoolittle favorited Bunny Slippers Version 1
30 Jul 02:02
-
 Sharron S. favorited Bunny Slippers Version 1
04 Dec 13:39
Sharron S. favorited Bunny Slippers Version 1
04 Dec 13:39
You Will Need
-
 Step 1
First trace your feet on a piece of cardboard, then trace around those outlines again and round out the ends. Add a little extra room to give some wiggle space:D
-
 Step 2
Cut out the cardboard shapes. They don't need to be exact, just close enough that they don't look like shoes to different pairs.
Remember to mark which foot is which.
-
 Step 3
Now if you use thin cardboard your going to need to tape them so their slightly sturdier. Mine were bent in the middle so I taped up the middle and cross wise.
-
 Step 4
Next measure out your fabric. Make sure that one piece covers all the way around. You want to glue the fabric, or sew it. I used glue for this version. You don't want any cardboard to show and should end up with what looks like a seam along the sides. Again it doesn't have to be perfect. Make sure to leave one side open, preferably the top end where your toes go. This way if you mess up while adding stuffing its easy to cover.
-
 Step 5
This is what they should look like. Just pieces of board covered in fabric. Next you want to add the stuffing. Make sure to spread it throughout the sole. You don't want clumps. You also don't want to be able to feel the cardboard. Add what feels comfy to you:D
-
 Step 6
Now the next part is simple. Place your foot on the sole, measure how much fabric you want to cover your foot, cut it out and pin it in place. I choose to go halfway up my feet. If you want to stuff them later make sure to cut two for each foot. Mine are floppy so I didn't. Glue/ sew the top to the sole, make sure you round it like a slipper. Also make sure there no gaps.
-
 Step 7
You now have two basic slippers:D
-
 Step 8
Now it's time to make the ears:D
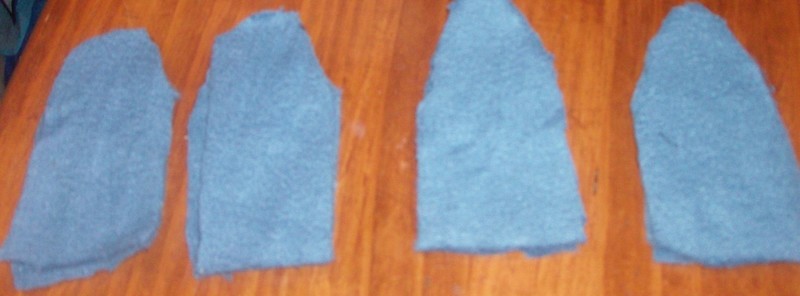
Cut four similar sized pieces of fabric. Make them slightly bigger than you want because they do shrink when finished.
-
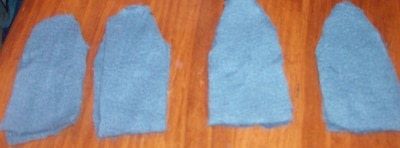 Step 9
Cut the four pieces into matching ear like pieces, with rounded tops. Turn the fabric wrong side up and stitch up the sides. Make sure to leave the bottoms open and then stuff the ears.
-
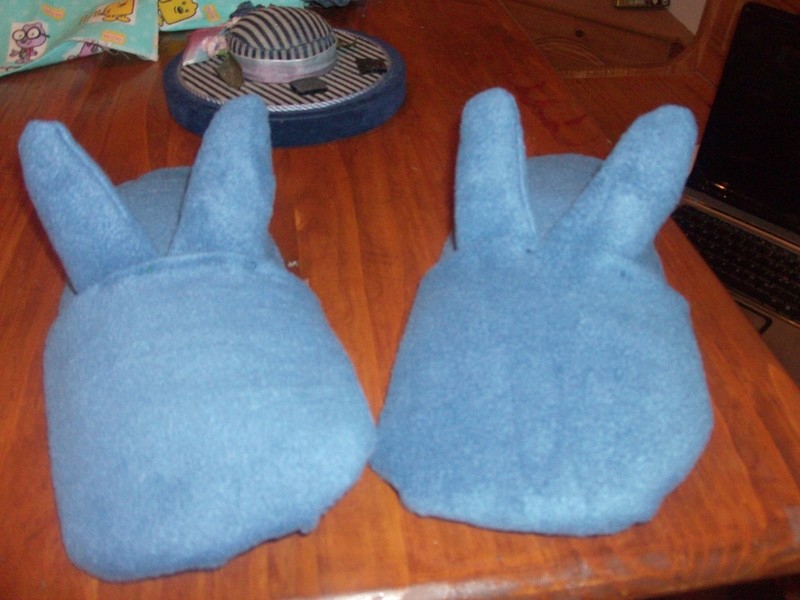
 Step 10
Once stuffed attach them to the slippers. Sew the ears underneath the slipper top, How you place them will determine how they look.
The slippers should look like this when done.
-
 Step 11
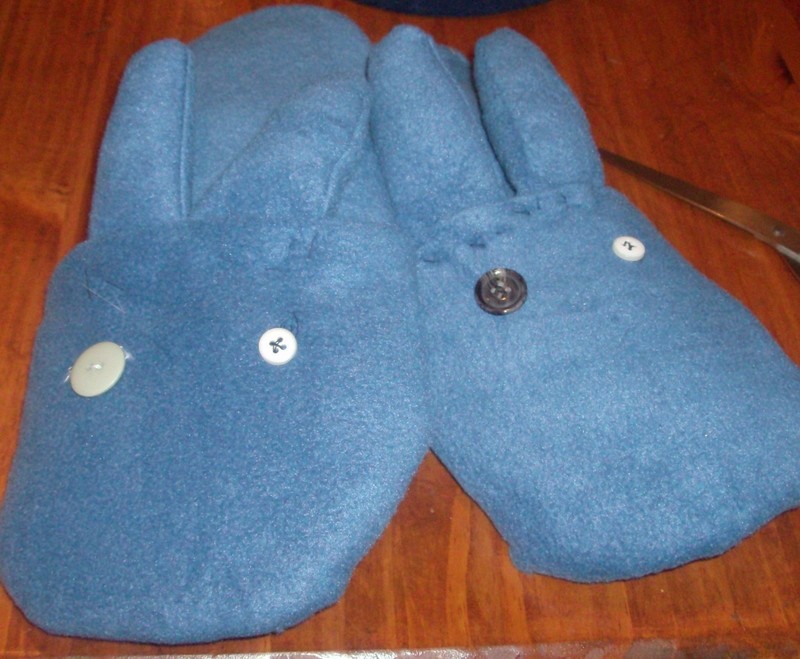
Decorate as you like:D I decided to mismatch buttons for the eyes and added a puffy tail in the back but you can decorate any way you like.
I wanted them to look odd and floppy so I'm happy with how they look:D


Check them out:
http://tinypic.com/r/10mlx6t/7