


About
cute quick gift
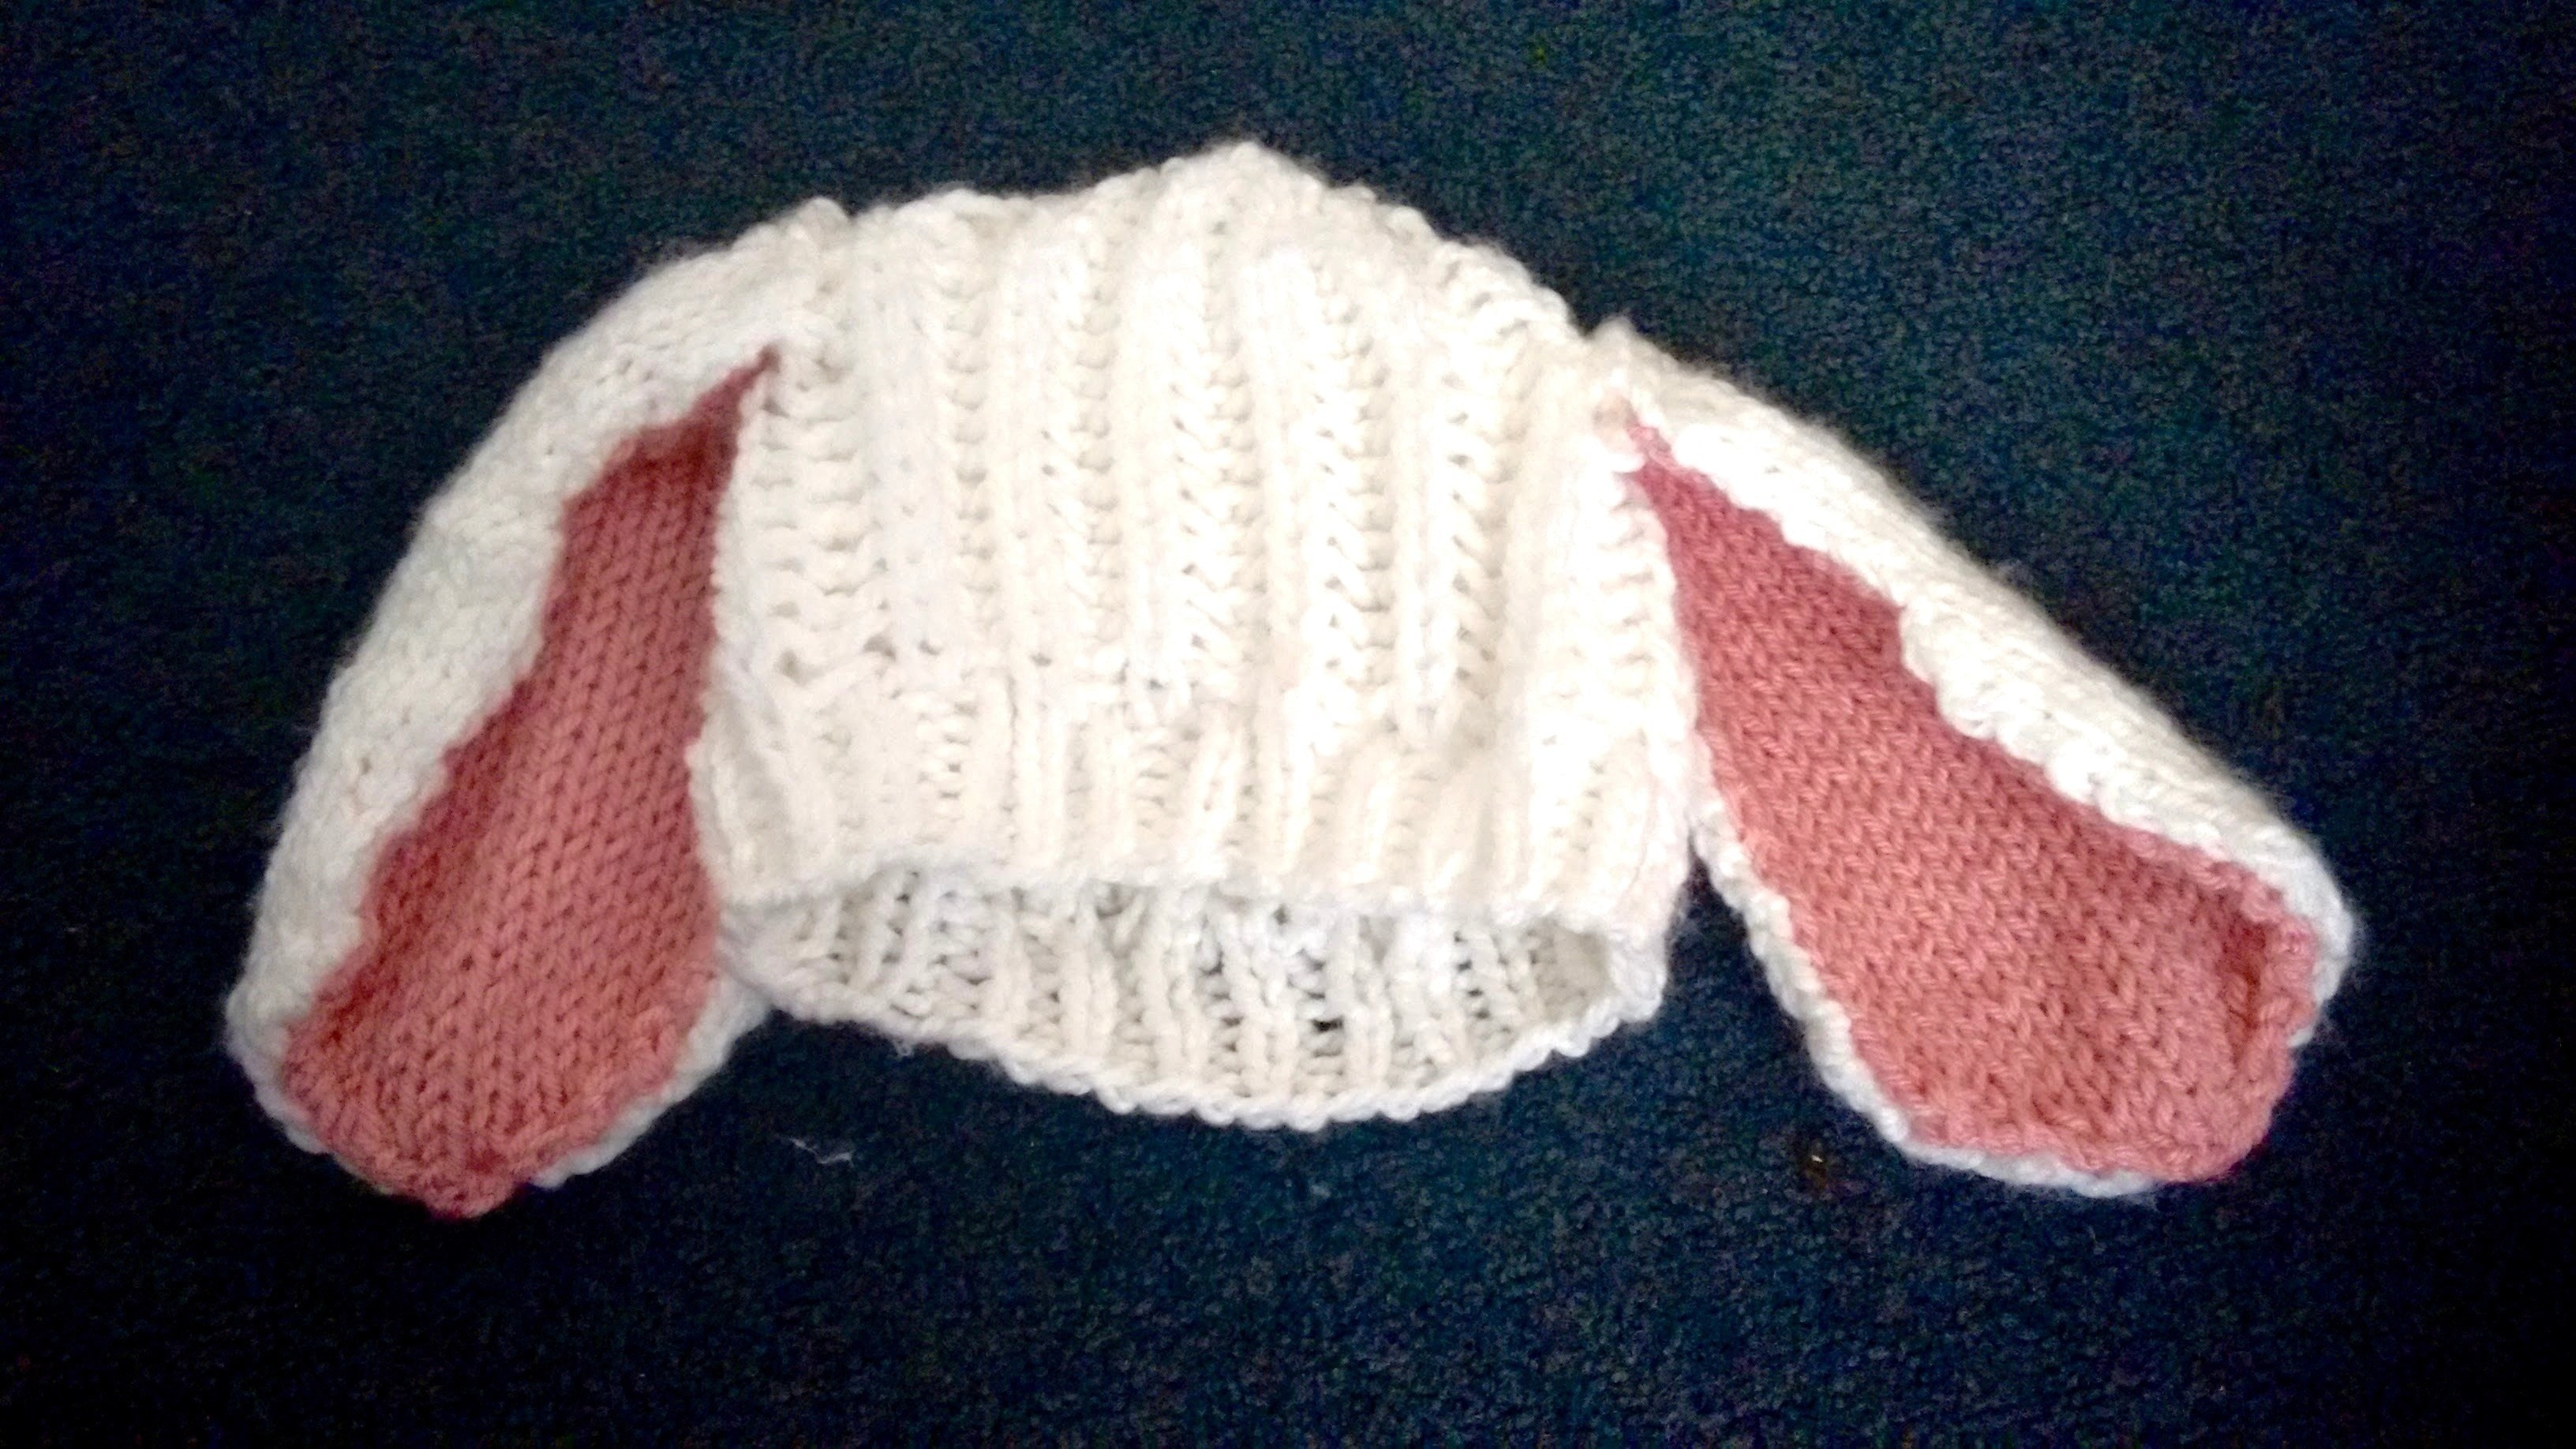
I am a terrible roommate and forgot to give one of my friends a birthday present. So I made this.
Tags
-
 Maria commented on Bunny Beanie
09 Mar 14:27
Maria commented on Bunny Beanie
09 Mar 14:27
-
Maria favorited Bunny Beanie
09 Mar 14:26
-
Maria added Bunny Beanie to Easter Party
09 Mar 14:26
-
 ZombieUnicorn favorited Bunny Beanie
14 Jan 21:43
ZombieUnicorn favorited Bunny Beanie
14 Jan 21:43
-
 Emmy S. favorited Bunny Beanie
12 Aug 02:57
Emmy S. favorited Bunny Beanie
12 Aug 02:57
-
 cornelia.featherstone favorited Bunny Beanie
05 Mar 21:14
cornelia.featherstone favorited Bunny Beanie
05 Mar 21:14
-
 Carla B. favorited Bunny Beanie
24 Feb 18:35
Carla B. favorited Bunny Beanie
24 Feb 18:35
-
 Pramodini Arela published her project Bunny Beanie
24 Feb 18:06
Pramodini Arela published her project Bunny Beanie
24 Feb 18:06
-
Step 1
Kit the hat base.
With white yarn, knit the hat base. You can use any basic beanie pattern, but I used this one.https://www.youtube.com/watch?v=JPsH0FOQQbs
*note, the ribbed portion was knit with the size 13 and then the body with the size 15
I also got away with finishing without the DPN's so it should work for you. -
Step 2
Knit Inner ear for left
Using the pink and the size 13 needle, knit the inner ear for the left ear.Cast on 6 sts.
Row 1: Knit.
Row 2 (Increase row): Kfb in each st across - 12 sts at the end of this row.
Rows 3-12: alternate between Knit and Purl for stockinette.
Row 13: Kfb in first stitch, continue as before for 10 sts, Kfb in the last stich
Row 14: repeat row 13
Row 15-29: continue alternating between Knit and Purl
Row 30 (Decrease row): K2tog, k8, k2tog - 10 sts at the end of this row. (should have 16 ss)
Row 31 (Decrease row): K2tog, k6, k2tog - 12 sts.
Row 32 (Decrease row): K2tog, k4, k2tog - 10 sts.
Row 33 (Decrease row): K2tog, k2, k2tog - 8 sts.
Row 34 (Decrease row): (K2tog) twice - 6 sts.
Row 35: (Decrease row): (K2tog) twice - 4 sts.
Row 36: (Decrease row): (K2tog) twice - 2 sts.
Row 37: K2tog.
Do not bind off. Cut yarn, leaving a long tail. Draw tail through remaining st and knot securely.
(based on pattern from Lionbrand: http://www.lionbrand.com/patterns/L0214AD.html) -
Step 3
Repeat step 2 for inner ear right
-
Step 4
Repeat step 2 for outer year left and right with white yarn
-
Step 5
Attach inner and outer ears together.
Place inner pink right on outer pink right with the stockinette pattern facing outwards (the v's not the garter). Sew together using pink yarn grasping only the garter portion of the outer ear so that it doesn't show through on the white side. -
Step 6
Repeat 5 for the other ear
-
Step 7
Attach ears.
Place on models head and gauge where to place the ears. Mine were toward the front about a handswidth apart. The backs of the ears are folded under about 1 inch.


