


About
Create your own style
Always wanted a bracelet made out of fabric with that cute picture you made of your pet? Maybe your boyfriend? Or that gorgeous pattern you found a month ago..
Make something with it!
Also check out my other how-to with printed fabric:
http://www.cutoutandkeep.net/projects/make-a-pouch-with-your-own-fabric
Please fav. if you like!
-
 Key West Witch favorited Bracelet With Own Printed Fabric
05 May 05:35
Key West Witch favorited Bracelet With Own Printed Fabric
05 May 05:35
-
 Sarah Sylvia S. favorited Bracelet With Own Printed Fabric
25 Jul 03:01
Sarah Sylvia S. favorited Bracelet With Own Printed Fabric
25 Jul 03:01
-
 Uri u. favorited Bracelet With Own Printed Fabric
13 Jul 10:39
Uri u. favorited Bracelet With Own Printed Fabric
13 Jul 10:39
-
 Step 1
Spray a piece of printerpaper with glue-spray. Let dry for a while.
Stick it on a piece of white fabric (cotton).
Cut off the excess fabric.
(You don't want to get the frayes into your printer.)
-
 Step 2
Put the paper/fabric thingy in the papersection of your printer.
Print strokes of your picture/pattern on the setting 'normal paper'. I printed the strokes aprox. 6 cm wide. And 20 cm long. But it depends a bit on how big your wrists are.
Let the fabric dry a while after printing.
This step only works with a inktjet printer. A laser printer won't work
-
 Step 3
Cut out a stroke.
This doesn't have to be a clean cut -
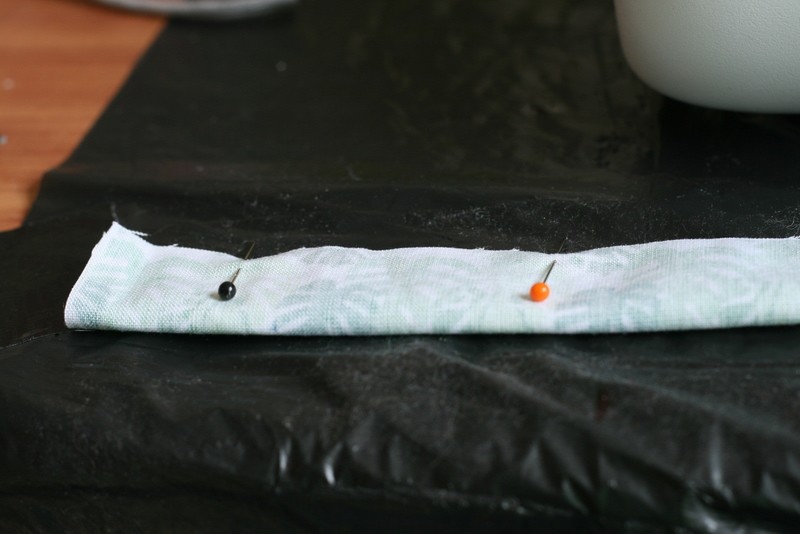
 Step 4
Fold in half lengthwise with the right sides together, and pin down.
-
 Step 5
Sew! ^^
Maybe back and forth a few times to add more strength -
 Step 6
Now this part is a bit of a pain in the ass.
Somehow we have to turn the right side out again. I did it with a lot of frustration and a chopstick.If someone knows a better way to do this, PLEASE LET ME KNOW! xD
-
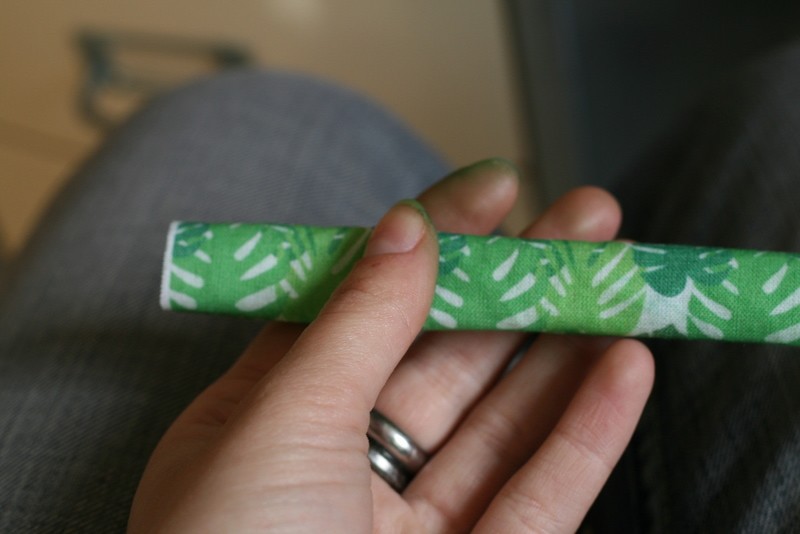
 Step 7
Yay! We did it!
Note: If you look at my fingers you see that I'm turning in to the Hulk. This is what happens if your not patient enough to let the fabric dry first.. ^^'
-
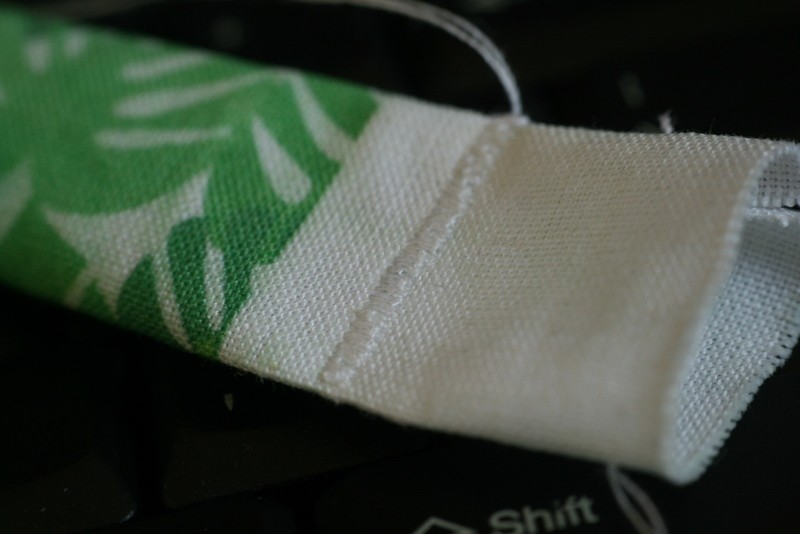
 Step 8
Now, using a small zig-zag stitch, sew each end, cut off excess fabric and finish with a clear nail polish to prevent fraying.
-
 Step 9
Sew a buttonhole on one side big enough to fit your button through.
It helps a lot if you have a option for this on your sewing machine. If not, I recommend that you look for a how-to on the internet for this.
I also used clear nail polish here btw.
-
 Step 10
Sew your button on the other side of the almost-done-bracelet.
(I know, different bracelet all of a sudden =P The one I used for the tutorial is still not finished xD)
-
 Step 11
And we're done! =D
Don't pay attention to my savaged hand. ^^' I love to rub my cat on his belly, but sadly he doesn't like it that much.
Have fun with your new bracelet and show me your version if you made one.
Tips, tricks or questions?
Let me know, and I'll try to give you a quick answer. =)


Sorry I didn't include that step. =P
about the trick of turning, you can use a safety-pin , only be sure that you can remove it, so you must start at the open site, to pin him above and then turn it , it much easyer, you always can use a thread too , on the closed site that you have sewed on the inside closed site, and then turning. Hope you understand this.
Let me know, then i try to tell you it in more steps.;-D
thanks for sharing and the great how to, very happy with this.;-D