

About
How To: Boy Cut Panties
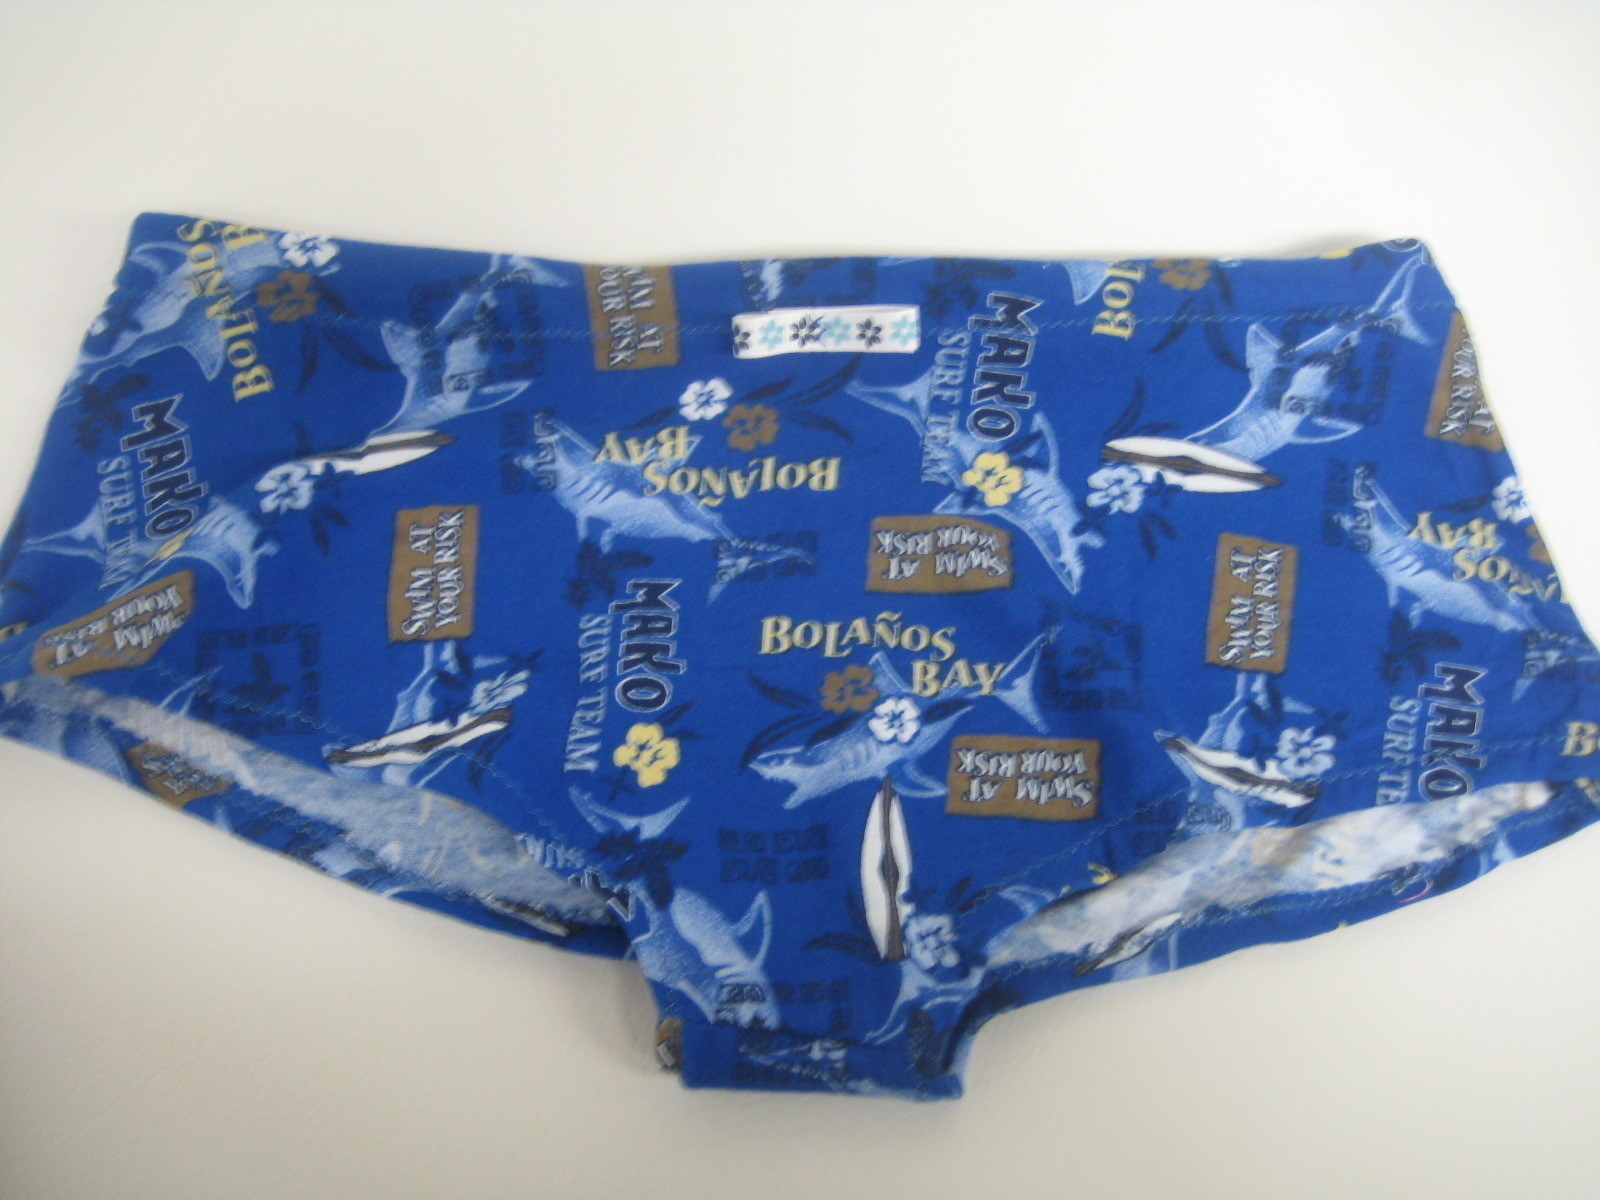
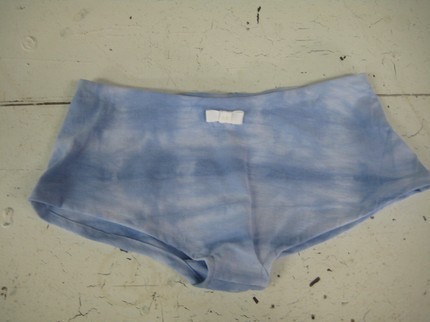
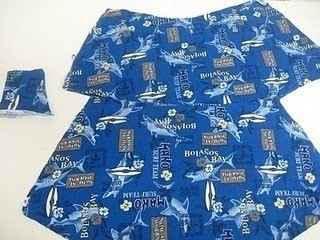
Remember these from Project Upcycle? Do you want them? I've already sold these ones, but I can show you how to make your own. Yay!
-
 Alma added Boy Cut Panties to Lingerie
03 Jul 08:49
Alma added Boy Cut Panties to Lingerie
03 Jul 08:49
-
Alma commented on Boy Cut Panties
14 Jun 23:04
-
 Key West Witch favorited Boy Cut Panties
07 May 02:39
Key West Witch favorited Boy Cut Panties
07 May 02:39
-
 SlinkSkull favorited Boy Cut Panties
22 Jul 00:14
SlinkSkull favorited Boy Cut Panties
22 Jul 00:14
-
 Karina R. favorited Boy Cut Panties
28 Jun 12:06
Karina R. favorited Boy Cut Panties
28 Jun 12:06
-
 amanda the wizard favorited Boy Cut Panties
12 Jun 05:44
amanda the wizard favorited Boy Cut Panties
12 Jun 05:44
-
crossdressing added Boy Cut Panties to Panties, Any Lingerie
02 Mar 13:04
-
crossdressing added Boy Cut Panties to Slut wear, skirts, dresses
02 Mar 13:02
-
crossdressing favorited Boy Cut Panties
02 Mar 13:02
-
veronica f. favorited Boy Cut Panties
20 Dec 14:06
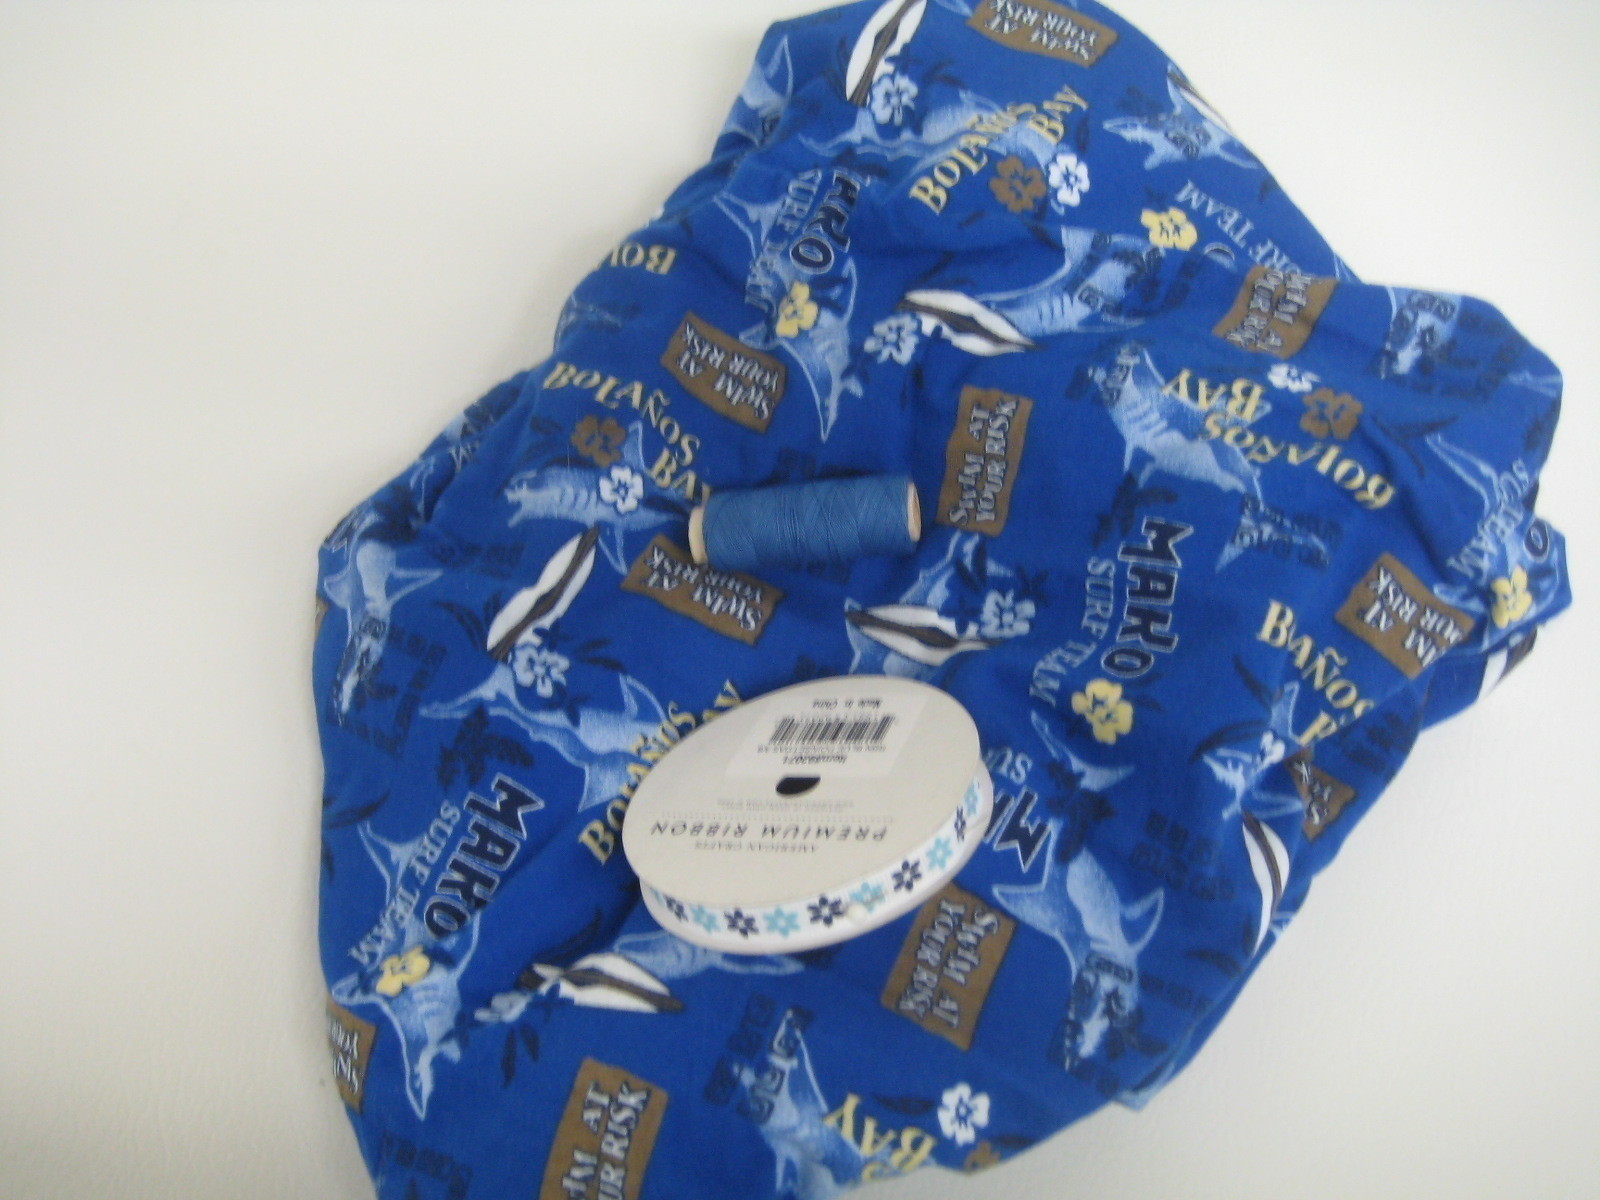
You Will Need
-
 Step 1
1) Cutting out the pattern
The pattern for medium size is available using the links below:
- <a href="http://attachments.cutoutandkeep.net/boycutback.pdf">boycutback.pdf</a>
- <a href="http://attachments.cutoutandkeep.net/boycutfront.pdf">boycutfront.pdf</a>If you need a size other than medium, you can up or downsize from this pattern
- cut out one front
- cut out one back
- cut out one crotch piece (included on the boycutfront.pdf) -
 Step 2
Finish the seams
- Because you're working with knit, it won't fray, but I like to finish some of the seams just for appearance sake. Use a zigzag to finish the short ends of the crotch piece.
- I set my machine to zigzag for the entire process in fact. It's much nicer to sew a zigzag on knit fabric. This allows the knit to stretch properly and since underwear undergoes a lot of stress, zigzag is best! -
 Step 3
Attach the pieces
- Sew the front and back (right sides together) at the crotch seam.
- Place the crotch piece (wrong sides together) centered in between the front and back pieces. Fold the leg seams down twice to make a hem. Pin and then stitch. This should secure the crotch piece in properly. If it doesn't quite fit, it's knit, it'll stretch! -
 Step 4
Side Seams and Top Casing
- fold your front and back pieces so that the side seams are matched (right sides together). Stitch side seams.
- Fold down your top casing 1/4 of an inch and press. Then fold down another inch to form a casing. Stitch around the edge making sure to leave a few inches open to insert the elastic. -
 Step 5
Insert Elastic and Decorate
- you might want to try on your pair of boy cuts in order to get an accurate measurement. Since I'm making these to stock in my shop, I measured my own hips. Remember that these panties fit low (around the hips) when measuring.
- insert elastic into casing using safety pins. Sew elastic together and then sew the casing opening shut.
- Decorate however you like!


Thank you very much in advance
The pattern is available there.
Happy sewing!
Thanks for sharing the tutorial with us!