


About
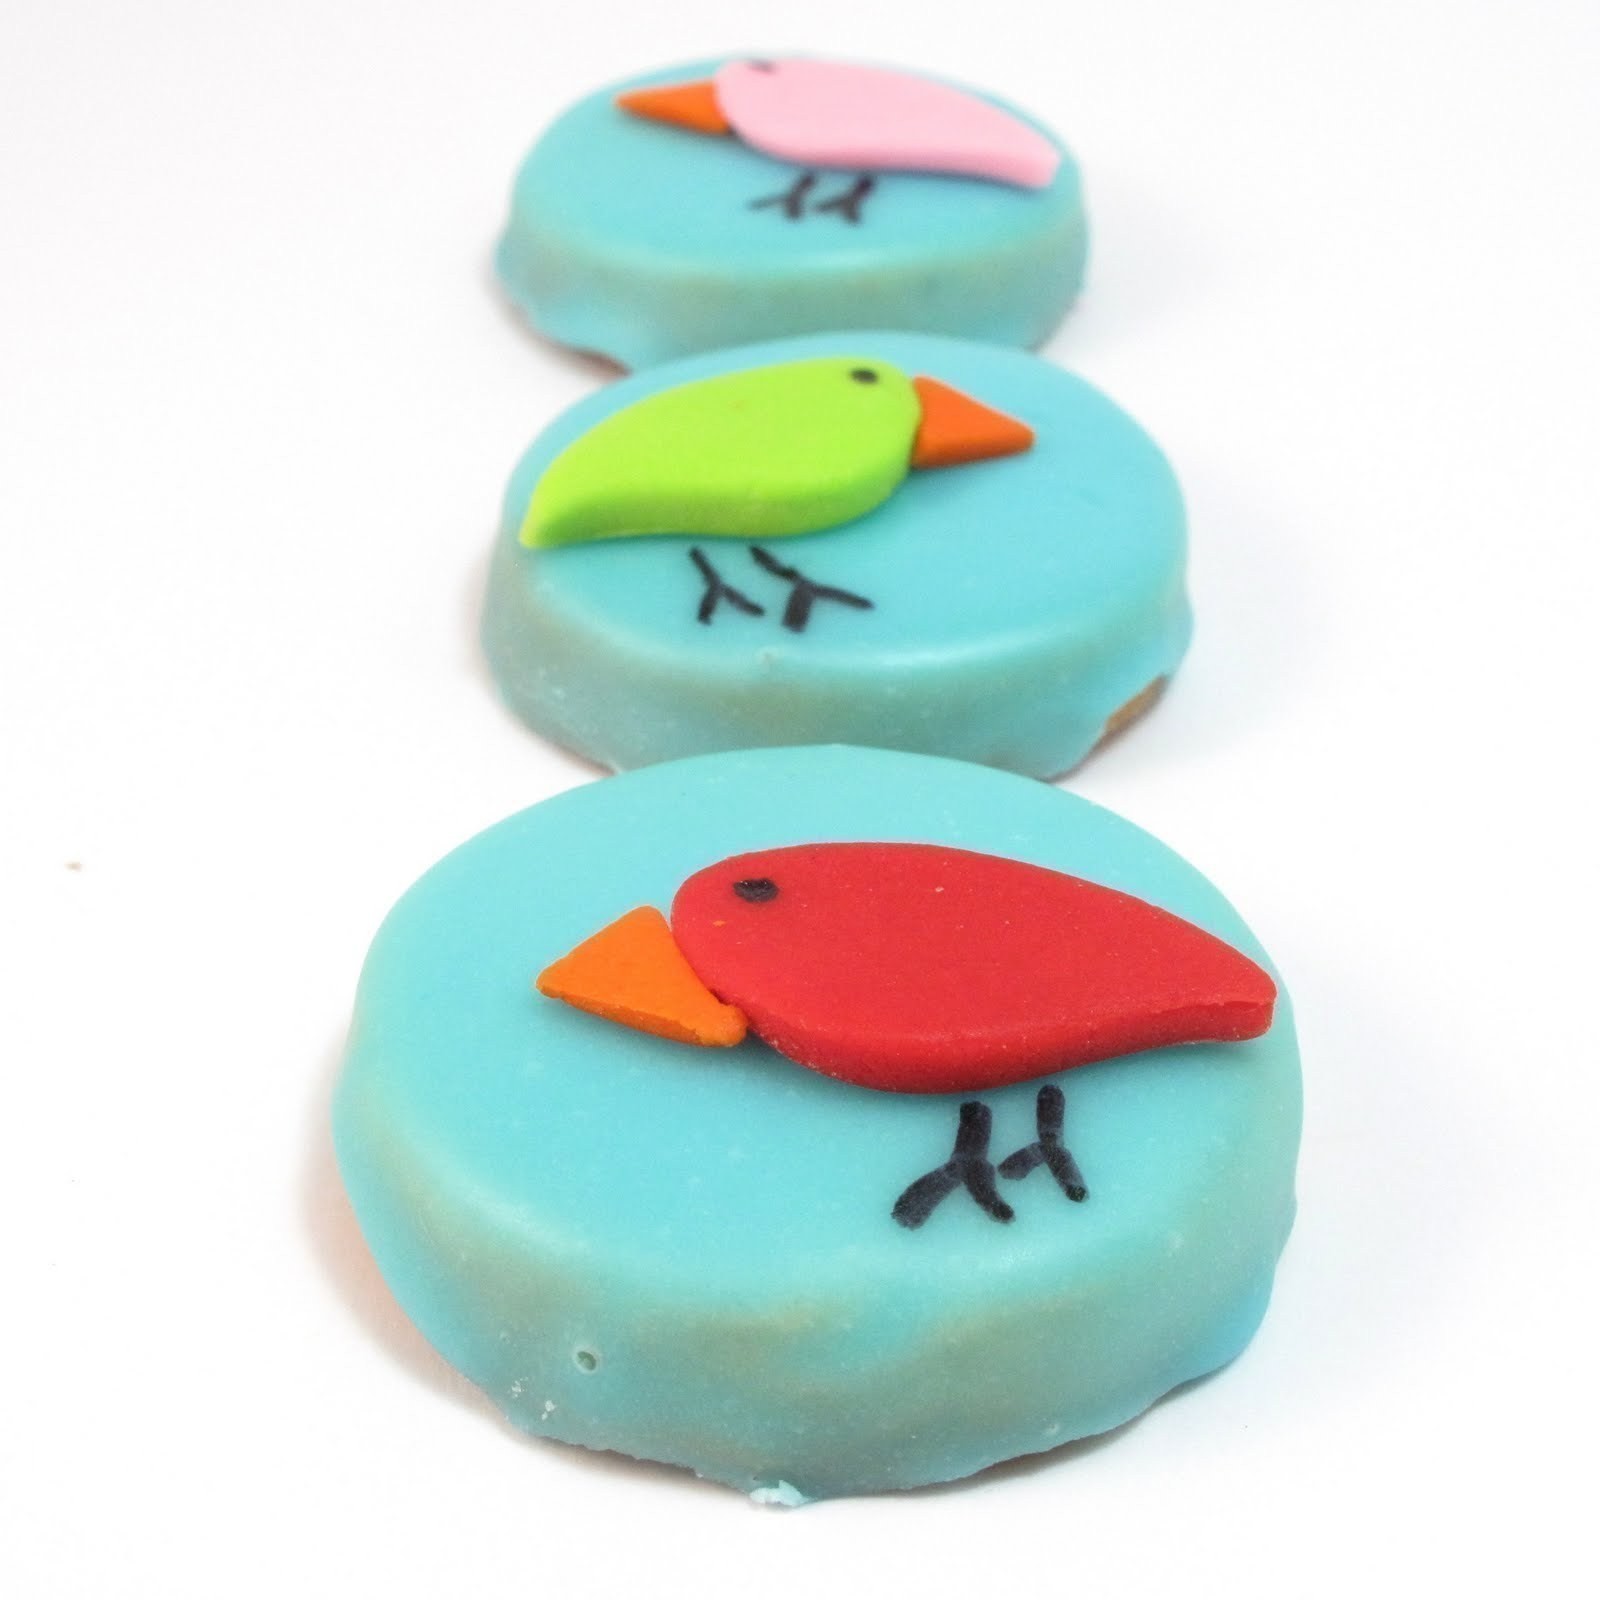
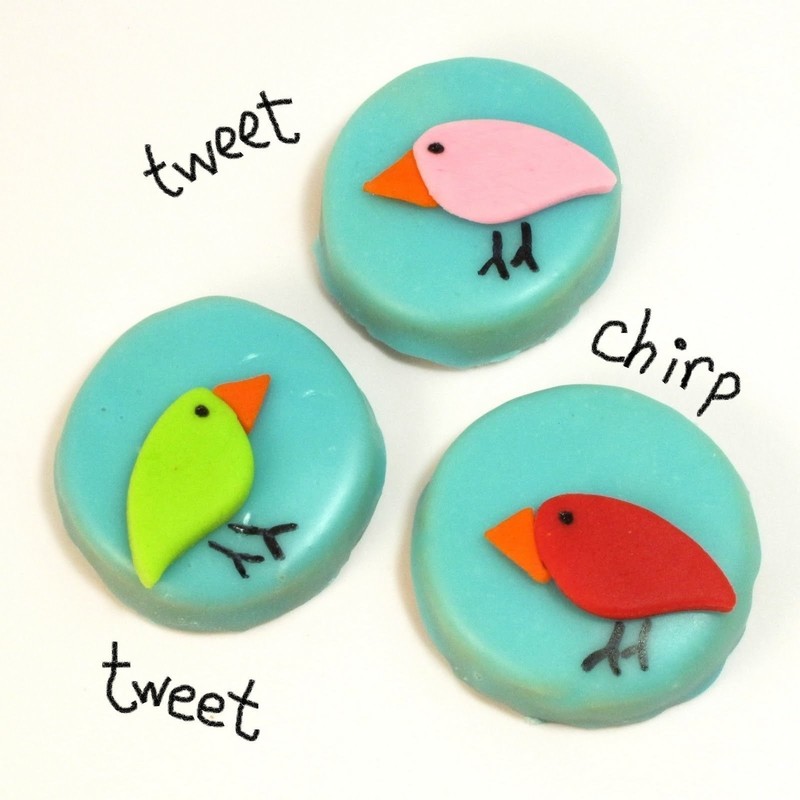
Poured sugar icing and some birdie cookies.
These birdies are the result of my experimenting with poured sugar icing, that is, an icing you pour rather than spread or pipe. Usually, poured sugar is used to coat petits fours, but I used it to coat cookies.
the pros of poured sugar icing:
quick, easy, tasty, beautiful smooth coat
the cons:
I felt like I wasted a lot
Overall, I'd say poured sugar is a good way to easily coat cookies without the muss and fuss of whipping meringue, preparing frosting bags, piping...
Tags
-
 Key West Witch favorited Birdie Cookies
01 Jul 00:39
Key West Witch favorited Birdie Cookies
01 Jul 00:39
-
 mmotse03 favorited Birdie Cookies
07 Mar 19:40
mmotse03 favorited Birdie Cookies
07 Mar 19:40
-
 Brian L. favorited Birdie Cookies
23 Sep 05:45
Brian L. favorited Birdie Cookies
23 Sep 05:45
-
 hela.franczuk favorited Birdie Cookies
23 May 22:21
hela.franczuk favorited Birdie Cookies
23 May 22:21
-
 Johnna C. added Birdie Cookies to DIY I Need to Try!
09 Apr 04:35
Johnna C. added Birdie Cookies to DIY I Need to Try!
09 Apr 04:35
-
Johnna C. favorited Birdie Cookies
09 Apr 04:35
-
 sandra m. favorited Birdie Cookies
05 Jan 23:56
sandra m. favorited Birdie Cookies
05 Jan 23:56
-
 itscthere favorited Birdie Cookies
25 Apr 16:53
itscthere favorited Birdie Cookies
25 Apr 16:53
-
 Naomi D. favorited Birdie Cookies
27 Nov 17:07
Naomi D. favorited Birdie Cookies
27 Nov 17:07
-
Ruth E. added Birdie Cookies to Baking
28 Sep 22:29
You Will Need
-
 Step 1
how to coat cookies with poured sugar icing:
In a bowl, blend with a whisk:
1 cup confectioner's sugar
2 tsp light corn syrup
2 tsp milk
a drop of coloring, if desired (I used Sky Blue Americolor soft gel paste)Add more milk, 1/2 tsp at a time until desired consistency. Your icing should be thin enough to pour, but not so thin it drains off your cookie totally. It should have a slight thickness, but not so thick it sits on your cookie. You can add confectioner's sugar or milk to thicken or thin, respectively. Line a baking tray with wax paper and place a wire rack on the tray. Lay cookies on rack and use a small spoon to pour icing over each cookie, making sure the icing falls over the sides, encouraging with the back of the spoon as needed. Like I said, you'll see a lot of waste falling from the cookie. So sad. Let the sugar dry several hours or overnight before decorating.
-
 Step 2
how to make birdie cookies:
*Find fondant in the baking aisle of the craft store. Find the cutters there, too. The leaf will likely be the smallest in a set of cutters (you can also make these cookies with the larger cutters). For coloring, I used Americolor soft gel pastes (Sky Blue for the background, Red, Orange, Electric Pink and Electric Green for the birds) and a black Americolor Gourmet Writer.
-
Step 3
step one: prepare your cookies
Bake cookies as directed by recipe using the circle cutter (or any desired shape). Let cool completely. Add a drop of coloring, if desired, to the poured sugar icing and use to coat cookies (see above). -
Step 4
step two: prepare your fondant
Take about an egg size chunk of fondant (or less, depending on how many cookies you have) and tint a piece for each color you need by adding drops of food coloring and kneading very well. Start with one drop and add more as desired. If fondant gets too sticky from overhandling, simply let sit uncovered at room temperature for about 15 minutes until easily pliable. -
Step 5
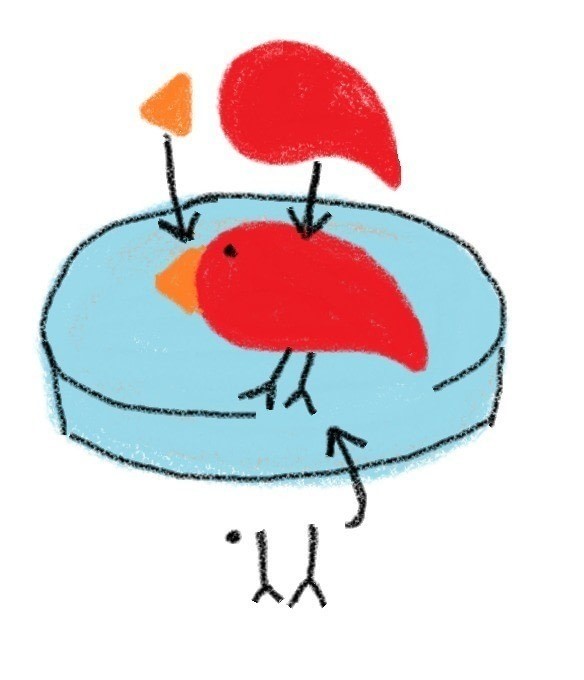
step three: prepare your birdie pieces
Roll out fondant between two pieces of wax paper or on a surface dusted with confectioner's sugar. For each bird, cut out a leaf shape in desired color. With a sharp knife, cut out a small triangle for a beak (I used orange for all the beaks, though I think yellow might look better. I just happened to already have orange fondant.) -
 Step 6
step four: assemble your cookies
Dab corn syrup on the back of the birdie pieces to adhere to the cookie (you might want to arrange the beak and birdie shape first to see where they will go). With the marker, draw a dot for an eye and two upside down "Y"s for legs.


The cookies are beautiful and you've given me a fantastic idea for Valentine's Day cookies!
Regarding the icing; I design and decorate a lot of cakes. I just recently started using poured icing and plan to play with is some more as I wasn't too happy with my first attempt. I wanted to let you know what you could do to keep from wasting or throwing out the leftover icing.
I would omit the wax paper altogether and just let the icing drip onto the cookie sheet. Once you ice some cookies, you can put the cookie sheet in the oven (at a very, very low setting) and melt the icing. Pour it into a small bowl, let it cool until it's the consistency desired, and continue using!
Pocket full of Sunshine, sorry for the late reply. I've had limited email access the last week due to travel and illness, so I haven't checked any COAK notices. I did not know I had comments here. I only use the free Microsoft Paint program that came with my computer. I don't have Photoshop, though one day... one day I shall own photoshop! Not sure if you can Direct message on COAK but you're always welcome to contact me that way, or if you click on my blog, I have contact and email information. I check email more regularly and you are always welcome to email me.