


About
Create this fruity necklace to add a splash of colour to any summer outfit.
-
 Key West Witch favorited Berry Nice Necklace
08 Aug 03:04
Key West Witch favorited Berry Nice Necklace
08 Aug 03:04
-
Key West Witch added Berry Nice Necklace to Jewelry
30 Jun 04:50
-
 TinyTessieG added Berry Nice Necklace to Jewellery Sets
23 Sep 22:44
TinyTessieG added Berry Nice Necklace to Jewellery Sets
23 Sep 22:44
-
 LaRissa F. favorited Berry Nice Necklace
17 Sep 07:17
LaRissa F. favorited Berry Nice Necklace
17 Sep 07:17
You Will Need
-
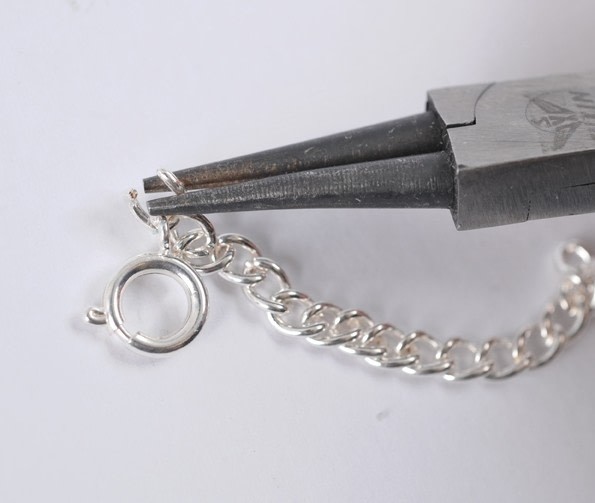
 Step 1
Measure and cut 41cm off your chain. With your pliers open the last loop of the chain and attach the bolt ring, close the loop, repeat on the other end to add the tag.
-
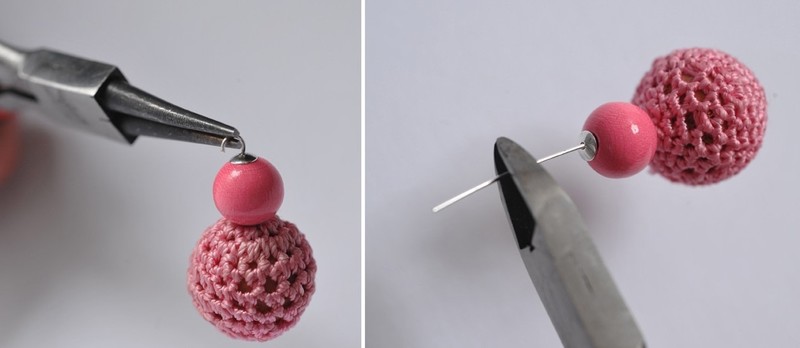
 Step 2
You should now make 45 beaded headpins. To add your different shades of pink beads to the headpins, slide one small plain cup, then the beads of your choice followed by another plain cup after the beads onto the headpin. With the cutting part of your pliers, trim the headpin approximately one centimetre above the plain cup, With the round nose part of your pliers bend into a loop. To create the chunky style, add a few beads of different sizes and shades to some headpins. Always put the plain cups on either end of the headpin to create a more professional look. With your 15mm crimson wood beads, only use one bead per headpin, with the cups either side.
-
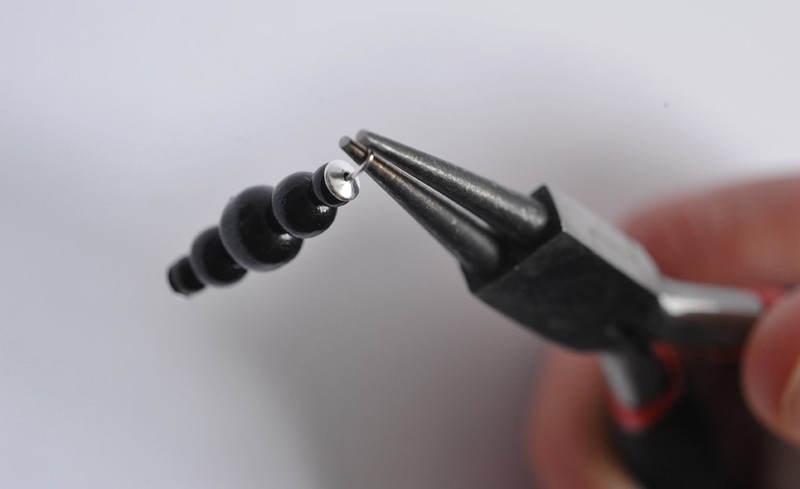
 Step 3
To add your black beads, take two headpins, thread a plain cup, one 4mm bead, a 6mm, an 8mm, a 6mm followed by a 4mm bead on each headpin to make a tapered shape, finishing with a plain cup. Trim the headpin, bend it into a loop and repeat for the other headpin. Make one headpin with a 10mm black bead with cups on either side. For your final black headpin, thread a plain cup, a 4mm bead, a 10mm and a 4mm followed by a plain cup. Trim the headpin and bend it into a loop.
-
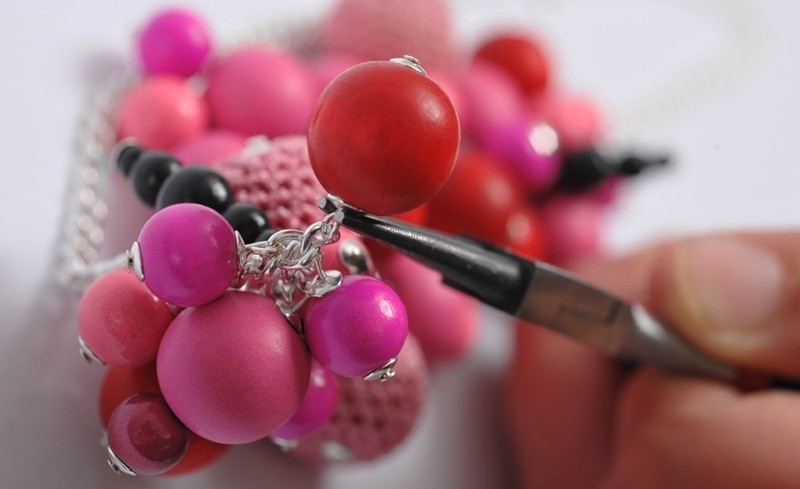
 Step 4
With your pliers attach the beaded headpins to the chain. Add the larger beads to the centre of the chain, working out from the middle. Keep adding the beaded headpins so that the smallest items are on the ends to create a crescent shape with your beads. Make sure the crimson beads are spaced evenly along the length of the beaded section. Attach the black beads, with the two longest headpins towards the ends of the beaded section, so that they are quite prominent, and the smaller ones spaced evenly between them.
-
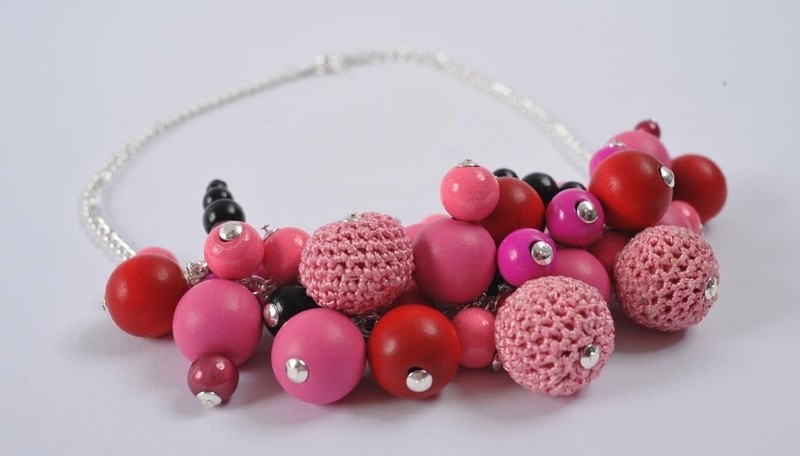
 Step 5
The beaded section should take up approximately 15cm in the centre of the chain. This is what your finished necklace should look like.
Comments

