About
Learn 3 basic fixes to common sewing machine problems.
Sewing machines are amazing inventions, aren't they? They save us hours and hours of time, and many pricked fingers. However, when your sewing machine makes jumbles of thread, snaps needles, breaks thread or groans/beeps/squeaks at you, it can be extremely frustrating. This post will go over three actions that I do every time my machine acts up. I always recommend these steps to my beginning sewing students and I find that they fix the majority of my mechanical issues.
-
 Susie F. favorited Basics Of Sewing Machine Troubleshooting
16 Jan 00:05
Susie F. favorited Basics Of Sewing Machine Troubleshooting
16 Jan 00:05
-
 Key West Witch added Basics Of Sewing Machine Troubleshooting to Sewing
20 Mar 21:46
Key West Witch added Basics Of Sewing Machine Troubleshooting to Sewing
20 Mar 21:46
-
 Sarah Sylvia S. favorited Basics Of Sewing Machine Troubleshooting
18 Jul 04:47
Sarah Sylvia S. favorited Basics Of Sewing Machine Troubleshooting
18 Jul 04:47
-
 Art A. favorited Basics Of Sewing Machine Troubleshooting
23 Jun 23:04
Art A. favorited Basics Of Sewing Machine Troubleshooting
23 Jun 23:04
-
 HylianWriter534 favorited Basics Of Sewing Machine Troubleshooting
09 Jun 05:41
HylianWriter534 favorited Basics Of Sewing Machine Troubleshooting
09 Jun 05:41
-
 meg B. favorited Basics Of Sewing Machine Troubleshooting
11 Mar 21:02
meg B. favorited Basics Of Sewing Machine Troubleshooting
11 Mar 21:02
-
 Emma H. favorited Basics Of Sewing Machine Troubleshooting
27 Feb 21:50
Emma H. favorited Basics Of Sewing Machine Troubleshooting
27 Feb 21:50
-
 Tristin C. favorited Basics Of Sewing Machine Troubleshooting
21 Feb 19:18
Tristin C. favorited Basics Of Sewing Machine Troubleshooting
21 Feb 19:18
-
 lleeahs favorited Basics Of Sewing Machine Troubleshooting
15 Feb 13:30
lleeahs favorited Basics Of Sewing Machine Troubleshooting
15 Feb 13:30
-
 Shadow_song favorited Basics Of Sewing Machine Troubleshooting
15 Feb 12:27
Shadow_song favorited Basics Of Sewing Machine Troubleshooting
15 Feb 12:27
You Will Need
-
 Step 1
1. Change your needle
I talked a bit about this in this post, but let's talk about it again, because, well, it's important. Look at how small your needle is in comparison to the rest of your sewing machine. It's, like, really small, right? Well, it may be small, but it is very, very mighty.A dull, or bent, needle can cause:
thread breaking
skipped stitches
fabric puckering along a seam
uneven stitches -
 Step 2
A dull needle passes through fabric slower than a sharp needle and because our sewing machines are beautifully timed pieces of machinery, this tiny delay causes all sorts of problems. Dull needles are also flatter than sharp needles and therefore push our fabric out and away which also causes a whole other host of headaches. A pack of five needles runs, typically, less than five dollars. That's less than $1 per needle. The hours you will spend fussing with your machine if you insist upon using a dull needle is costing you more than $1. Buy a pack of new needles and change that puppy often, more often than you think you should. Ideally, change it for every project (excluding small projects like a single hem, or a single napkin, or one mended hole in a t-shirt, etc.)
-
 Step 3
2. Turn your machine off and on again
This is especially true for new machines. If you have a brand new sewing machine, chances are it has a computer in it and sometimes that computer gets confused. I have helped so many new students, with brand new sewing machines, learn how to use them and I have found that sometimes the problem was solved by simply turning the machine off, and then turning it back on again. Unfortunately, this rule doesn't apply so much for those of us with older, entirely manual, sewing machines. Most new machines will beep at you if they're not happy and many of them won't even sew if something isn't right. You may have the wrong type of presser foot on your machine for the type of stitch you've selected, you may have the wrong type of width selected for the stitch, it really could be a lot of things. Turn it off, take a deep breath, and turn it back on. -
 Step 4
...
-
 Step 5
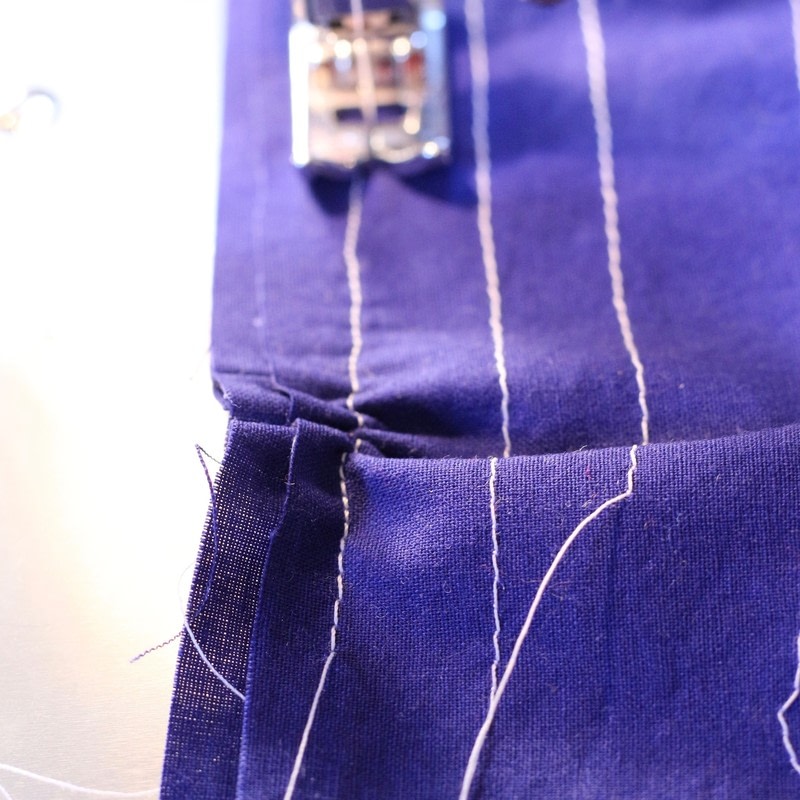
3. Rethread the entire machine
If you're learning how to use your sewing machine, I just heard you groan. "Noooooo. I just got it threaded!". I'm sorry. Take it all out, follow your manual, and do it again.Incorrectly threaded bobbin and top thread can cause:
thread breaking
skipped stitches
fabric puckering along a seam
loops of thread on the top or bottom of fabric
the entire machine to get jammed
skipped stitches
scary noises
uneven stitches
knots/snarls in the thread at any point along a seamEven as an experienced sewist, I sometimes skip a thread guide, or it comes undone as I'm sewing. I often have to unthread the top and bobbin threads and re-do it. The good news is, this often fixes whatever thread-disaster or scary noises were happening.
-
Step 6
If the above steps don't work...
Clean and oil your machine. I have a full tutorial on how to do that here. There may be thread and lint built up somewhere in your machine that's causing the issue. Or, there may not be enough oil for two parts to move smoothly. Or you may discover a larger issue like a frayed belt, or a broken gear, which will need to be repaired professionally.Having other problems? Comment below and let me know what's going on, I may be able to help! What advice have you been given for sewing machine troubleshooting? Let's share the knowledge. Thanks for reading, have a lovely week!