


About
Super simple!
In this tutorial, I will show you how to make super simple baby bunting. You can add in your own choice of name or leave it blank. Hope you find the tutorial ok!
Some of the pictures are the wrong way up, not sure why :/
-
 Rebecca M. favorited Baby Bunting!
15 Jun 18:45
Rebecca M. favorited Baby Bunting!
15 Jun 18:45
-
 Jennifer R. added Baby Bunting! to To-make list
18 Jan 21:02
Jennifer R. added Baby Bunting! to To-make list
18 Jan 21:02
-
 Sebílé Sheá Sorcha replied to a comment on her project Baby Bunting!
26 May 10:03
Sebílé Sheá Sorcha replied to a comment on her project Baby Bunting!
26 May 10:03
-
 Ninni Ninímél Nalíná ♦ ♏ ♦ commented on Baby Bunting!
25 May 21:04
Ninni Ninímél Nalíná ♦ ♏ ♦ commented on Baby Bunting!
25 May 21:04
-
Sebílé Sheá Sorcha published her project Baby Bunting!
23 May 15:31
-
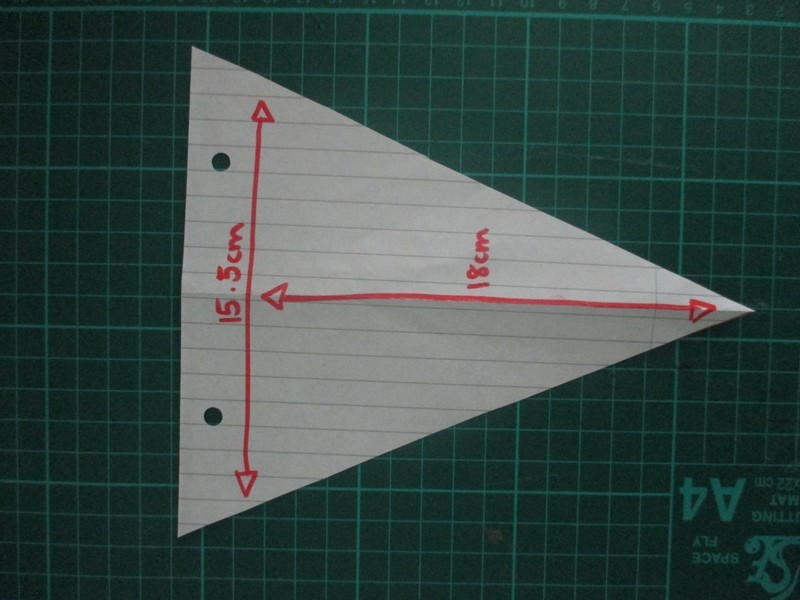
 Step 1
First make your template using paper. I folded the paper sheet in half, measured 18cm down the folded edge, and 7.5cm across. This made the flag (when the paper was opened out) 18cm long at the longest point and 15.5cm wide.
-
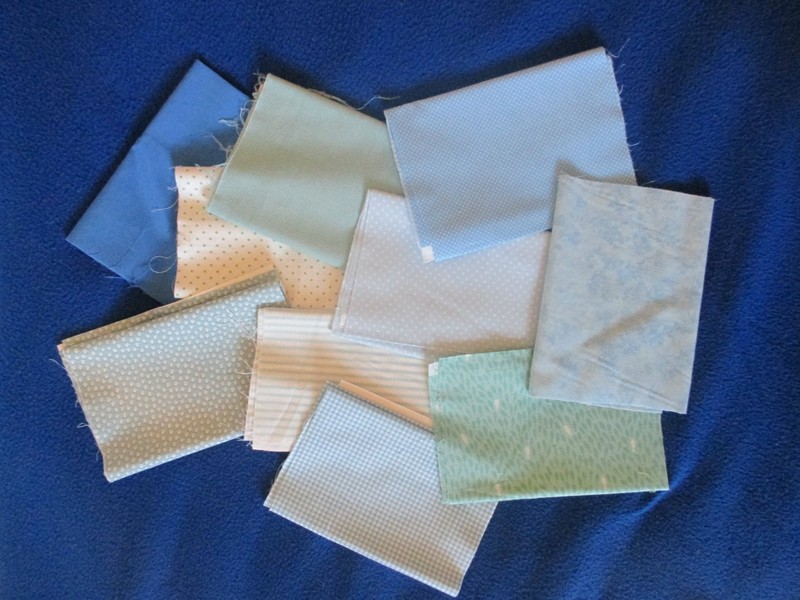
 Step 2
Now collect your fabrics! I managed to get all of mine from John Lewis’ haberdashery department
-
 Step 3
Take your first fabric. Cut off the selvedge.
-
 Step 4
Trace your paper flag onto the fabric using tailor’s chalk pencil
-
 Step 5
Add on 1cm (seam allowance) to each edge
-
 Step 6
And cut your shape out. I used a rotary cutter and a ruler to guide it – so much quicker and accurate than using scissors!
-
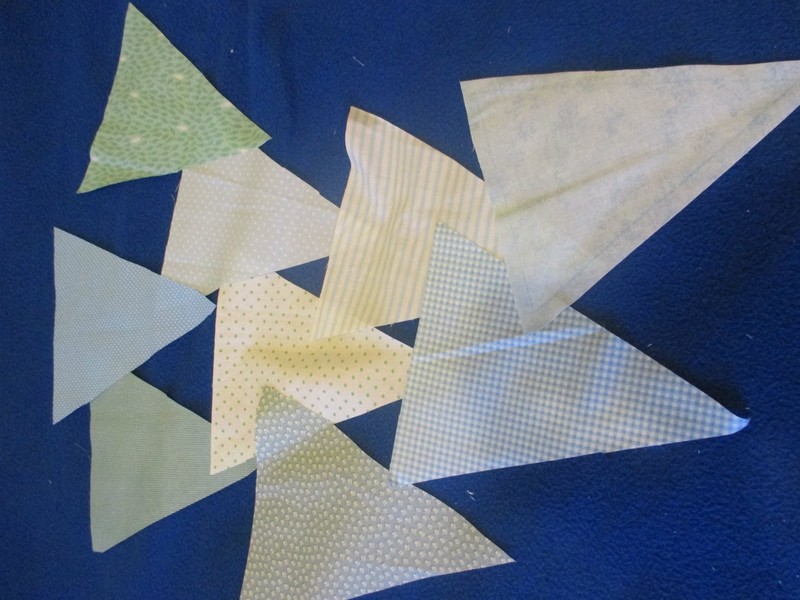
 Step 7
Repeat this step for all of your flags.
You'll also need to cut a backing piece for each other the flags. I used plain white material for this (as it's cheaper and probably won't be seen). You can use the template that you've already made. -
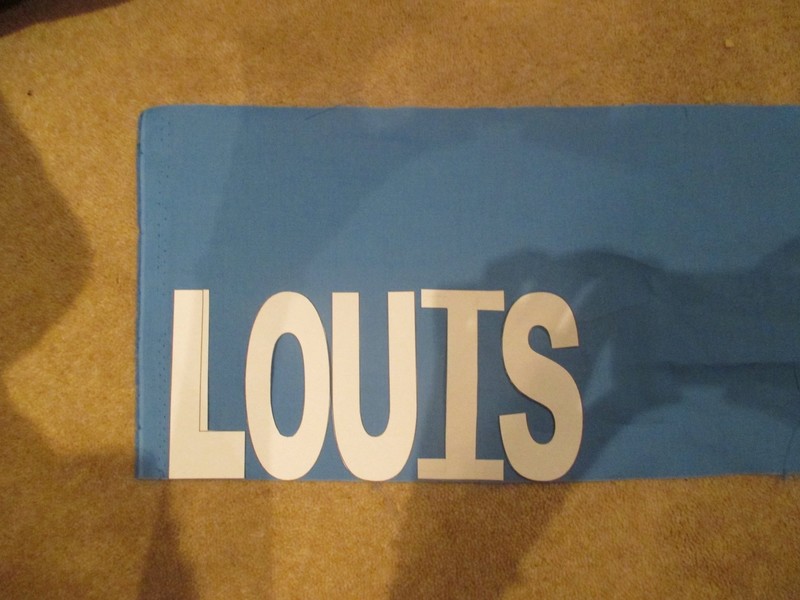
 Step 8
Now, (I advise using your computer) make the templates for the letters. I used the old version of Microsoft Publisher and printed the letters out on a sheet.
-
 Step 9
Cut the letters out from the paper and pin them to the fabric
-
 Step 10
...and cut the fabric letters out!
-
 Step 11
Now decide the position of the flags. Choose where the letters go, and which flags will go either side of the name.
-
 Step 12
Tack each letter onto the flag. This doesn't have to be neat because the stitches will come out after you've machine stitched it on.
-
 Step 13
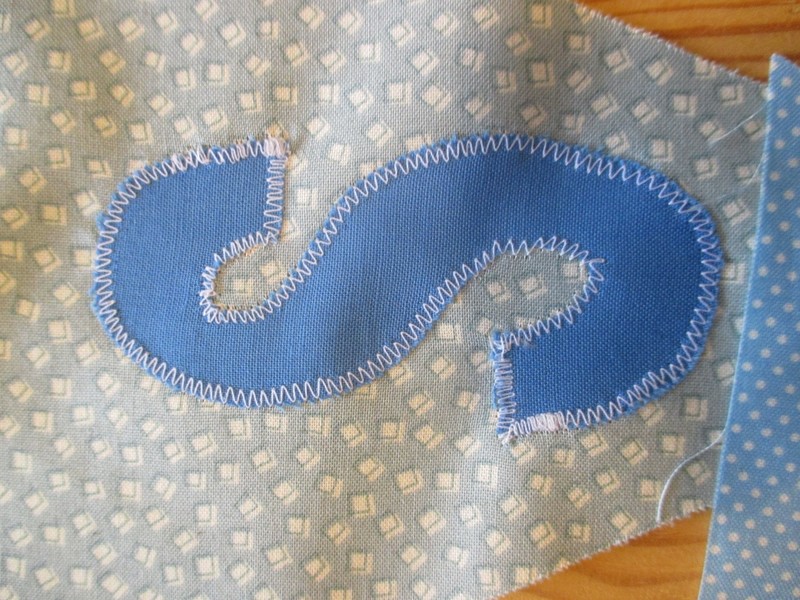
Using a fairly close zig-zag stitch, sew around the edges of each letter. This will stop the fabric from fraying and looking bad.
-
 Step 14
Repeat for all of the letters, and press them.
-
 Step 15
Here's a close-up so you can see the kind of zig-zag stitch that I used...
-
 Step 16
Take the flag and the backing piece, and pin right sides together.
-
 Step 17
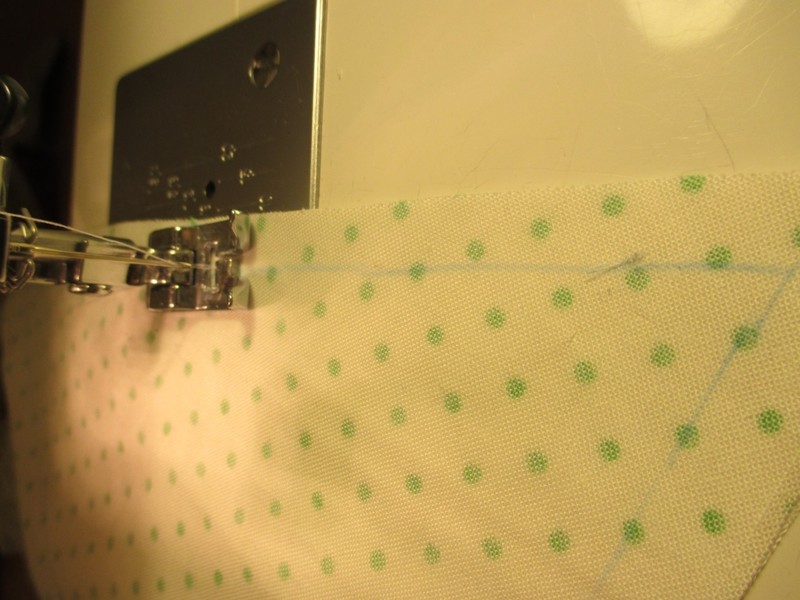
Using a straight stitch, sew along the tailor's chalk line that you made in step 4, all the way around the flag. Make sure you leave a gap for turning later on at the top!
-
 Step 18
Before you turn the flag inside-out, chop of the corners. Obviously don't chop the actual stitching, but cut it close to the stitches. This will make a cleaner point when you come to turn it the right way out again.
-
 Step 19
Now turn your flag inside out
-
 Step 20
Press the edges using an iron or topstitch. I decided not to use topstitch because I figured it would stitch over some of my letters :(
-
 Step 21
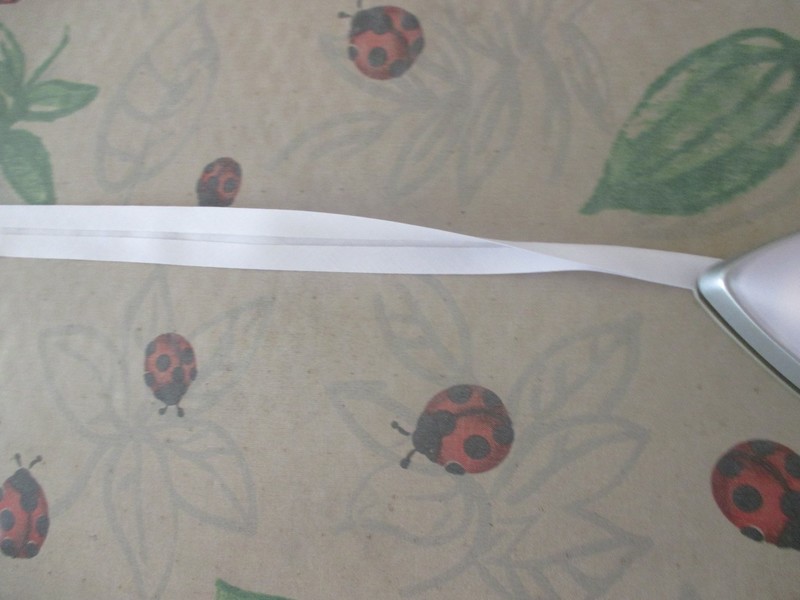
Now take your bias binding. I bought 2.5m (also from John Lewis) and press it in half.
-
 Step 22
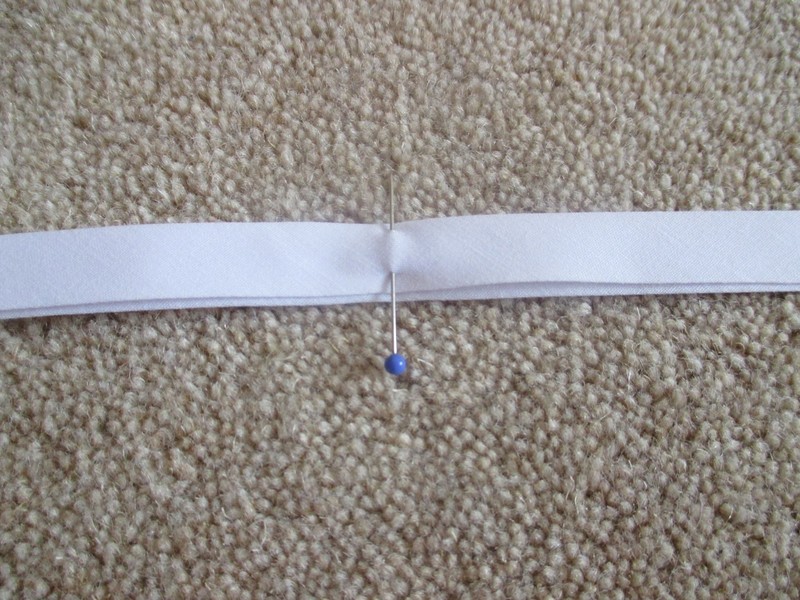
Find the middle of it and mark it with a pin.
-
 Step 23
Now take your middle flag and pin the centre-top of it (see the picture).
-
 Step 24
Align the two 'centres' like this:
(this will ensure that the bunting is evenly spread out) -
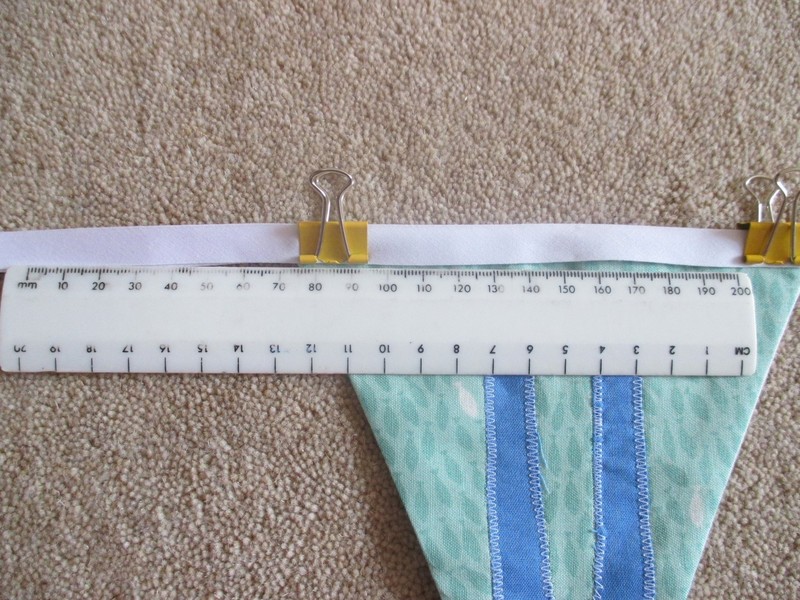
 Step 25
Secure the flag inside the bias binding (I find it easier to use bulldog clips for this).
Now measure half a flag's width (for me, this was 7.5cm). Your next flag will be 7.5cm along.
Keep securing your flags either side of the centre flag at equal distances, until you've done all of them. -
 Step 26
Now tack along your bias binding, securing the flags in place temporarily (this is optionally, but it's a lot easier to sew without bulldog clips messing up the machine later on).
-
 Step 27
Sew a straight line along the bias binding using the machine and remove the tacking. Make sure you sew fairly close to the edge.
-
 Step 28
And you're done! I know there were a lot of steps, but it's super easy - seriously ^^ I just wanted to try and make it as clear as possible, with lots of pictures
Anyways, if you have any questions, please comment below or message me
Thanks for looking at my project!


Comments


