


About
An Apron/Tool belt with a gothic twist and a whole lot of style
I needed an apron/tool belt that I could wear when I am at the Markets. I don't want to carry a heavy bag, and needed things at my finger tips.
It was easy once I was happy with the shape, and you can add different pockets, lace trims etc wherever you like. And the best thing is that it's able to fit anyone!
I was inspired by something similar from KayLin Designs, Los Angeles.
Tags
-
 Rebeccah D. favorited Apron/Tool Belt With A Difference
23 Jun 17:39
Rebeccah D. favorited Apron/Tool Belt With A Difference
23 Jun 17:39
-
 AlterEgo Designs favorited Apron/Tool Belt With A Difference
19 Feb 17:05
AlterEgo Designs favorited Apron/Tool Belt With A Difference
19 Feb 17:05
-
 SugarNSpiceLily added Apron/Tool Belt With A Difference to sewing
31 Aug 02:46
SugarNSpiceLily added Apron/Tool Belt With A Difference to sewing
31 Aug 02:46
-
 Melissa M. favorited Apron/Tool Belt With A Difference
27 Mar 00:53
Melissa M. favorited Apron/Tool Belt With A Difference
27 Mar 00:53
-
 Crimson Rose favorited Apron/Tool Belt With A Difference
03 Nov 00:39
Crimson Rose favorited Apron/Tool Belt With A Difference
03 Nov 00:39
-
 colourChemist added Apron/Tool Belt With A Difference to Other
02 Nov 19:16
colourChemist added Apron/Tool Belt With A Difference to Other
02 Nov 19:16
-
Rikki L. favorited Apron/Tool Belt With A Difference
23 Oct 14:41
-
 Kendell V. favorited Apron/Tool Belt With A Difference
26 Aug 03:31
Kendell V. favorited Apron/Tool Belt With A Difference
26 Aug 03:31
-
 Miss_Fit added Apron/Tool Belt With A Difference to Next Steps
18 May 00:52
Miss_Fit added Apron/Tool Belt With A Difference to Next Steps
18 May 00:52
-
Miss_Fit added Apron/Tool Belt With A Difference to Aprons
29 Mar 04:15
You Will Need
-
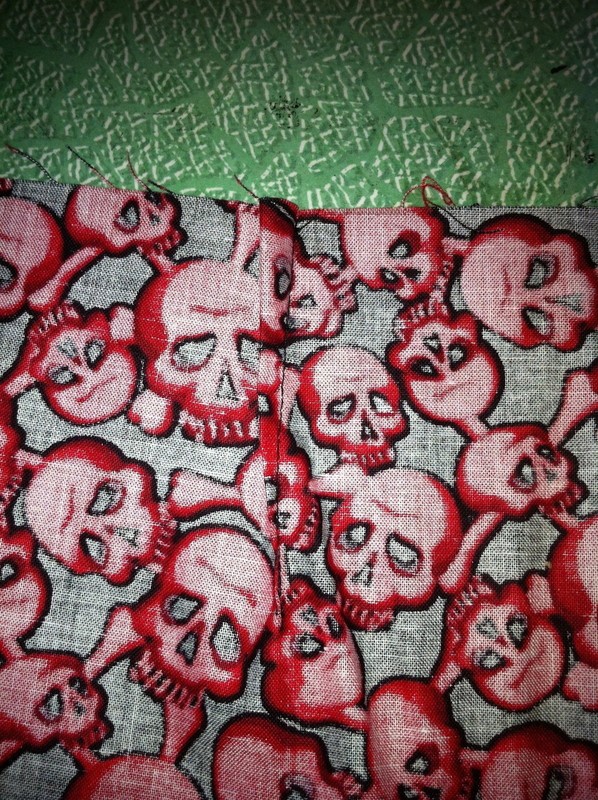
 Step 1
First cut a piece of fabric to the shape that you want.
Cut a piece the same shape for the lining. -
 Step 2
Grab a piece of fabric from the scraps to make a pocket.
Attach at an angle - this is for a right-handed person, so angle it so their hands can go in easily.
Before I attached it, I trimmed it with some gothic grosgrain ribbon. -
 Step 3
attach as many pockets as you want.
This one ends up on the back of the hip and is the right size as my phone.
I trimmed it with pre-gathered lace before I attached it. -
 Step 4
When you are happy with the number of pockets attached, then add some darts around the top, to make it fit the body easily.
I just pinched about 1cm and sewed a dart. I did 3 - one at the side front, one at the side, and one at the back. The side one is longer than the others. -
 Step 5
grab some scraps to make a tube.
Thread the 2 D rings through the tube and pin to side front panel. -
 Step 6
Cut a length of fabric for the strap - I just cut it from selvedge to selvedge.
Sew it length wise and turn it right side out.
press.
Attach to the back of the apron. -
 Step 7
Attach the lining panel and sew.
Trim and cut corners.
Turn right side out and press. -
 Step 8
Add trims if desired.
ready to wear!! -
 Step 9
The back/side view - or it could end up on your front Left hip.


;)