


About
Hand-Appliqued Monogrammed Pillow
Very easy project for first time applique-ers! Step by step instruction to make your appliqued letter for the front of a pillow.
-
 Rebecca M. favorited Appliqued Monogram Pillow
11 Jun 14:21
Rebecca M. favorited Appliqued Monogram Pillow
11 Jun 14:21
-
Alissa B. favorited Appliqued Monogram Pillow
30 Sep 18:07
-
 Nourish and Nestle published her project Appliqued Monogram Pillow
27 Sep 06:00
Nourish and Nestle published her project Appliqued Monogram Pillow
27 Sep 06:00
You Will Need
-
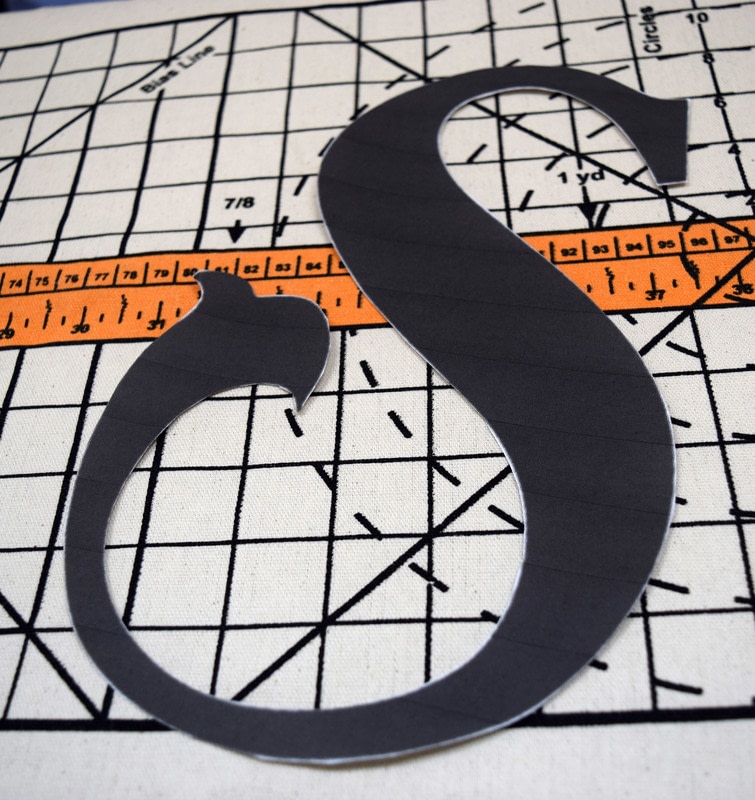
Step 1
Print off your letter in your desired size. I re-sized my ‘S’ in Microsoft Picture Manager so that it filled a large document (8.5″ by 11″ or 1024 pixels by 768 pixels) and printed it off. My pillow was 18″ by 18″ and the ‘S’ that filled up an 8.5″ by 11″ piece of paper was pretty perfect.
-
 Step 2
CarefullTear off three sheets of the freezer paper, big enough that your letter will fit on it.y cut letter out.
-
Step 3
Tear off three sheets of the freezer paper, big enough that your letter will fit on it.
-
Step 4
Iron the three sheets together. For those of you unfamiliar with freezer paper (as I was) seems that there is some wax on one side of the paper. I put one sheet, wax side down, on my ironing board, followed by the other two, also wax side down. Then I ironed the top one (not the wax side…guessing that would make a mess of your iron). This process makes a rather stiff piece of paper.
-
Step 5
Turn your cut out letter backwards and placed it wax-side down on the wrong side of my fabric. Truth time…the first time I did it I did not think to turn it backwards…live and learn. Cut out your Freezer Paper Letter.
-
 Step 6
Iron the letter onto your fabric.
-
Step 7
Cut out your letter on the fabric, leaving a good 1/2″ around the letter. You can always trim it later if you need.
-
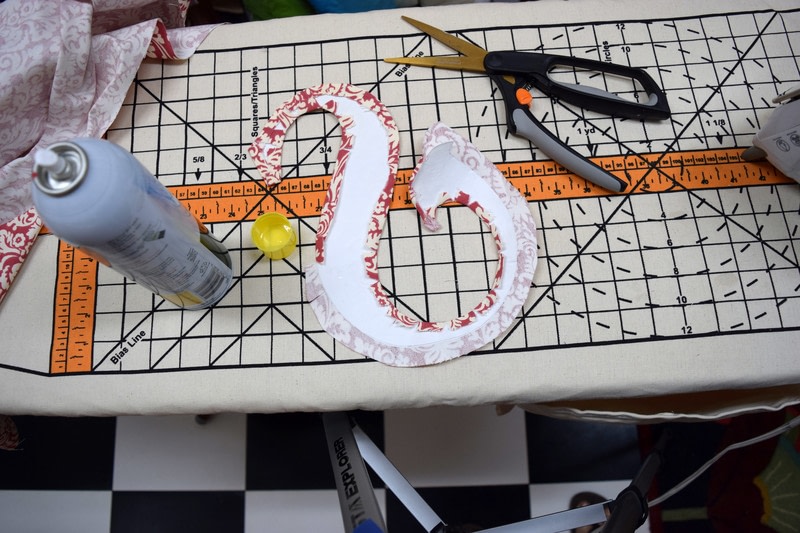
 Step 8
Using your scissors, make some cuts in the fabric so that it will curve around your letter pattern. Spray some starch into the lid and use your finger to dampen each cut area before you iron it down. In some areas, where I cut too close to the paper, I used somefraycheck to kind of glue the threads so that they didn’t fray. It’s a slowish process, I’d make a cut, starch it, iron it and so forth. Just have some good music or a good show on TV. Once you’re done, give the whole piece a good ironing, checking for any frayed areas.
-
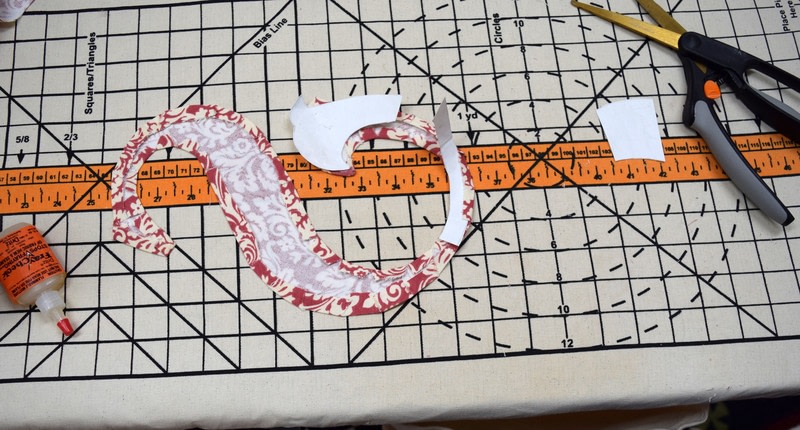
 Step 9
Carefully cut the freeze paper letter out from your fabric letter.
-
Step 10
Check again for any frays and give it another good ironing
-
Step 11
Some folks recommended using an applique glue to adhere your applique to the fabric. I was doing this at 8 p.m. and had no intention of going out, so I pressed on without it and it worked fine for me.
-
 Step 12
Pin your applique where it needs to be on your pillow fabric. I used many pins to make sure it didn’t move at all. Then it’s time to sew your letter onto your pillow. I started from underneath the fabric and had my needle go out the side of the applique and then back into the fabric right underneath where it came out on the applique. You can’t see the stitches at all.
-
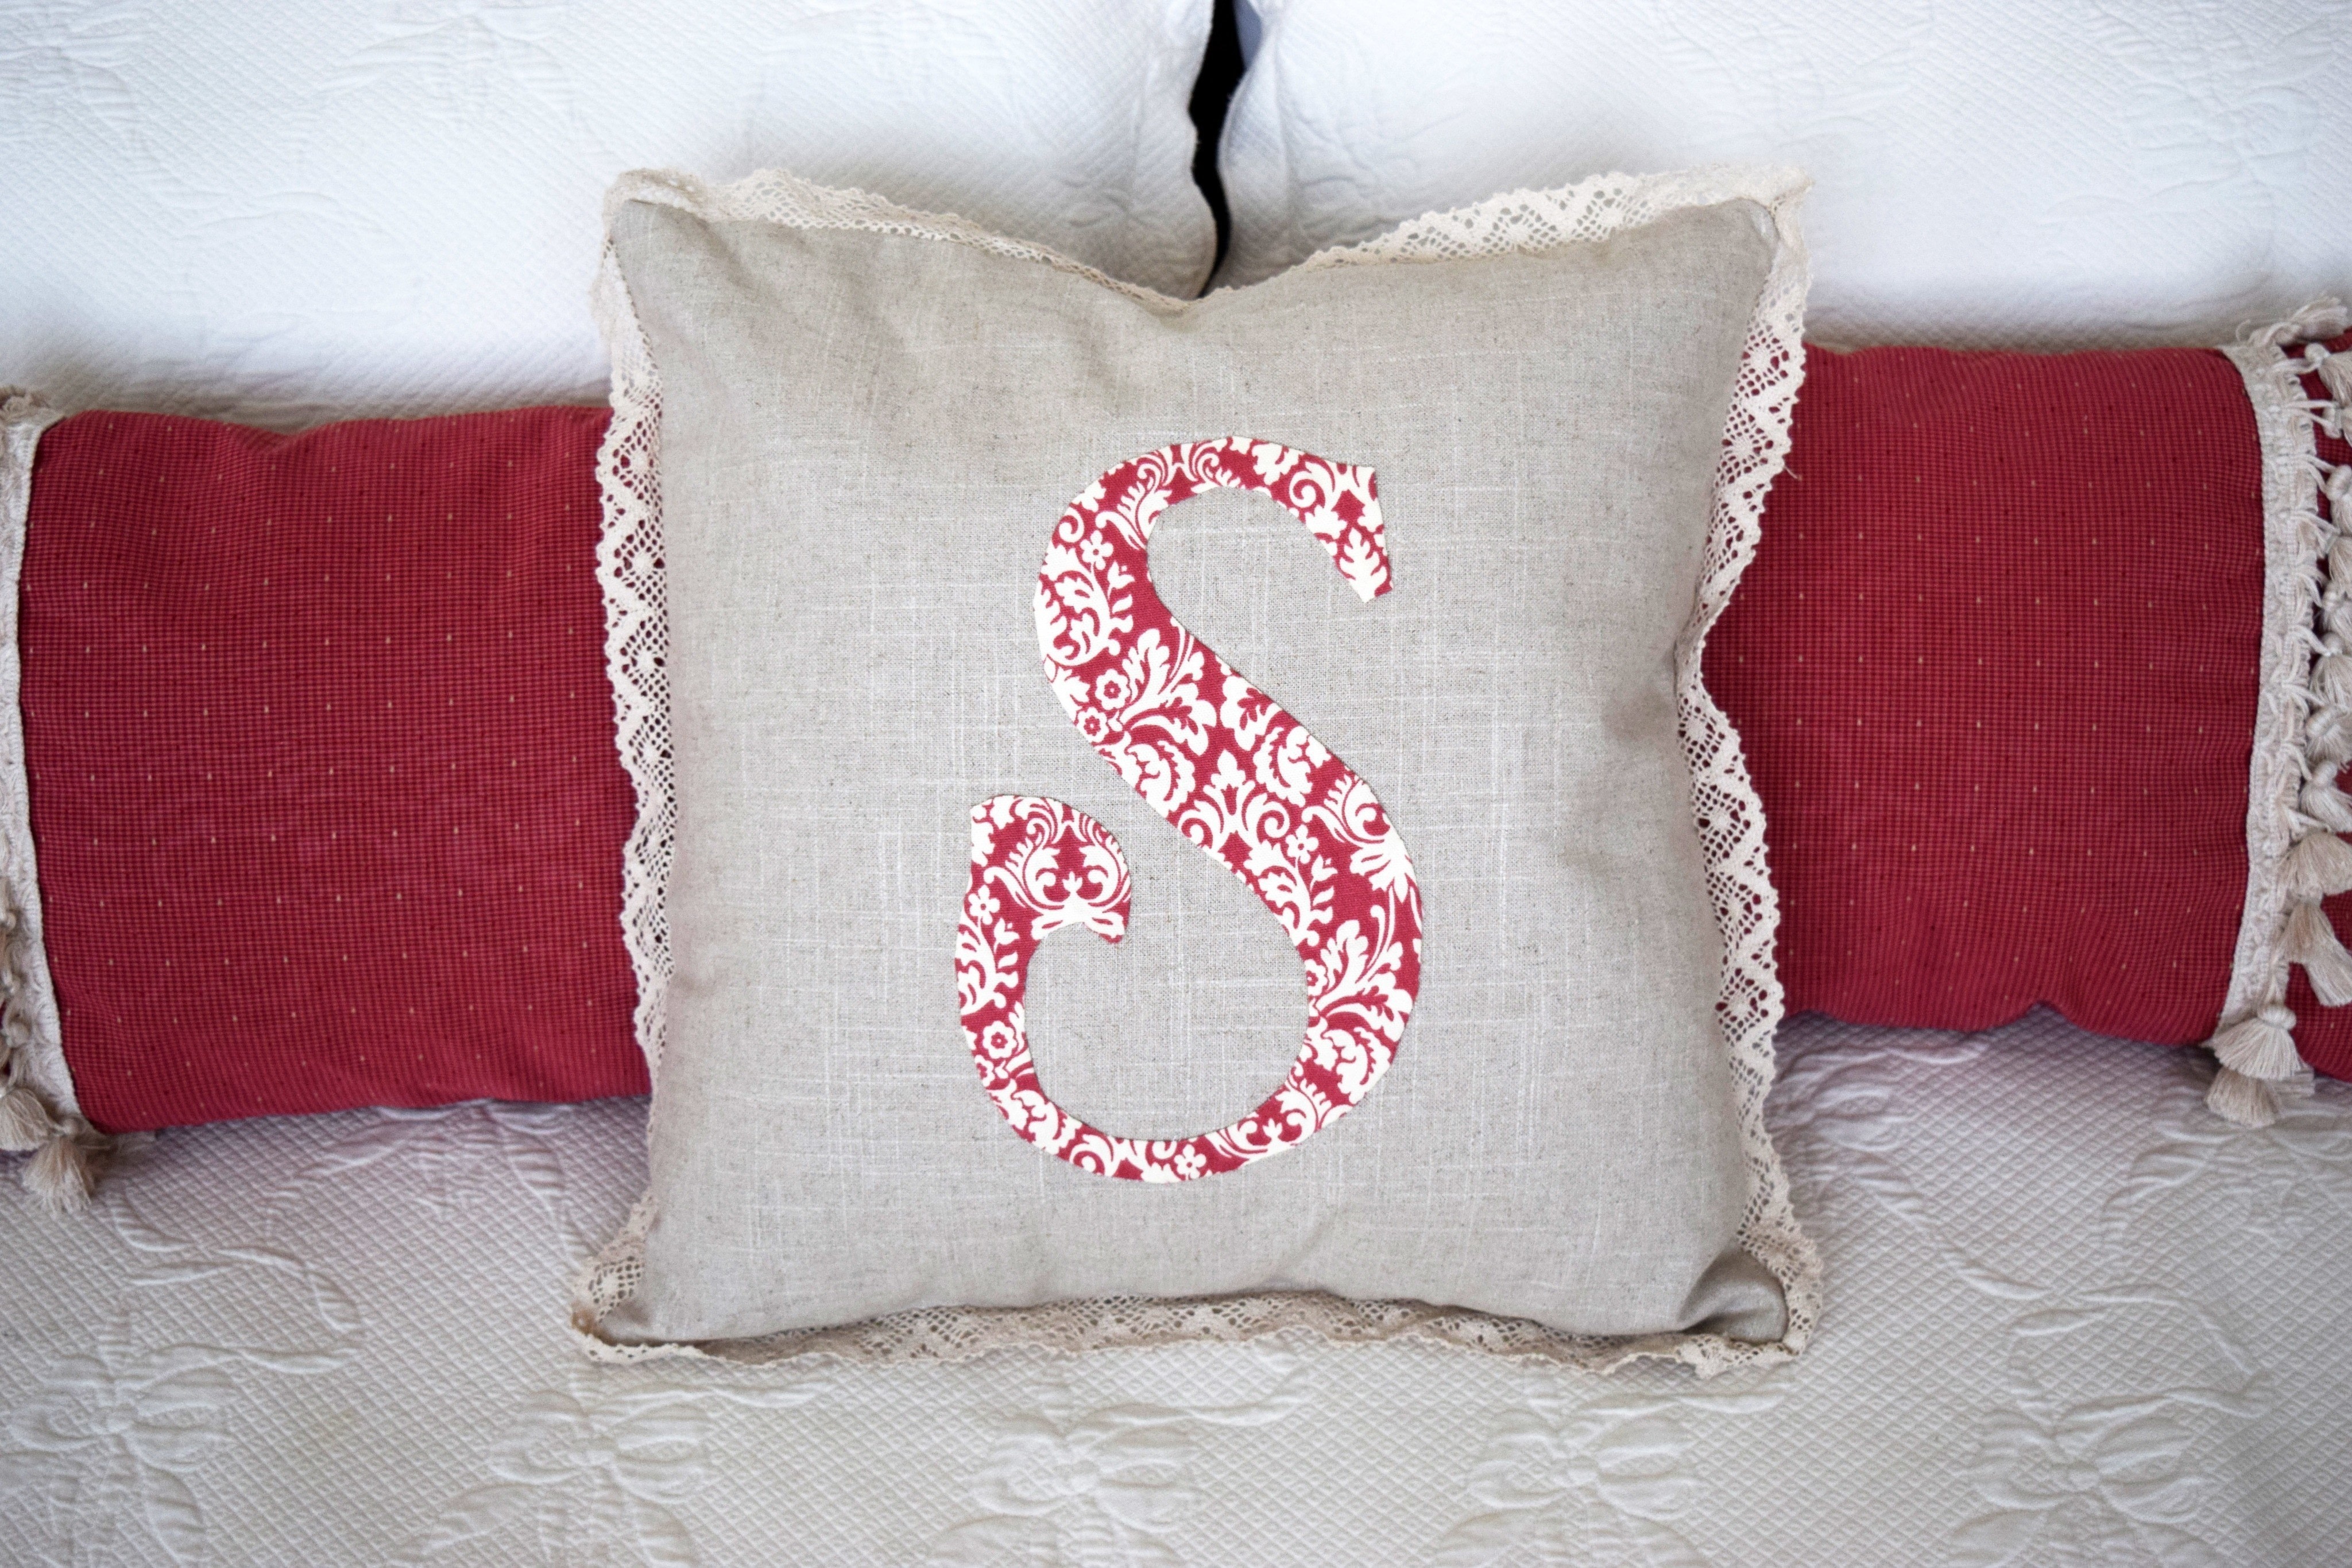
Step 13
Sew your pillow cover together, insert your form and voila!
It was really a very easy and relatively quick process. You could easily do it in a day, but I did mine in 2 evenings...start to finish.