


About
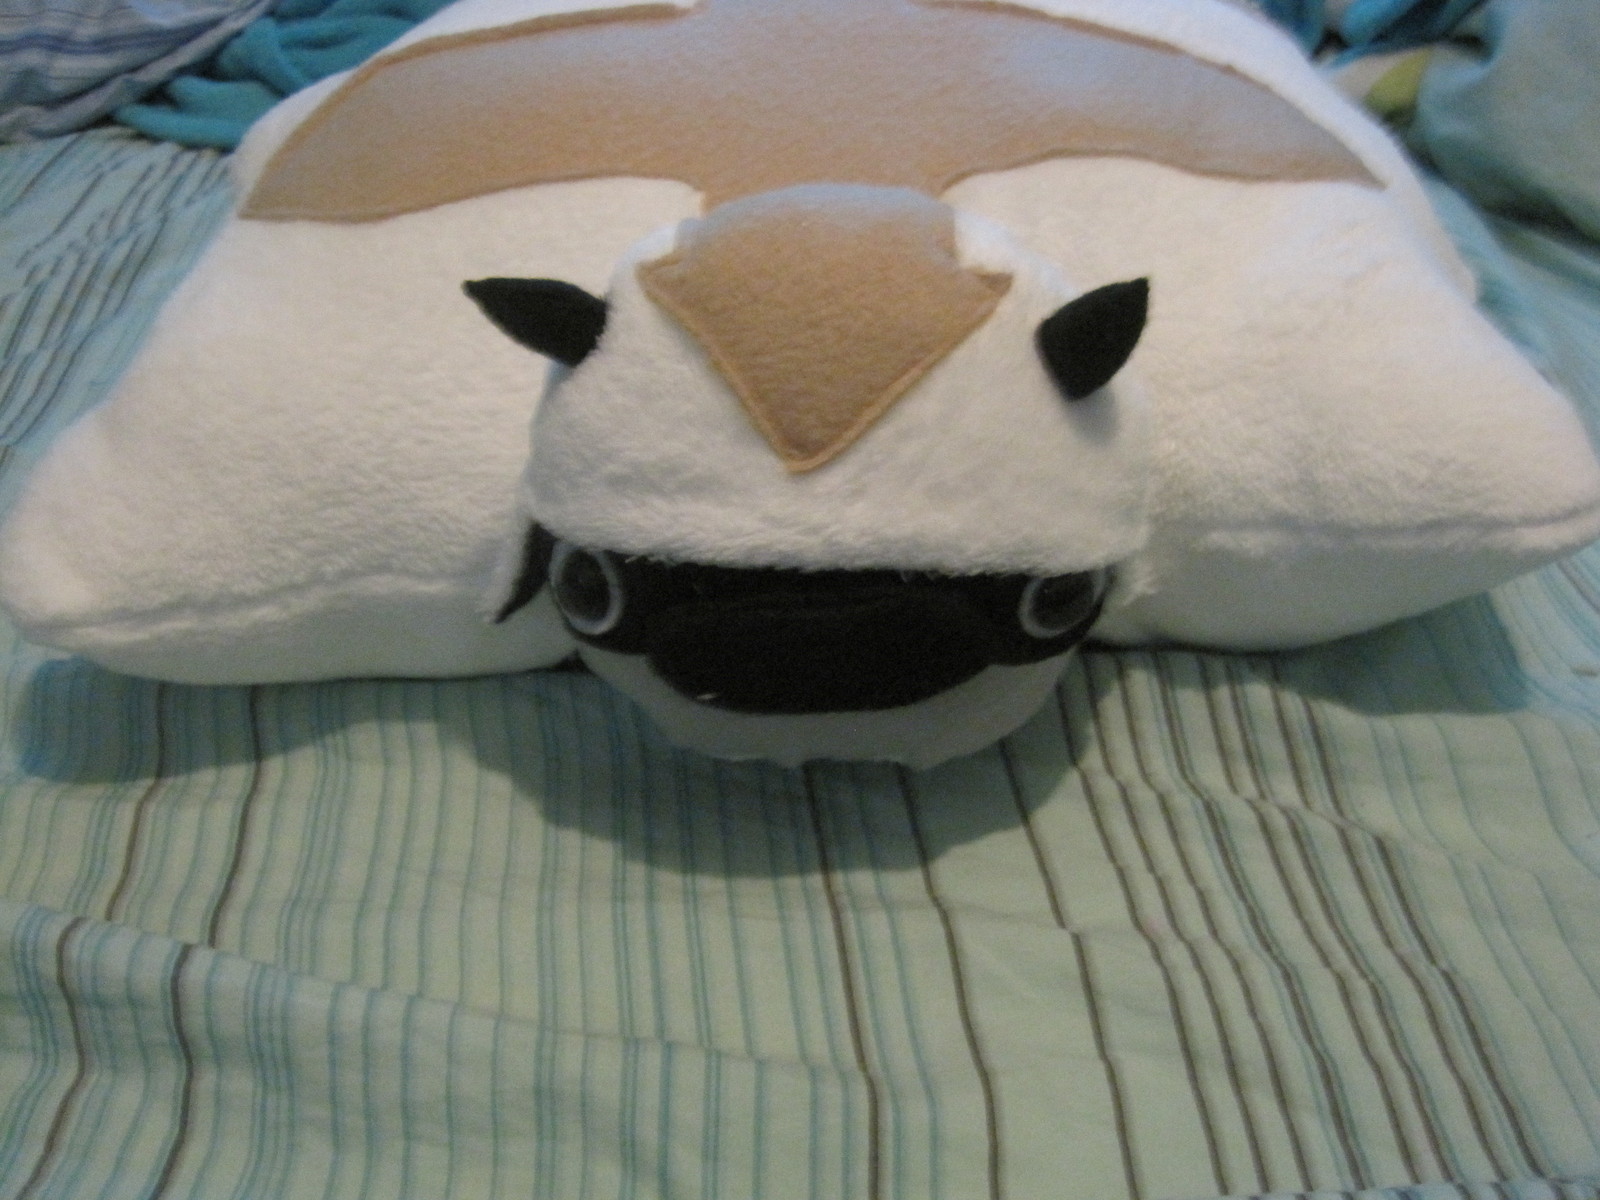
A flying pillow bison to carry you off to sweet dreams
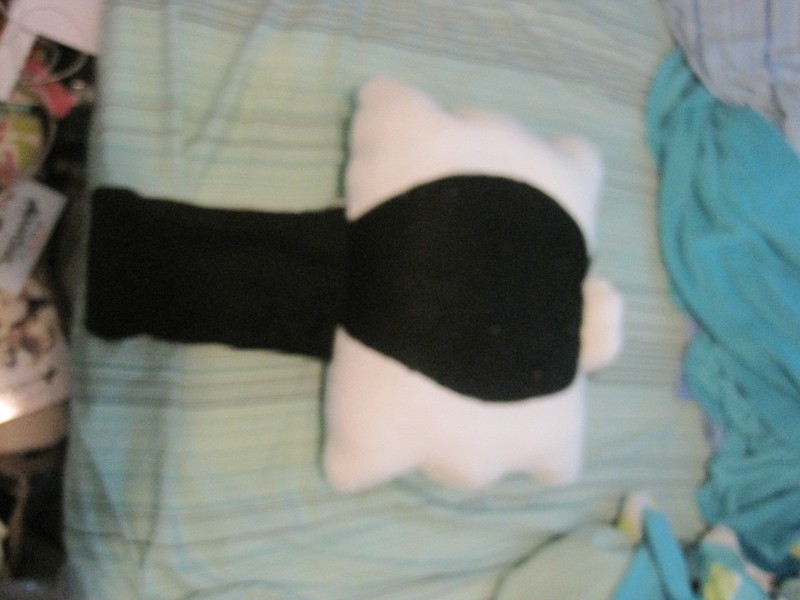
Appa from Avatar the Last Airbender! My family and I had a marathon and I decided I wanted a plushie Appa, so I looked around and found crazy prices and way too long on shipping, so I made my own in about four days, working only a few hours every day. I used Ultra Cuddly fleece and its name is definitely well earned, and just black and brown fleece for the rest of the big parts. I used gray fleece for the muzzle and white for the eye stuff. I'm pretty proud of it, cuz its my first kind of animal plushie.
If you need any clarification, feel free to comment/message me!
Tags
Downloads
- IMG_2691.JPG 2.18 MB [ Download ]
-
 Becky favorited Appa Pillow Pet
18 May 03:23
Becky favorited Appa Pillow Pet
18 May 03:23
-
vk v. favorited Appa Pillow Pet
28 Aug 03:14
-
 Ellen R. favorited Appa Pillow Pet
18 Aug 18:18
Ellen R. favorited Appa Pillow Pet
18 Aug 18:18
-
 Kanna Z. favorited Appa Pillow Pet
27 Jul 06:04
Kanna Z. favorited Appa Pillow Pet
27 Jul 06:04
-
Knit M. favorited Appa Pillow Pet
23 May 15:35
-
Georgia S. favorited Appa Pillow Pet
28 May 04:47
-
 Beth B. favorited Appa Pillow Pet
23 Jun 00:33
Beth B. favorited Appa Pillow Pet
23 Jun 00:33
-
 Amanda C. added Appa Pillow Pet to Stuffies
02 Jun 16:33
Amanda C. added Appa Pillow Pet to Stuffies
02 Jun 16:33
-
D S. favorited Appa Pillow Pet
04 May 02:23
-
Jen S. added Appa Pillow Pet to DIY The Look - Tween bedroom
03 Mar 14:35
You Will Need
-
 Step 1
Make a Pattern
You need two poster boards and some cardstock can be handy if you mess up or run out of poster.I suggest using the pattern pieces I have here and the downloadable one above as a guide. To get the sizing just so, I suggest using ratios. Length of this pic's body over length of its tail=length of your body over x to find out how long you should make the tail, etc.
You need two body forms- one for the top and one for the bottom, but they should be the same size. On one, draw the brown markings, and on the other draw his belly.
You can do with only one, but it gets a bit confusing, so I recommend using two.Make one tail, and draw the markings, making sure that the middle line is the same width as the one on the body.
The face has a lot of parts:
You'll need a face circle, a muzzle to fit its size (top left), the black mask where his eyes are *Make sure the eyes that you have will fit inside with some space (under that in pink), and a nose (the third top left)
You'll need a third circle, for the hair that hangs into his face, and it needs to be ever so slightly larger than the face circleThe ears and horns you'll need to do after you get the face, so you make sure they fit just so.
-
 Step 2
Cut The Fabric
The Face
-two circles in white
-one slightly larger circle, after you have this cut, cut it in half. Later, it'll be sewn into a cap for his hair
-one muzzle in gray (or black could work)
-one eye mask in black
-two nose pieces, sewn together for volume
-two small circles in white felt that slightly surround/outline the eyes you will useThe Rest:
-one tail shape in black
-one tail shape in white
Now cut the markings you made on this pattern, I suggest folding the tail in half so it cuts the time you... well cut in half and makes the markings symmetrical
-cut the markings out in brown-one body in white
Now cut out the markings you drew on the body pattern in the same you did the tail markings
-cut the markings out in brownThis parts a bit odd.
Take the pattern with the belly, and cut out the belly, keeping sure to not damage the outer two parts
-taking the two outer parts, cut each out in white fabric
-take the black, fold it in half long ways (from head to tail) and cut along the line. Now position the two pieces so that the straight edges match up, but leave about a 1/2"-1" gap between them. I suggest you trace the two with a bright marker, and then cut this shape out. No one will be able to see the markings when your done, so it might be easier if you do this -
 Step 3
Assemble the face
-Take your eyes, and cut two white circles of felt so that they slightly surround the eyes. Attach the eyes to the felt, the felt to the eye mask, and the eye mask to one of the white circles. I used what I think might be called screw eyes? you stick the back through the fabric and lock it in place with something like a washer. And that's all I used to attach all that. Attach it so the the top of the mask is *slightly* above what would be the diameter of the circle.-Take this and the other circle piece and sew them together, right side and eye side in. SEW ONLY HALFWAY AROUND on the bottom half, flip it out so that you see his face. You can kind of see how I did this in the picture.
-Now attach the muzzle by either sewing or using fabric glue (that's what I used). The reason this is done after sewing half the face, is so that just in case the face cuts in a bit smaller, the muzzle will have a muzzle shape.
-Take the two nose pieces, and sew them together right sides in, leave enough room to flip it out, and close the gap. Attach this to the face so that its centered between the eyes, and sits between the mask and the muzzle
-Flip in inside out, sew the top a bit more, flip it out, stuff it, and sew it closed.
-
 Step 4
The Arrow/'Hair'
-Take the two halves from the slightly-bigger-than-the-face-circles-circle and sew them together along the rounded part, right sides in, and not on the straight line where you cut them. Flip it out and you'll have a nice cap-Make your arrow!
You may have to go through some trial and error here, getting the points just so, and making the stripe the same width as on the body and tail. Make sure the stripe goes to almost the back edge of the cap/hair-Pin the arrow on top the cap and sew it on. This is where you may want a sewing machine, as the stitches will be visible.
-Now just fit the hair onto the head, but don't sew or glue it down just yet. We want the ears to fit under it
-
 Step 5
Ears/Horns
-Start with the ears, and make them however you want. I made two somewhat rounded triangles, with the outsides white, and the insides black. I sewed them together right sides in and then flipped em out, not sewing the bottom part, because that will be hidden.-Now sew the ears to the head so that the edges will be hidden under the hair
-Sew or glue down the hair. I fabric glued it down a bit above the bottom, so that it stayed put, but had some movement to it.
-For the horns, I did some little baby ones like in the cute flashbacks Appa's Lost Days. Just two sets of two triangle sewed together. I stuffed em a bit, them sewed em down above the eyes.
The head is now finished! It was a lot of work, but it's almost over.
(the pic is of his ears, not his horns)
-
 Step 6
The Rest of the Markings
This is one of the easiest parts.
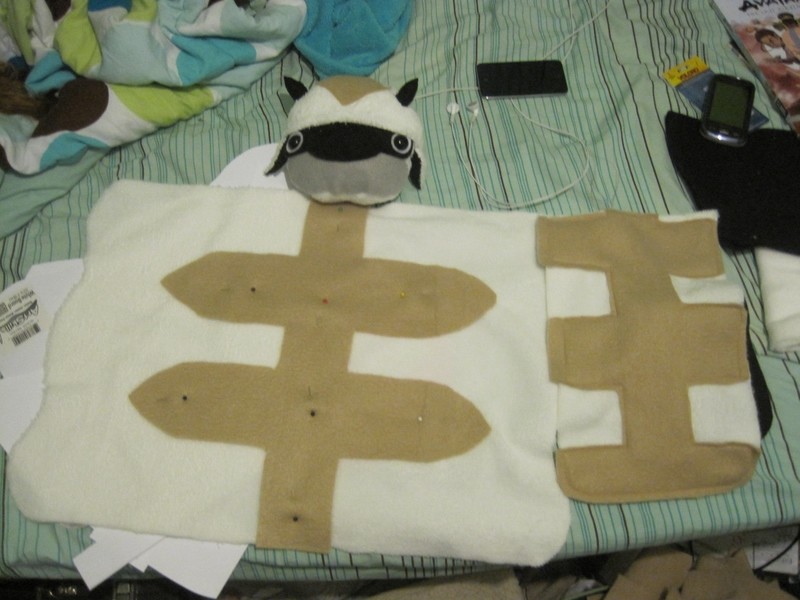
Take the markings for the body and the tail and line them up in the middle of each, pin them, and sew them like you did the arrow. -
 Step 7
OPTIONAL
Make the lines in the belly and tail
Definitely the easiest part. Just sew some lines across the black part of the tail and the belly with a sewing machine. This isn't needed, but its one of those little details that brings it together and makes it more Appa-like -
 Step 8
The Belly
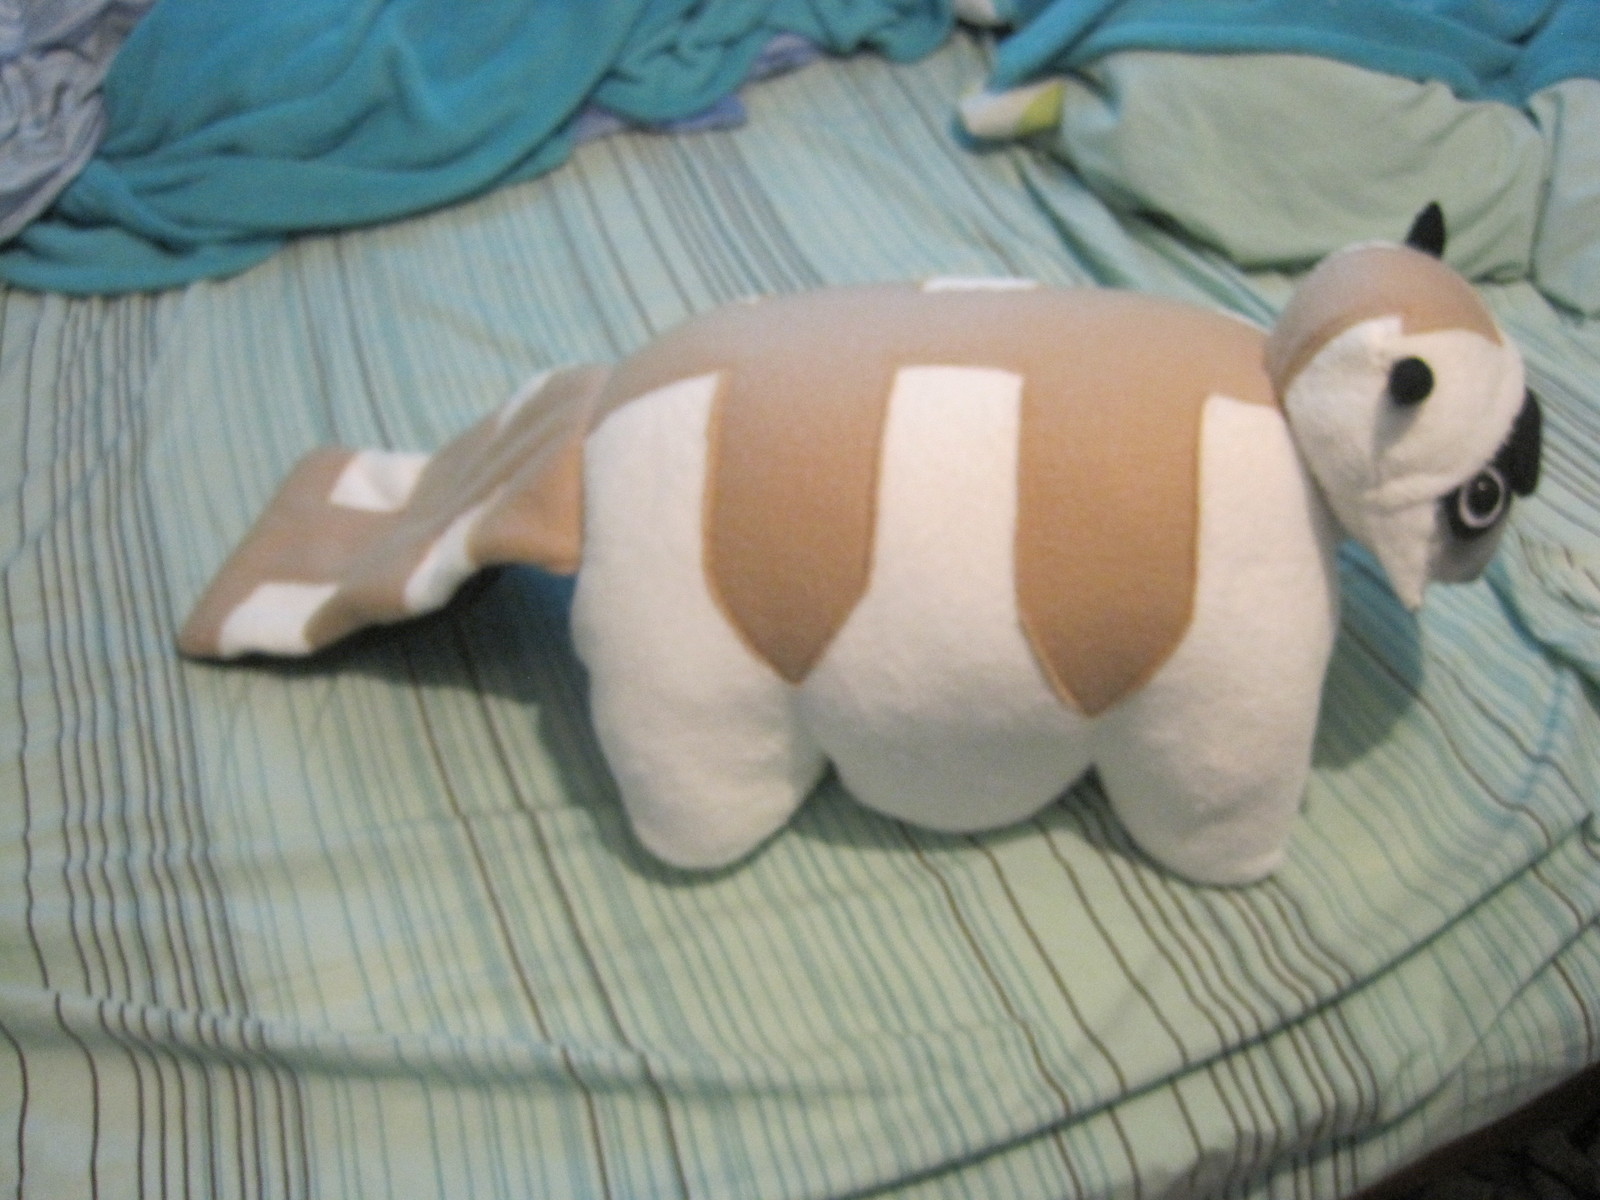
Line up the three pieces of the under part of Appa, and make sure that it is still the same shape and size of the top part. Pin the pieces, and sew them together. Make sure that you position it so that when this part is finished, the black belly will be under the white fur. -
 Step 9
Assemble the Body
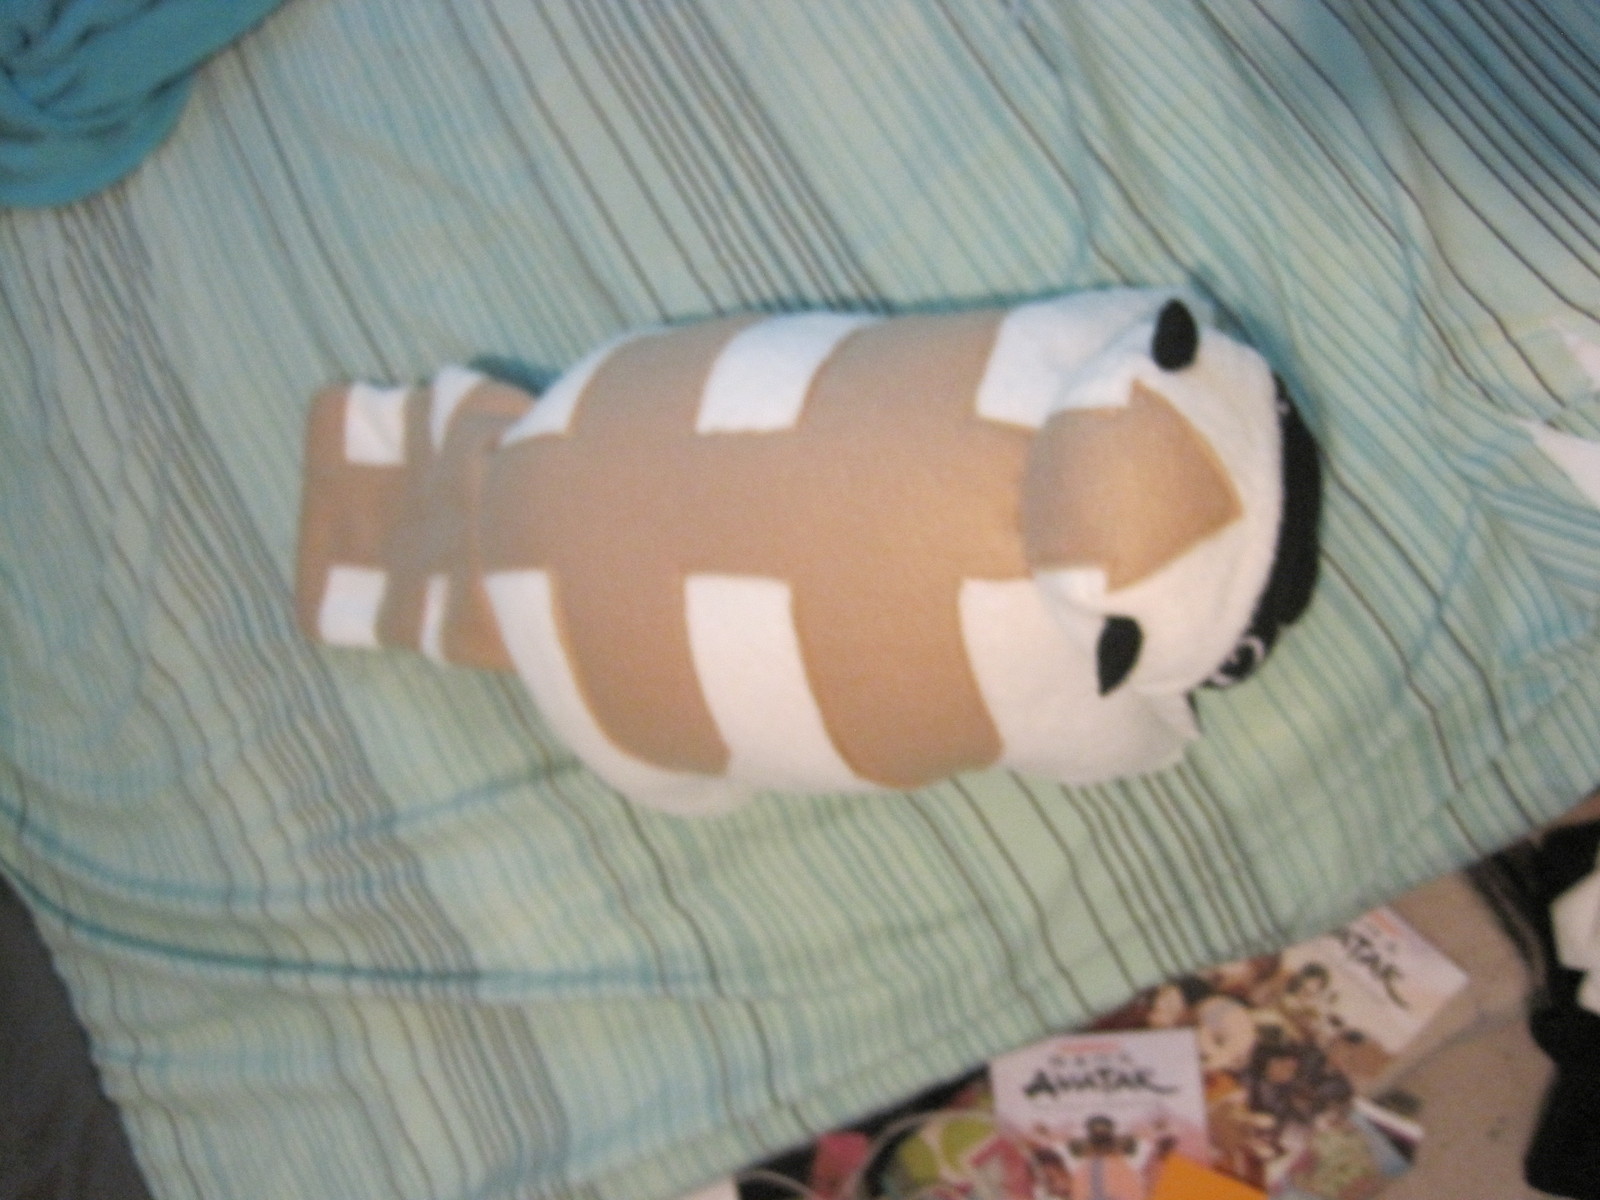
I didn't take any pictures of this step so bear with me and enjoy Appa's belly!Take two pieces of the soft velcro, and sew one between the first leg and middle leg, and the other between the middle and third/about where the brown markings are/the little indents between his feet.
Cut two pieces of white fabric the width of the velcro and six inches long. Sew the hook pieces of velcro on both of these.
Attach the tail first, just to make it easier:
Align the top and bottom pieces so the the good parts face in. Pin the top part, and about halfway down each side. Slide the tail in this little sandwhich so that the marked part touches the marked part and the black part touches the belly. Leave a s small bit hanging out, pin it there, and sew. Do this first so that those thick layers of fabric don't jam your machine after you've sewn half of his side and so that it doesn't move around or fall out of its pins while you sew the rest.DO NOT UNPIN the pieces! We'll go right into the final sewing.
In the same way you did the tail, slide the two pieces of fabric with the hook velcro at about the same spot as the soft, but on the other side. The Velcro should be facing the SAME way as the soft velcro, so that when the body is flipped out, they velcro together. If the soft is facing down, so should the hook.
Sew this side first.
Start form where the black and white fabrics meet at the belly, and sew until where you stopped for the tail.Now repeat on the other side, still starting at the black and white meeting until the tail.
There should be a hole in the middle of spot where the head will go, flip the Appa right side out. Pull the tail through first, and the rest will follow.
Make sure the velcro meet up before proceeding!
Once you've got him right side out, stuff the body to how you want. -
 Step 10
Attach the Head
Sew the hole closed on the body, but don't make it pretty, as the head will cover this.Position the head in the spot you want it, but make sure the stripe still lines up. Sew it to the body, starting at the very middle of where it will attach, working its way out in a spiral.
Congrats! Your done, and you now have your very own Flying Pillow Bison!


Versions

Posted by
banjinkim


Posted by
Kelsey G.


Posted by
abbey h.


I think overall, that's the hardest part for me. The head I made looks unproporcional, it's too small for the body I guess.
my email is alex.hollrah@gmail.com