

About
How to crochet the classic green pig.
This pig is the first in the Angry Birds crochet plushie series. I bet your asking why I'm doing the Pig first and not the red classical angry bird? Personally I have no clue. I thought I would make my awesome sister some of these for Christmas and since I crochet really slow I am starting now. Plus I thought that you guys might be slow crocheters too so I am sharing it asap. If you have Angry Bird crazy friends and family like me then this makes a PERFECT Christmas, birthday, or just-because-you're-awesome-gift. The stitches I use in this video are single crochet, magic loop,and a couple double crochet. I will explain how to make the magic loop but not the other stitches. If you do not know how to do these... google it! ;)
Tags
-
 Neko-San K. favorited Angry Birds Crochet Pig Plushie
31 May 20:25
Neko-San K. favorited Angry Birds Crochet Pig Plushie
31 May 20:25
-
 Roughwaters44 favorited Angry Birds Crochet Pig Plushie
08 Jul 03:19
Roughwaters44 favorited Angry Birds Crochet Pig Plushie
08 Jul 03:19
-
 Annemarie T. added Angry Birds Crochet Pig Plushie to crochet
07 Mar 19:46
Annemarie T. added Angry Birds Crochet Pig Plushie to crochet
07 Mar 19:46
-
 Jennifer C. added Angry Birds Crochet Pig Plushie to crafts
10 Feb 21:21
Jennifer C. added Angry Birds Crochet Pig Plushie to crafts
10 Feb 21:21
-
 Grimgirl101 favorited Angry Birds Crochet Pig Plushie
04 Jan 10:32
Grimgirl101 favorited Angry Birds Crochet Pig Plushie
04 Jan 10:32
-
 kitty.mortensen favorited Angry Birds Crochet Pig Plushie
15 Dec 19:02
kitty.mortensen favorited Angry Birds Crochet Pig Plushie
15 Dec 19:02
-
 Risa.Hanae (JapZilla) favorited Angry Birds Crochet Pig Plushie
06 Dec 14:48
Risa.Hanae (JapZilla) favorited Angry Birds Crochet Pig Plushie
06 Dec 14:48
-
 SieniPieni added Angry Birds Crochet Pig Plushie to awesomeness
27 Nov 19:59
SieniPieni added Angry Birds Crochet Pig Plushie to awesomeness
27 Nov 19:59
-
 Gabrielle H. favorited Angry Birds Crochet Pig Plushie
28 Oct 00:04
Gabrielle H. favorited Angry Birds Crochet Pig Plushie
28 Oct 00:04
-
 Mrs_Sullivan10 favorited Angry Birds Crochet Pig Plushie
26 Oct 14:58
Mrs_Sullivan10 favorited Angry Birds Crochet Pig Plushie
26 Oct 14:58
-
 Step 1
So first I am going to show you how to make a magic loop (ring) because I KNOW that beginner crocheters will probably have no clue what I'm talking about when I say magic loop.
First off, WITHOUT making a slip knot, take the yarn and wrap it around your finger 3 times as shown in the picture (you may have to click the picture to see it better)then slip the loops of your finger and you will have two loops.(see picture)Put your hook into the loops, yarn over, and pull through loops.(see picture) yarn over again and pull through the loop on your hook. (see picture) Then crochet the specified number of stitches in the pattern. (see picture) Once you have done that pull on the back loop of the two. This will tighten the other loop. Then, take the bottom string (tail) and pull on it. this will tighten the other loop (sorry if this doesn't make sense. :/ )
-
Step 2
Abbreviations
single crochet = sc
double crochet = dc
slip stitch = slst
stitch = st
with = w/ -
Step 3
The head:
Make a magic loop with 6 sc in the loop. Tighten. (Round 1.) join w/ slstRound 2. 2 sc into each st around
Round 3. *1 sc, 2 sc into next st* repeat 6 times
Round 4. *2 sc into next 2 st, 2 sc into next st* repeat 6 times
Round 5. *3 sc into next 3 st, 2 sc into next st* repeat 6 times
Round 6. *4 sc into next 4 st, 2 sc into next st* repeat 6 times
Round 7. *5 sc into next 5 st, 2 sc into next st* repeat 6 times
Round 8-9. sc in each st around. (I recommend using a marker to do this. stick a different piece of yarn into the first stictch in the round and crochet until you get to the marker)
Round 10. *5 sc into next 5 stitches, skip 1 sc, 1 sc into next st.* repeat 6x
Round 11. *4 sc into next 4 stitches, skip 1 sc, 1 sc into next st.* repeat 6x
Round 12. *3 sc into next 3 stitches, skip 1 sc, 1 sc into next st.* repeat 6x
Round 13. *2 sc into next 2 stitches, skip 1 sc, 1 sc into next st.* repeat 6x
Round 14. *1 sc into next st, skip 1 sc, 1 sc into next st.* repeat 6x
Enter stuffing.
Round 15. *1 sc into next st, skip 1 sc* repeat 6xFasten off.
Congrats! You have made the body. -
Step 4
The Ears (make 2)
Make a magic loop with 4 sc. tighten. Do NOT join w/ slst. Fasten offThat was easy, right?
-
 Step 5
The Snout
Make a magic loop with 6 sc in it. tighten. join w/ slst.
1 dc into next st. 3 sc into next 3 st. 1 dc into next st. Fasten off.this will make it more into an oval and not a circle.
take your black (or dark green) yarn.
Enter your hook from the back of the snout. grab the yarn and pull thru. Cut it off at about 3 in and then pull the other end thru about another st down (see picture) repeat on the other side. Remember that your dark lines are verticle and that the wide parts of the snout are on the right and left (see picture) -
Step 6
The Eyes (Make 2)
With white yarn, make a magic loop with 6 sc in it. Tighten. Join w/ slst.2 sc into next 2 st.
*skip a sc, 1 sc into next sc* repeat 3x
Take your black sharpie, put it in the middle of the eyeball, and twist it. I've found that this is much more effective at making a nice, clean-cut pupil than just drawing it on is.
-
 Step 7
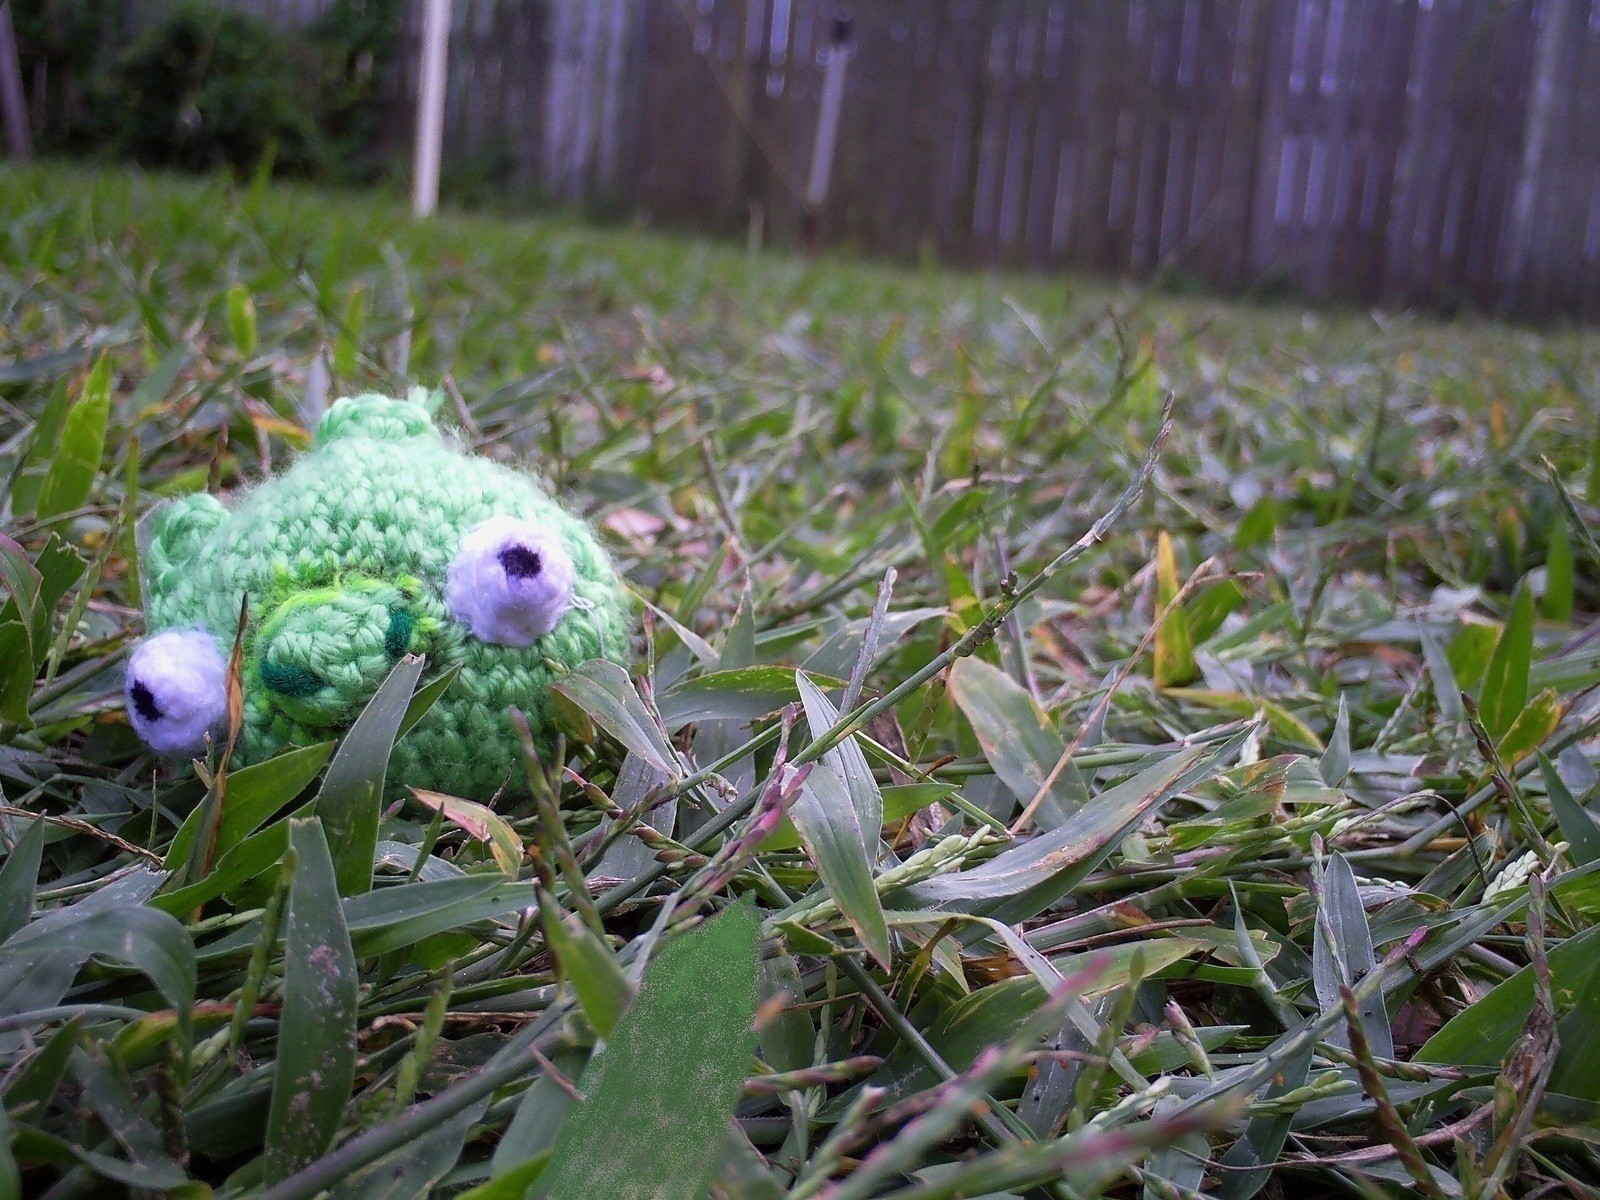
Sew all the parts onto the body as shown in the picture.
NOTE: note that the rows on the body are vertical. this ensures that he is wider horizontally and not vertically
Tip: I recommend pinning down the parts while your sewing so that it doesn't move around.
-
Step 8
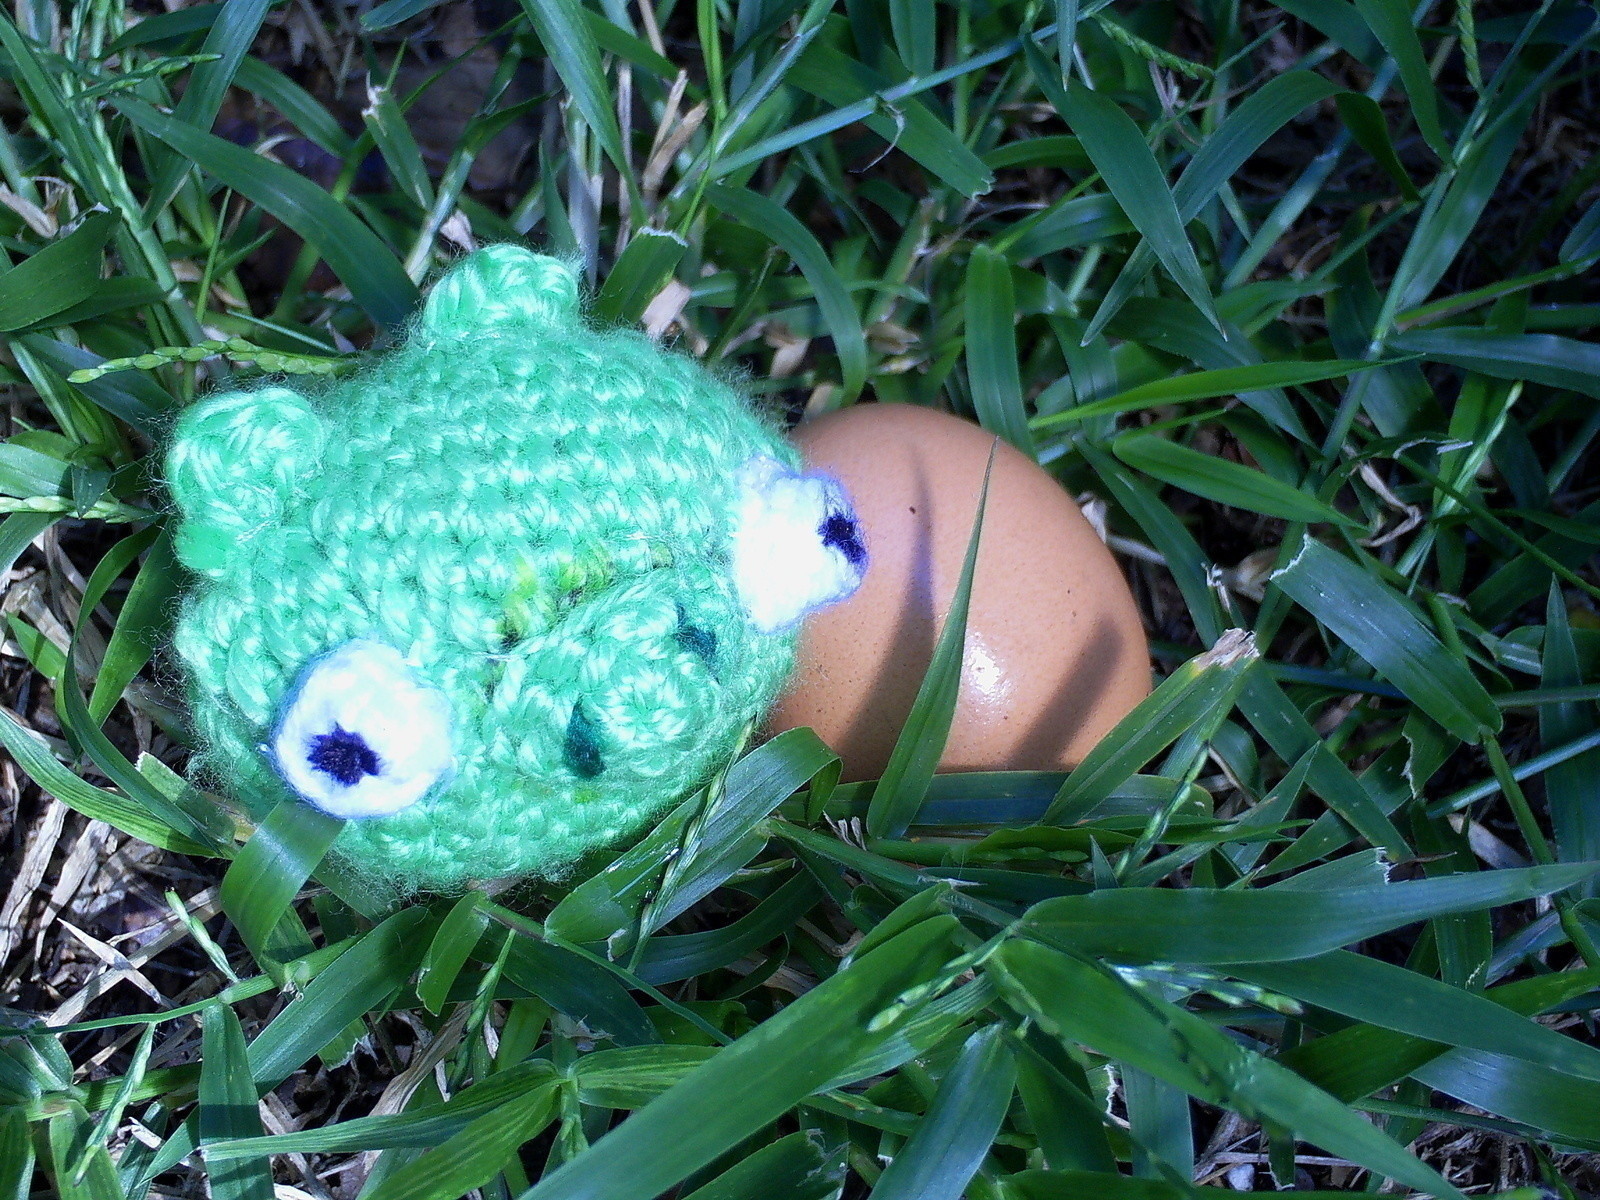
And your done! :D
The thing I love about making the pig? There's room for error. You don't have to worry if his eyes are a little off center or if snout is crooked. The pigs are supposed to look kinda.... off-centered. :)


Versions


Comments

