


About
Okay, so this isn't technically a craft project..
I couldn't decide how to paint my nails so i decided to paint them 5 different ways !
These designs are all very simple and only require a few nailpolishes.
You Will Need
-
 Step 1
I will be showing you how to do
- Checkerboard Print
- 2 Funky Frenchs
- Iris (Flower)
- Leopard Print -
 Step 2
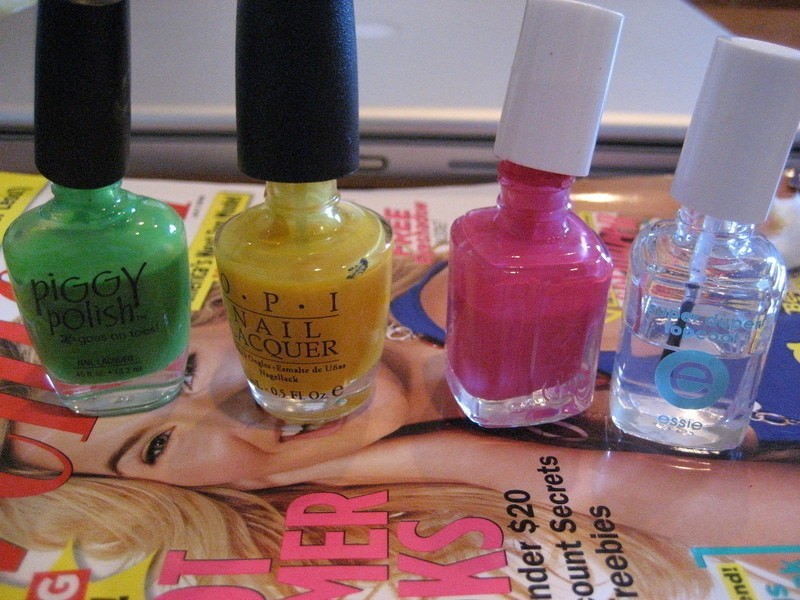
I am using (from left to right)
Piggy Polish "Sublime"
OPI "Need Sunglasses"
Essie "Fiesta"
Essie "Super Duper Top Coat"
(not pictured) Essie "Protein Basecoat"
I got all of these polishes from ULTA, a beauty supply store.STEP 1 FOR ALL MANICURES :
Apply a base coat. You can either use your top coat or a special base coat. This will prevent your nail from being stained by the polish.
LAST STEP FOR ALL MANICURES :
Apply a clear top coat. This will make your manicure shiny and last longer.TIP :
To mix your nailpolishes, roll it between your palms. Do not shake because it will create air bubbles in your polish. -
 Step 3
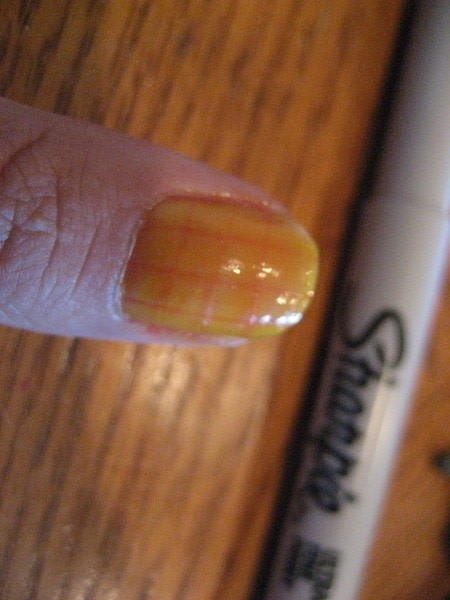
#1 : Checker Board Patter
- 2 Colors of nailpolish
- toothpick
- light colored thin tip sharpieStep 1 : Paint 2 layers of your base color and let dry.
-
 Step 4
Step 2: Draw a checker pattern with your thin tip light colored sharpie. You will not see this step in the finished product.
-
Step 5
Step 3: Dump out some nailpolish on a piece of scratch paper then use your toothpick to fill in the checkerboard pattern.
-
 Step 6
#2 Funky French Tip Design 1
- 3 Colors of Nail Polish -
 Step 7
Step 1:
Apply a diagonal stripe of your 1st color. -
 Step 8
Step 2:
Using your 2 other colors, apply dots over your first color (while the first color is still wet). -
Step 9
Step 3:
To get the dots to spread out a bit, shake your hand. -
 Step 10
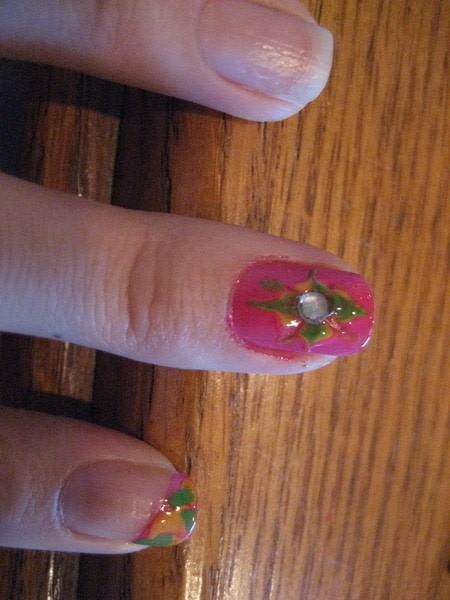
#3 Iris (flower)
- 3 colors of polish
- rhinestone
- toothpickStep 1 : Apply a THICK coat of your base color.
-
 Step 11
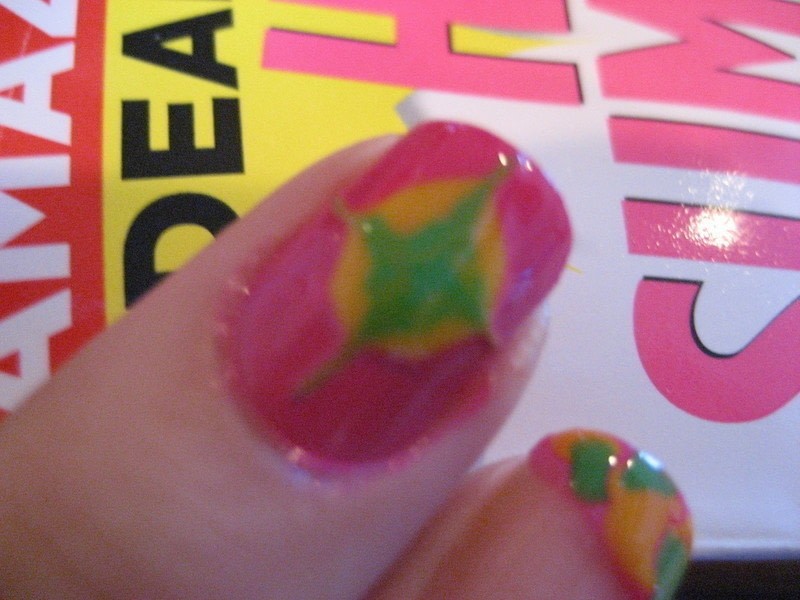
Step 2 : While your first coat is still wet, put a dot in the middle. Then put another dot in the middle of your first dot.
-
 Step 12
Step 3: IMMEDIATELY, use your toothpick and pull the dot OUT on 4 corners.
-
 Step 13
Step 4: Then, pull your toothpick IN on the four corners that you haven't touched.
Eww so messy :P -
 Step 14
Step 5: Plop a rhinestone in the middle of your Iris.
-
 Step 15
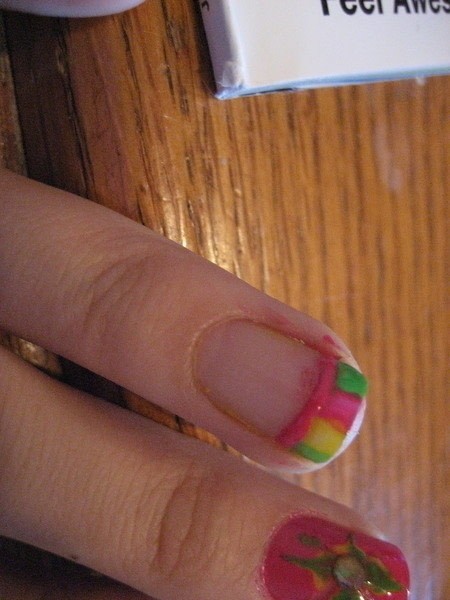
#4 Funky French 2 Candy Stripes
- 2 or 3 colors of nail polish
- toothpickStep 1:
Along the top of your nail, draw stripes of each color. -
 Step 16
Keep adding stripes until you get to the end!
-
 Step 17
Using your toothpick, add a thin stripe under the "Candy Stripes"
-
 Step 18
#5 Leopard Print
- 3 colors of nail polish
- toothpick -
 Step 19
Step 1: Paint 2 layers of your base color and let dry
Step 2: Put random dots of your second color.
-
 Step 20
Step 3: Pour some nailpolish on a scratch paper and use the toothpick to partially outline the dots.
-
 Step 21
Yay!
Sorry for this super long tutorial
Don't forget to put on top coat!!


Have you seen my nailart? I put a how to for a butterfly
Love the leoprint By the way