

About
3D Origami Fun!
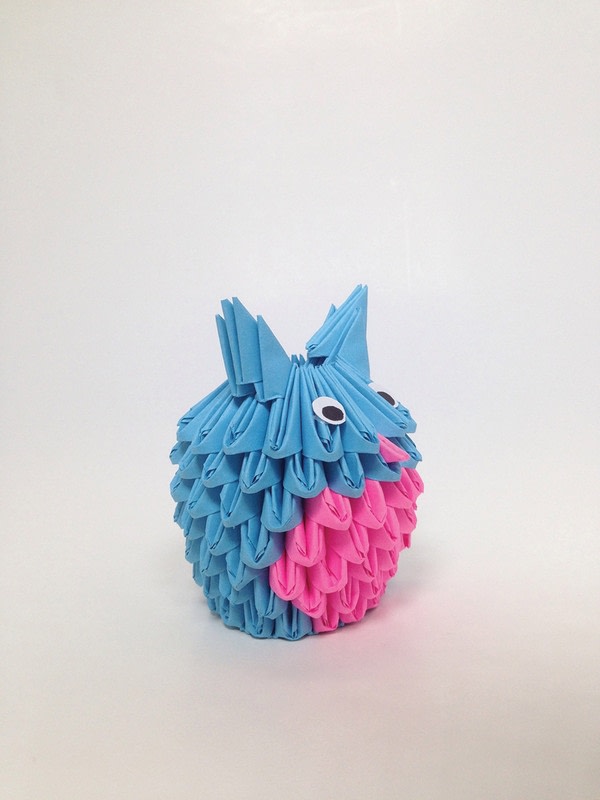
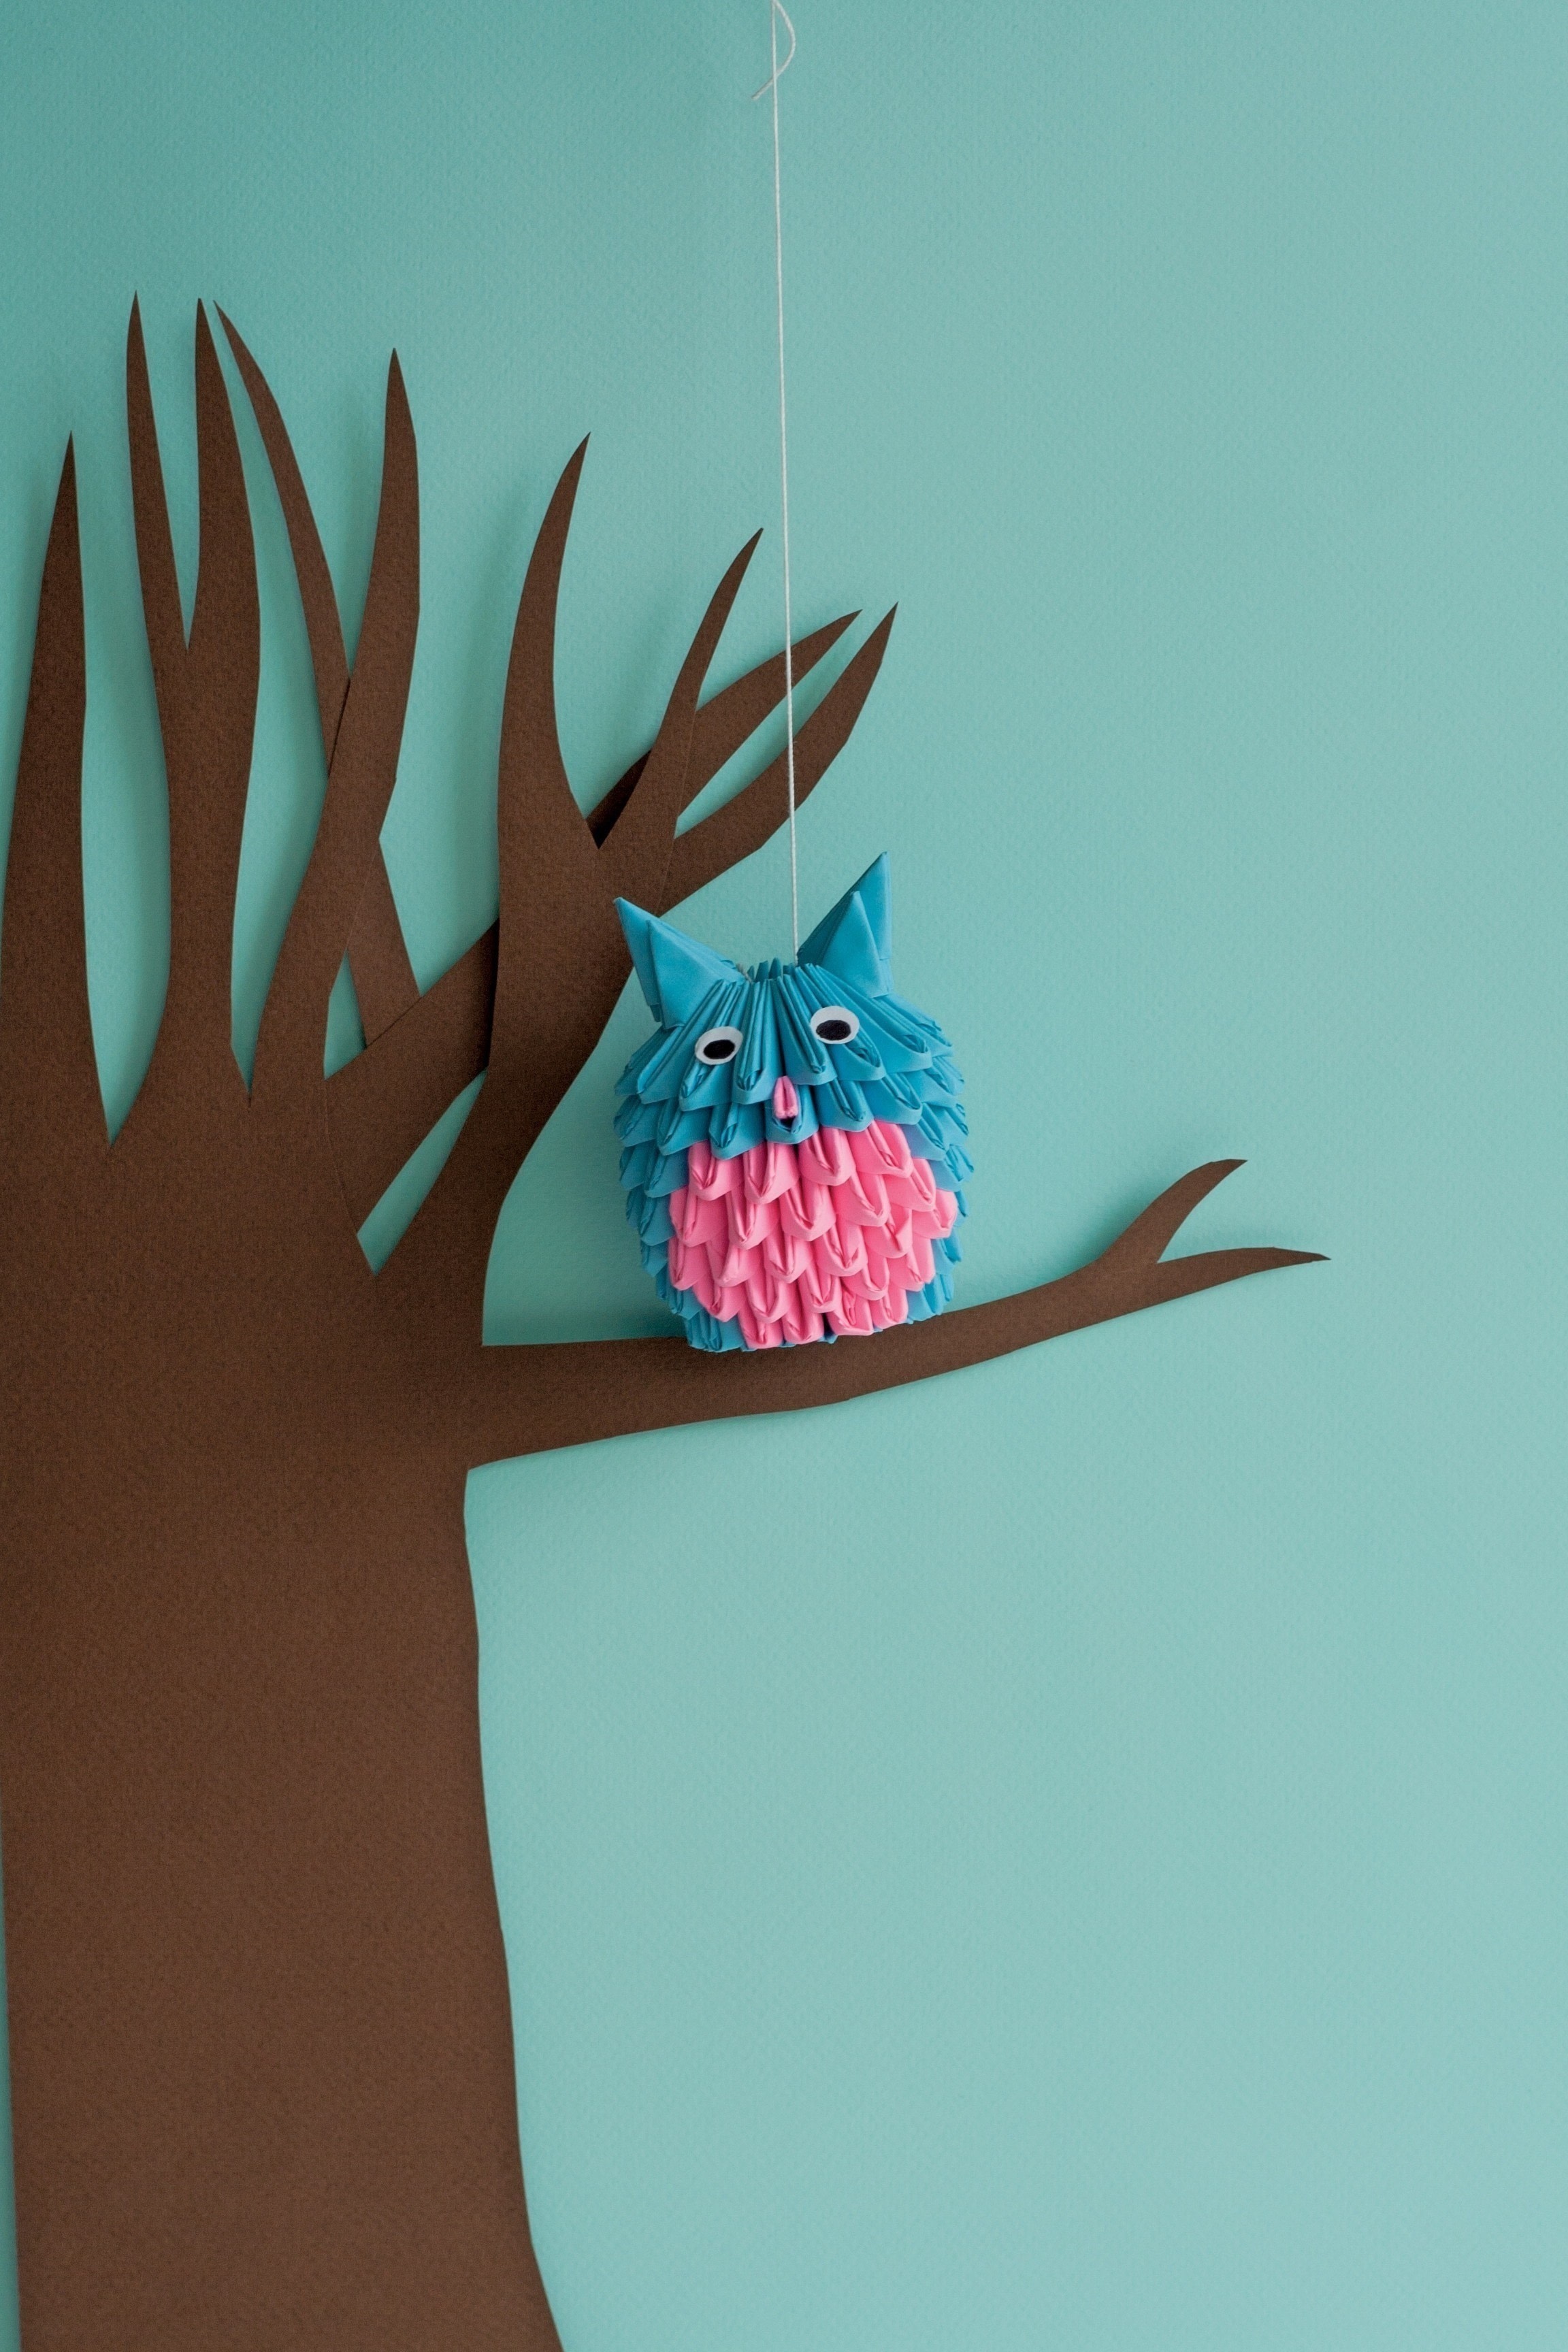
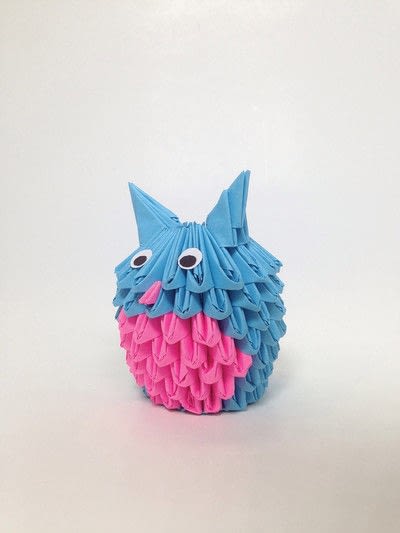
Sure, owls found in nature aren’t bright blue and neon pink, but sometimes it’s fun to mix things up. This woodland creature is very popular in kids’ gear now, and this design is perfect for fall or Halloween decor, either for everyday use or for a party. The finished 2.5" tall Owl’s ears and nose add to her silly temperament.
Key
Upside-down V: Smooth side facing out (These pieces will not be visible when the structure is complete since they serve as a foundation for the structure to be built on)
Right side up V: Rough side facing out
Star symbol: Placement of eyes and nose
Tags
Downloads
- 113305_2F2016-03-31-134740-OwlEye.jpg 96.4 KB [ Download ]
-
 Ashley Jean favorited 3 D Origami Owl
22 Mar 05:03
Ashley Jean favorited 3 D Origami Owl
22 Mar 05:03
-
Mikayla B. favorited 3 D Origami Owl
08 Sep 02:42
-
 paola m. added 3 D Origami Owl to carta
21 Apr 21:01
paola m. added 3 D Origami Owl to carta
21 Apr 21:01
-
Wild A. favorited 3 D Origami Owl
12 Mar 19:11
-
 Angechiladas favorited 3 D Origami Owl
11 Mar 22:01
Angechiladas favorited 3 D Origami Owl
11 Mar 22:01
-
 lynn.hess.963 favorited 3 D Origami Owl
05 Mar 15:39
lynn.hess.963 favorited 3 D Origami Owl
05 Mar 15:39
-
 Crafterella featured 3 D Origami Owl
04 Mar 23:00
Crafterella featured 3 D Origami Owl
04 Mar 23:00
-
 Vanessa L. favorited 3 D Origami Owl
29 Feb 18:58
Vanessa L. favorited 3 D Origami Owl
29 Feb 18:58
-
 Janiza G. favorited 3 D Origami Owl
27 Feb 03:00
Janiza G. favorited 3 D Origami Owl
27 Feb 03:00
-
 FW Media published his project 3 D Origami Owl
26 Feb 09:00
FW Media published his project 3 D Origami Owl
26 Feb 09:00
-
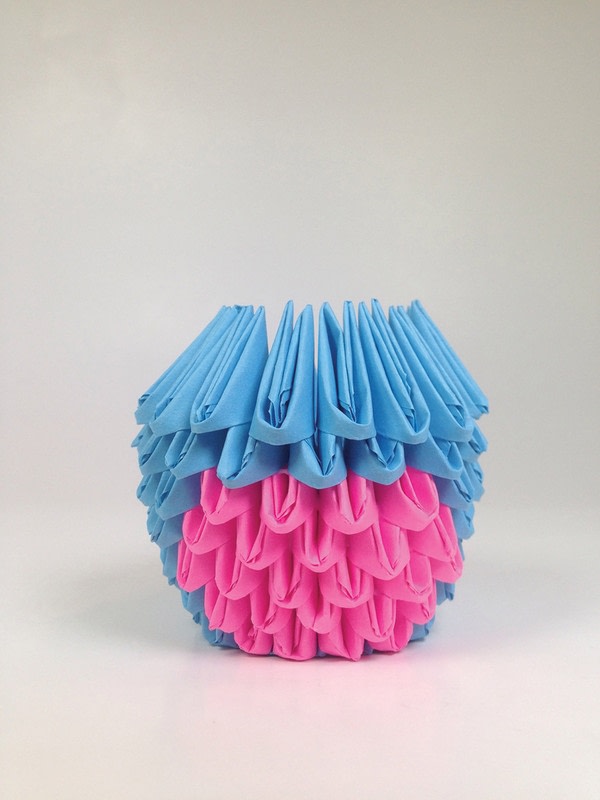
 Step 1
Create a basic 3D origami base (http://www.cutoutandkeep.net/projects/how-to-construct-an-origami-base) Use 16 pieces where Chapter 1 shows orange pieces, as well as 16 pieces for row 1 (shown in blue in Chapter 1).
-
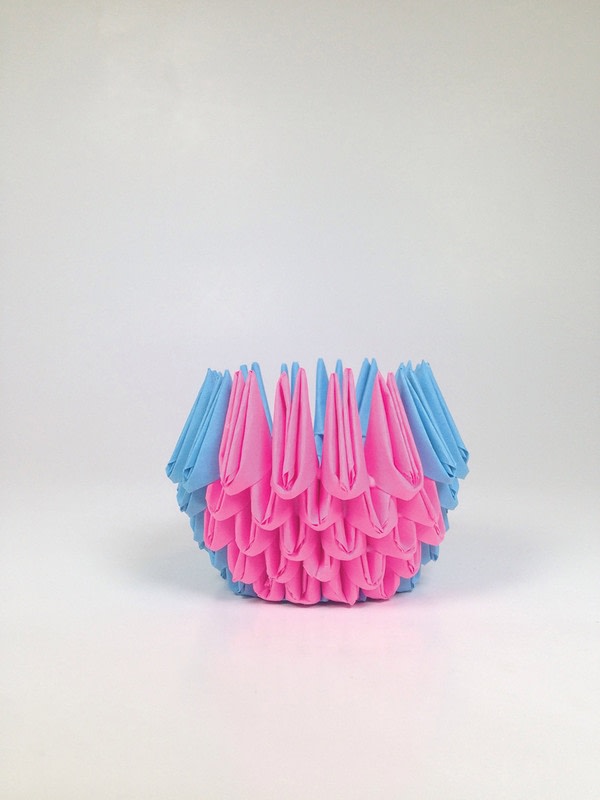
 Step 2
The pink pieces will make up the belly. Each piece added to the structure should connect 2 pieces from the previous row. Glue as you go.
-
 Step 3
For the ears, insert the pieces with the smooth side facing out. The ears build on the previous row and connect 2 different pieces, just as you’ve been doing all along. The diagram shows the placement of the pieces. Don’t forget to glue in place!
-
 Step 4
Take your white and black paper for the eyes and cut them into circles (small circles for the black, bigger circles for the white). Glue the black circles within the white circles (feel free to make them cross-eyed, crazy-eyes, or whatever you want!). Use hot glue to attach the eyes (see the diagram for placement).
-
 Step 5
Take your 3 × 1.5 cm pink folded piece and use all-purpose glue to attach it to the structure for the Owl’s nose. The diagram shows the placement of the nose.
-
 Step 6
This Owl is ready to guard a barn or provide spooky “whoooo” sounds on Halloween!