
Features


Learn how-to sew continuous bias tape in #TechniqueTuesday with Heather M. Love and then make her shirt apron.
-
 Step 1
Fold fabric in half with right sides facing.
-
 Step 2
With fold oriented at the top, stitch fabric to itself with one continuous seam 1/2 inch in from the outer edge along all three open sides. Your fabric will be stitched completely closed with no openings left for turning.
-
 Step 3
With tailor's chalk and a ruler, draw a line diagonally across fabric.
-
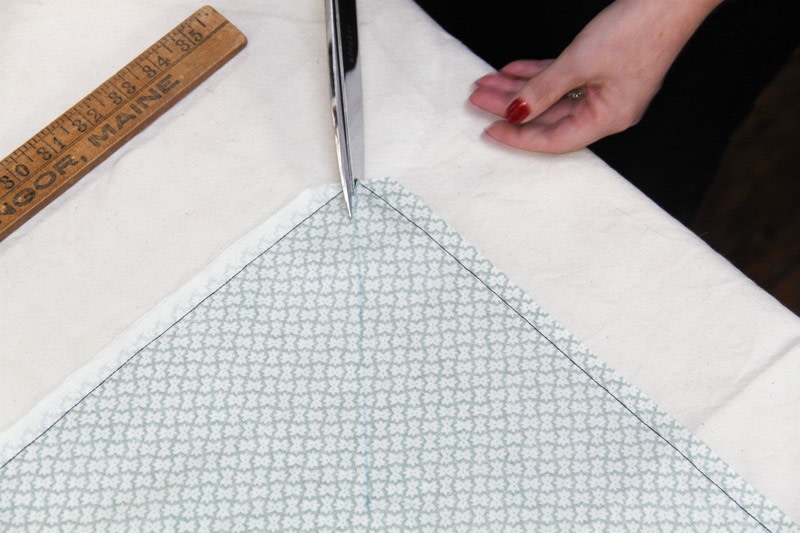
 Step 4
Trim corresponding corners, insert scissors into opening at corner and cut through just the upper layer of fabric along the diagonal line you just drew.
-
 Step 5
Turn panel over and repeat process on other side of the fabric square, drawing a diagonal line across the fabric between the remaining uncut corners.
-
 Step 6
Trim remaining corners, insert scissors and cut through the top layer of fabric along the diagonal line.
-
 Step 7
Unfold the panel into a tube.
-
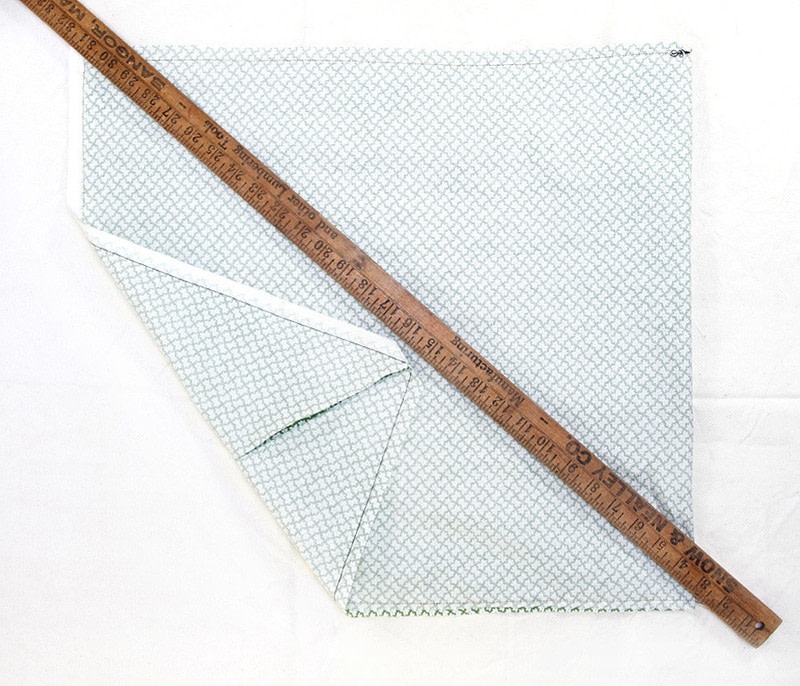
 Step 8
Lay panel out flat with openings at top and bottom. Press seams open.
-
 Step 9
With tailor's chalk, measure and mark a parallel line 6 inches from the fold at one side of the tube.
-
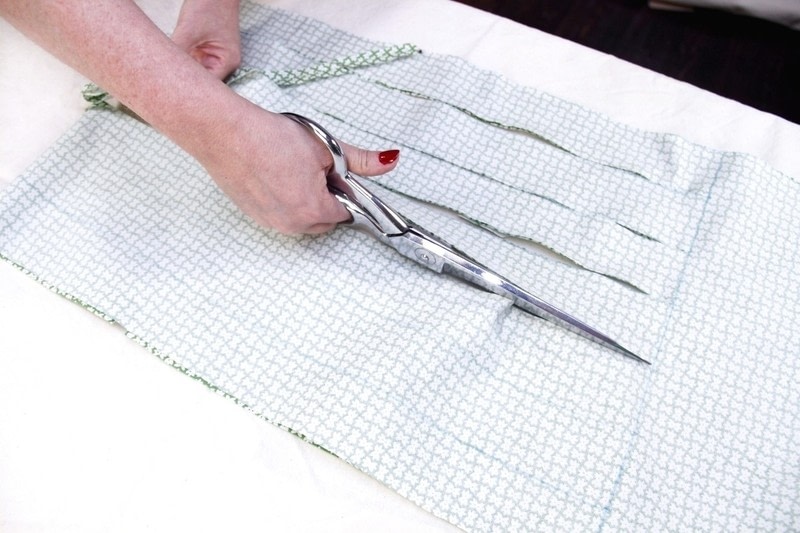
 Step 10
Now measure and mark lines perpendicular to the parallel line you just drew. Space these lines at 2 times the finished width you desire for single fold bias or 4 times the finished width you desire for double fold. (e.g. 1/2” double fold bias tape will need to be cut to a width of 2 inches.)
-
 Step 11
Cut through both layers of fabric along perpendicular lines just to the parallel line. Do not cut beyond this line!
-
 Step 12
Unfold the uncut portion of the panel, shifting work so that the section is folded out completely and flat against the tabletop. Be sure to adjust the strips that you just cut are organized out from under this section.
-
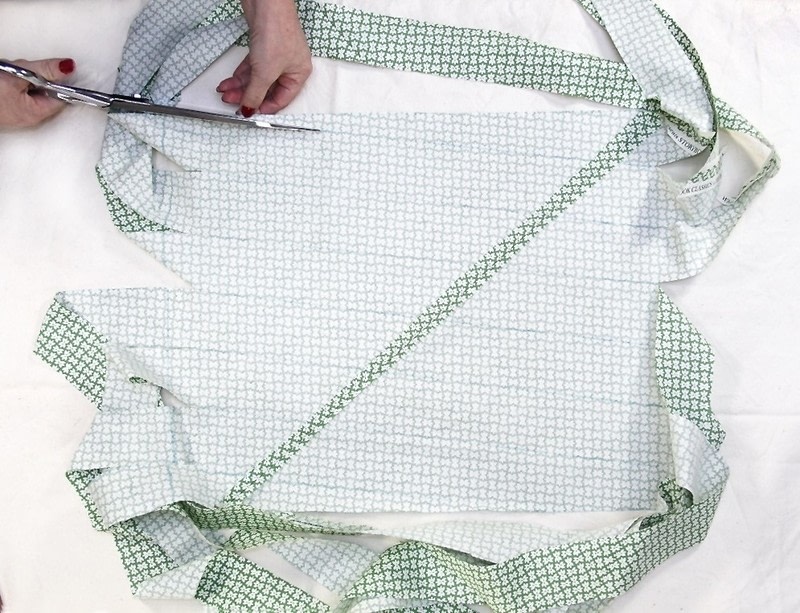
 Step 13
Now draw a line from the bottom of the fabric on the right up to the first cut line on the left, shift your ruler up and draw a line from the first cut line on the right to the second cut line on the left. Continue in this manner up the chain.
-
 Step 14
Cut fabric along the each of the lines that you just drew to create a continuous strip.
-
 Step 15
Trim segments at the beginning and end so that tape is even.
-
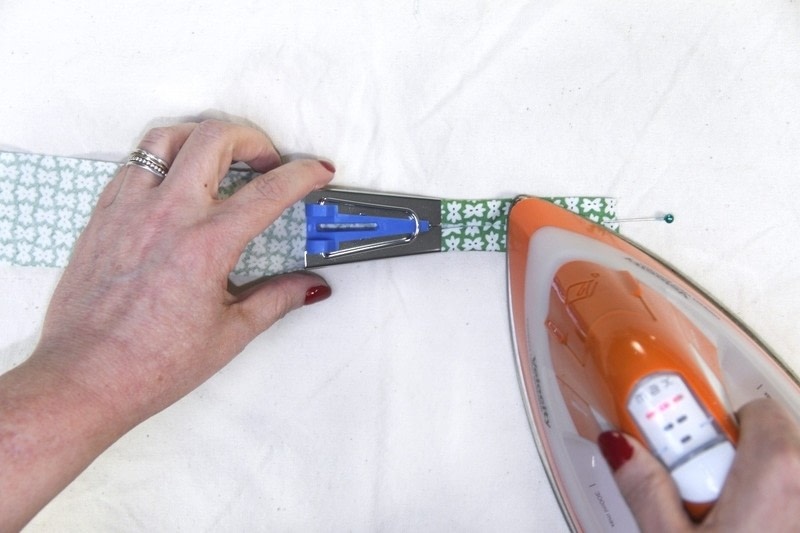
 Step 16
Fold over and press to create single or double fold bias tape as desired. To make quick work of this you can use a bias tape maker that corresponds to the sizing of your tape. Remember that the sizing on bias tape makers is for single fold bias tape.


Got the hang of this technique?
Put your new skill to the test with this tutorial:
Is there a certain technique you'd love to learn or one that you could teach us? Send us a message!
Share
Follow


