
Features


Learn how-to make freeform resin beads & pendants in #TechniqueTuesday with Kathryn from Craft Me Happy and then make some resin jewellery.
-
 Step 1
When working with any resin you need to take a few simple precautions. Thankfully Ice Resin hasn't get a very strong odour, but you still need to ensure that your room is well ventilated and try not to breathe in the fumes. Resin sticks to most surfaces and can be extremely difficult to remove so always ensure that you protect your surfaces by covering them with parchment paper or waxed grease proof paper. A silicone sheet would work well too. I have a large wooden board that I wrap with grease-proof paper and it means that I can move it out of the way if I need to.
-
 Step 2
The Ice Resin kit comes with lots of these little disposable measuring cups. You get quite a few little nuggets from just a small amount of resin, so the little bottles go a very long way. Following the instructions, measure out 5ml from bottle A and 5ml from bottle B, pouring slowly and pausing regularly to allow it to level out.
With a wooden stick, stir the resin slowly for over 2 minutes until there are no striations in the mixture.
-
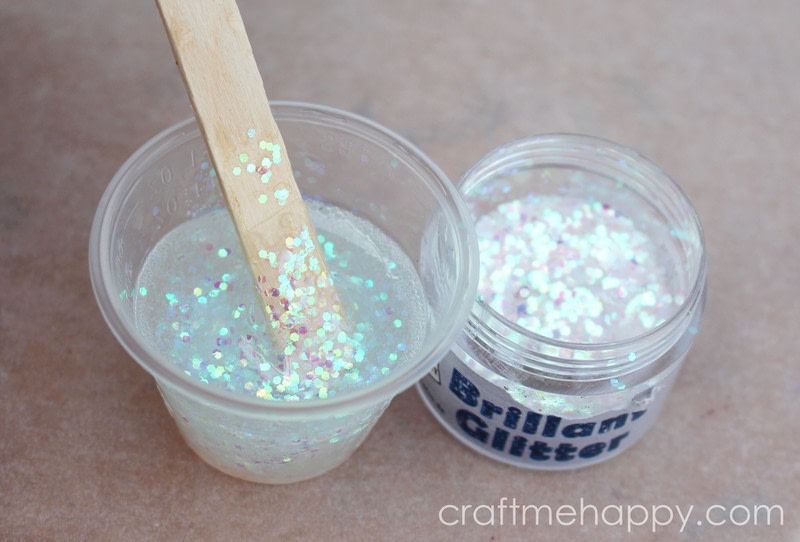
 Step 3
Add quite a good sprinkle of glitter and stir it in thoroughly. You want quite a dense texture of glitter.
-
 Step 4
I wanted to work out a way of applying the resin to the grease-proof paper more accurately so I've been experimenting with using disposable piping bags. I find that it gives me a lot more control and I'm able to apply very small amounts of resin to the parchment paper much more quickly and accurately than pouring or dropping from the end of a stick.
Attach a clip to the end of the disposable piping bag. This is simply to stop the resin from travelling all the way down to the bottom of the bag and will save your scissors later.
-
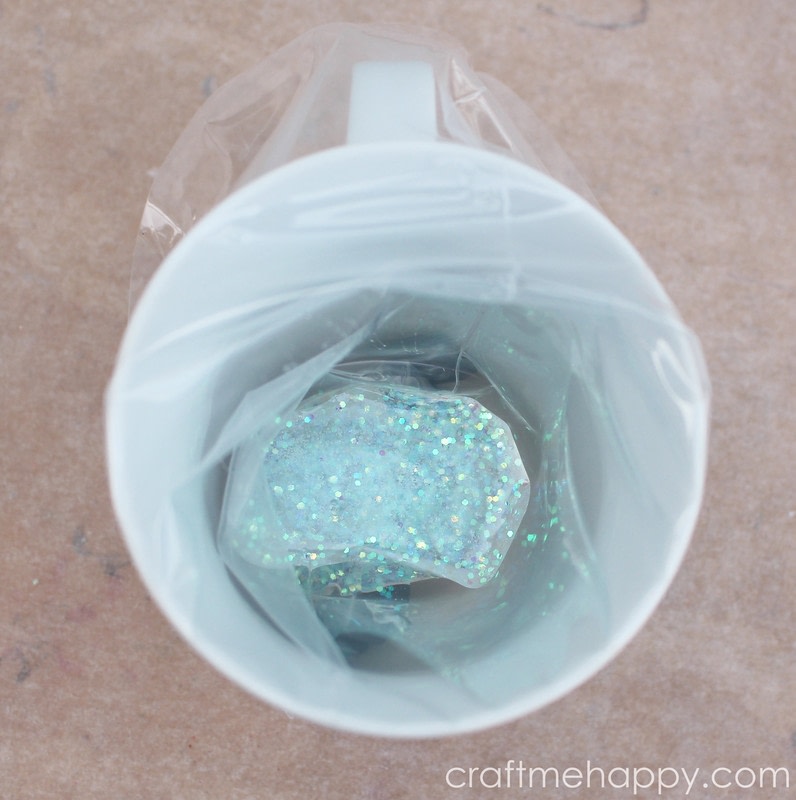
 Step 5
Put the clip and piping bag inside a mug and open up the piping bag by wrapping the edge over the rim of the cup. Carefully pour the resin and glitter mix into the piping bag.
Now this is where you need to completely ignore the instructions that came with the Ice Resin. The instructions tell you to leave the resin to sit for 5 minutes, however I leave mine to rest for 90 minutes. This way it has time to become a lot more viscous, so when you come to pipe it, it will spread out and flatten much less than it would if you were to pour it out straight away.
-
 Step 6
Once you've left it for an hour and a half, cut the end off your piping bag, leaving a hole of about 3mm. Now move to your prepared surface, remove the clip and gently squeeze the resin towards the end of the piping bag.
-
 Step 7
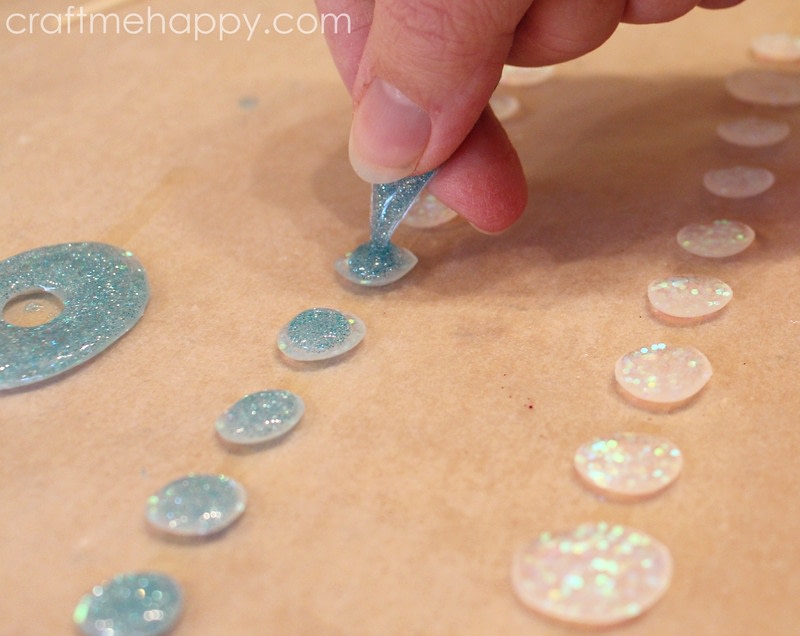
Now all you need to do is pipe your thick, glittery resin onto your grease-proof waxed paper. Squeeze gently downwards until you've got a little nugget of resin on your paper and then pull upwards to prevent trails of resin between your shapes. Experiment with rounds, ovals or drop shapes in varying sizes. You won't be able to control the exact final shape that you achieve, but part of the excitement of this method is the surprise of not knowing exactly what you will get at the end.
-
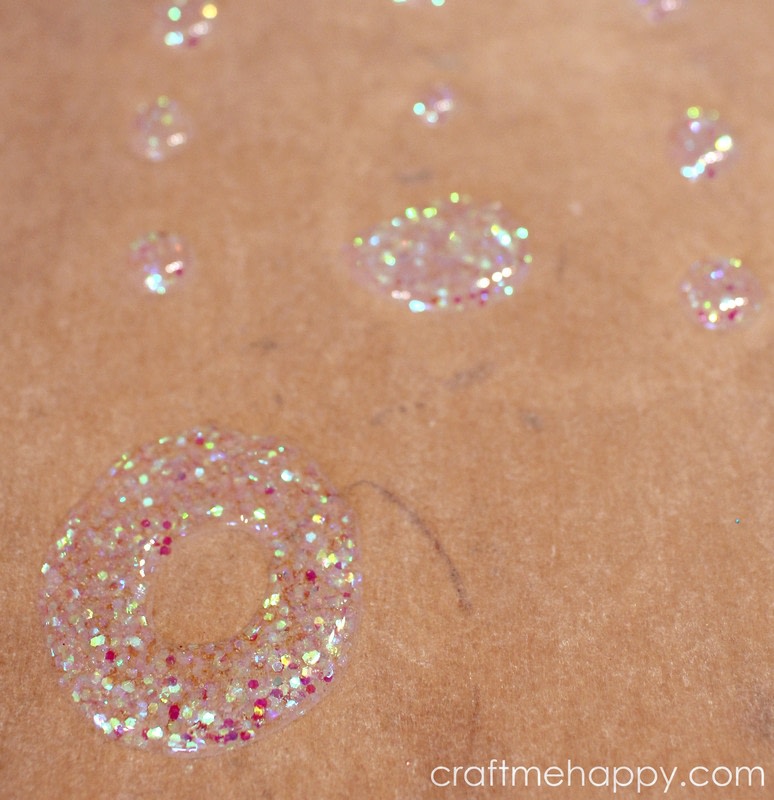
 Step 8
I tried a doughnut shape for the first time to see if it would work. I knew that if I'd used freshly made resin that hadn't been left for 90 minutes the centre would certainly have filled up and my shape would be much flatter and smaller.
Once you've used up all the resin in the piping bag, leave it to set overnight, or for at least 12 hours.
-
 Step 9
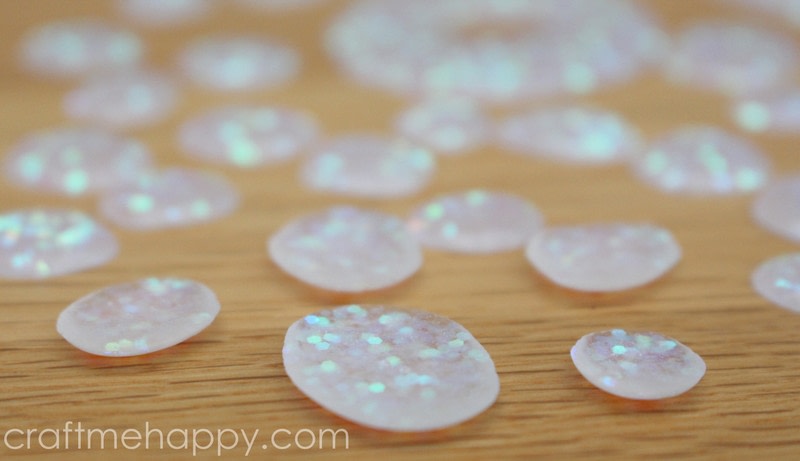
After about 12 hours has passed, Ice Resin has lost its stickiness and you are able to touch it and peel it off your sheet of baking parchment.
-
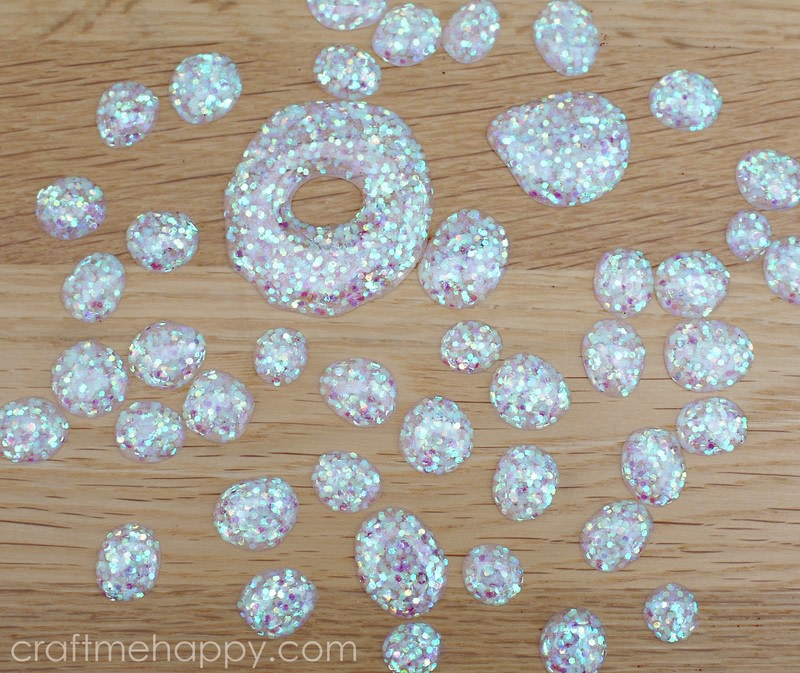
 Step 10
Here's how my doughnut shape turned out. As you can see, I still couldn't have complete control of the neatness and symmetry of my shapes, but I was able to cheat a little with this one and file the irregular outline a little with my Dremel. The 12 hour old resin is still quite soft, so it wasn't at all difficult to remove some of the unevenness from the outline for a more uniform, but still organic shape. (The second picture shows the filed piece.)
-
 Step 11
Here is the reverse of some of my little resin shapes. You can see how the baking parchment has given the backs a matte finish.
For a much more solid piece I've been experimenting with applying a second layer of glitter resin to the reverse and this is the technique that I've worked out after a couple of trials.
-
 Step 12
Apply several long strips of strong double sided sticky tape to your non stick work surface. Then stick each glittery resin stone, flat side up, to the double sided sticky tape, leaving a good cm between each one. I find that some brands of double sided sticky tape don't stick to the grease proof paper covered board at all, while others leave a sticky residue, so you may need to experiment. I found that the brand with a red removable strip worked best for me.
-
 Step 13
Now mix up some more resin and glitter in the same way as earlier. This time I made the same amount of resin, but I split it in two, adding bronze glitter to one half and sky blue to the other half.
-
 Step 14
Put your resin in a piping bag and leave it for 90 minutes in exactly the same way as earlier. Then pipe it onto the reverse of your upturned glitter resin nuggets. The best technique I found was to pipe it onto my resin pieces leaving the outer 80% uncovered. The Ice Resin is great as it's self leveling, self doming and it has surface tension. If you put the right amount of resin on it will slowly spread out to all of the edges without flowing over.
-
 Step 15
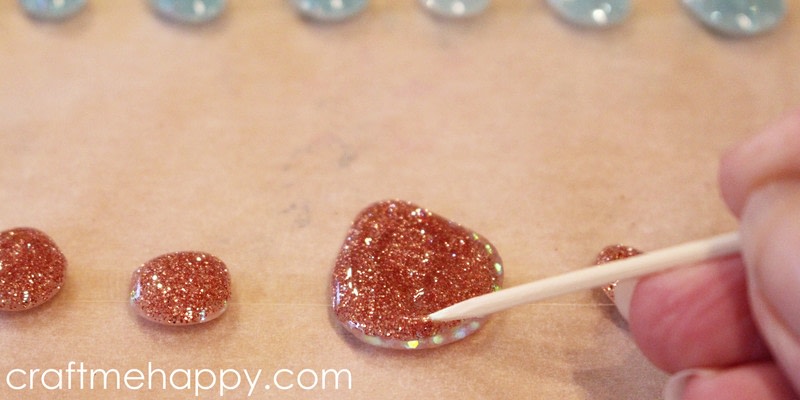
Some of the larger pieces may need a little encouragement to make sure that all of the resin spreads completely to the edge. Using a cocktail stick, gently push the resin towards the edge to form a neat nugget of glitter resin.
Now just leave your resin pieces to set again overnight, or for at least 12 hours...
-
 Step 16
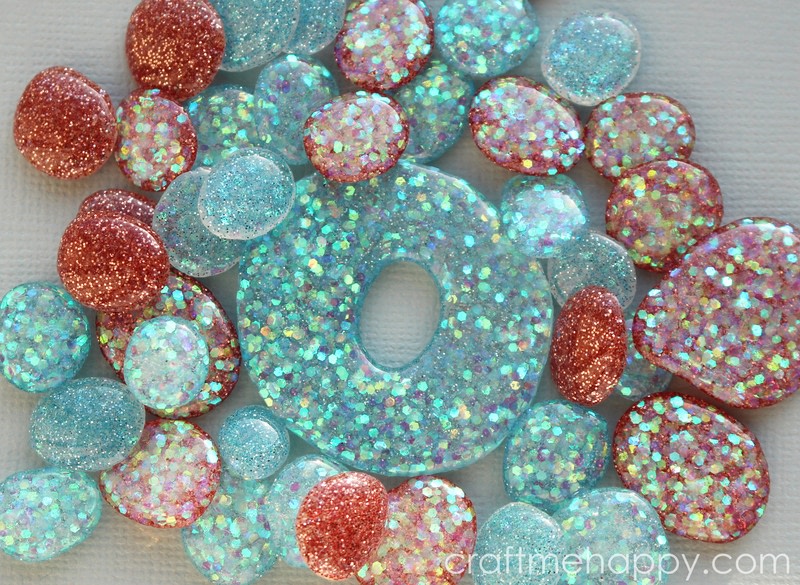
... and then the next day you can peel all of your little resin glittery shapes off the double sided sticky tape and get majorly excited at what you've just made!
My favourite part is picking each one up and deciding what kind of jewellery piece I can turn it into.
Take a look at my step by step of turning little glittery resin nuggets into jewellery.


Got the hang of this technique?
Put your new skill to the test with this tutorial:
Is there a certain technique you'd love to learn or one that you could teach us? Send us a message!
Share
Follow
Comments


