
Features


Learn how-to sew a "box-x" stitch with Court from Crafting with Court and then use her technique to sew your own dog leash.
-
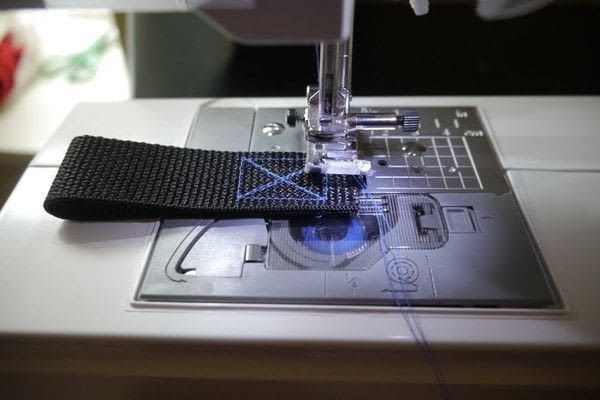
 Step 1
Run a seam almost the entire short length of your webbing. Stop when you get to the end.
-
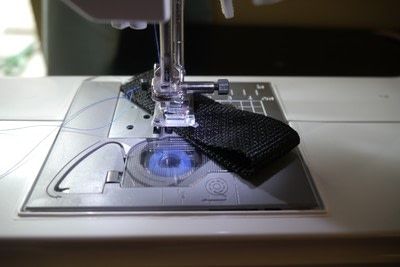 Step 2
Lift the foot and rotate your webbing about 45 degrees without removing the needle from the webbing. Run a diagonal seam for about 1". Stop when you get to the end.
-
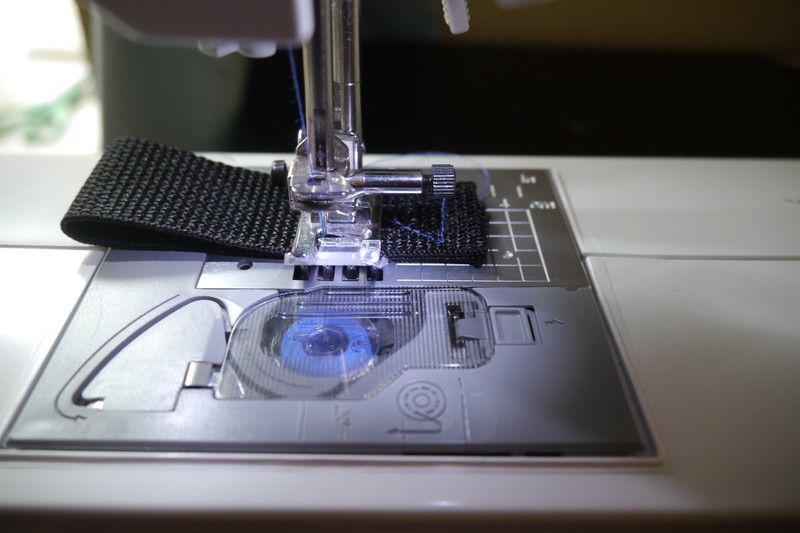
 Step 3
Lift the foot and rotate your webbing about 45 degrees without removing the needle from the webbing. Run a straight seam approximately the length of your seam from step 1. Stop when you get to the end.
-
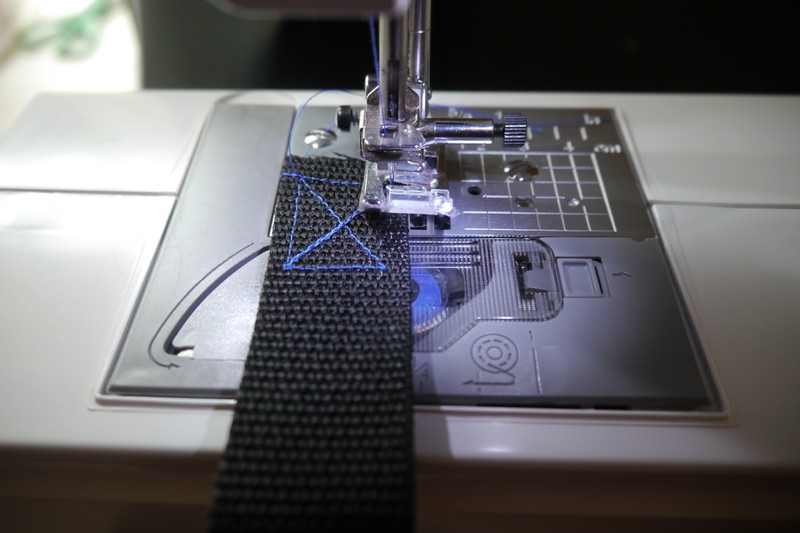
 Step 4
Lift the foot and rotate your webbing about 45 degrees without removing the needle from the webbing. Run a diagonal seam approximately the length of your Step 2 seam. Stop when you get to the edge of the Step 1 seam.
-
 Step 5
Lift the foot and rotate your webbing about 45 degrees without removing the needle from the webbing. Run a straight seam until you reach the corner made from Steps 2 and 3. Stop when you get to the end.
-
 Step 6
Lift the foot and rotate your webbing about 45 degrees without removing the needle from the webbing. Run a diagonal seam directly over the Step 2 seam. Stop when you get to the end
-
 Step 7
Lift the foot and rotate your webbing about 45 degrees without removing the needle from the webbing. Run a straight seam until you reach the corner made from Steps 3 and 4. Stop when you get to the end.
-
 Step 8
Lift the foot and rotate your webbing about 45 degrees without removing the needle from the webbing. Run a diagonal seam directly over the Step 4 seam. Stop when you get to the end
-
 Step 9
Lift the foot and rotate your webbing about 45 degrees without removing the needle from the webbing. Run a straight seam directly over the Step 1 seam. Stop when you get to the end
-
 Step 10
Lift the foot and rotate your webbing about 90 degrees without removing the needle from the webbing. Run a straight seam directly over the Step 7 seam. Stop when you get to the end
-
 Step 11
Lift the foot and rotate your webbing about 90 degrees without removing the needle from the webbing. Run a straight seam directly over the Step 3 seam. Stop when you get to the end
-
 Step 12
Lift the foot and rotate your webbing about 90 degrees without removing the needle from the webbing. Run a straight seam directly over the Step 5 seam. When you get to the end, back stitch at least twice and cut your strings.
-
 Step 13
For an overall view of the process, use this diagram.


Got the hang of this technique?
Put your new skill to the test with this tutorial:
Is there a certain technique you'd love to learn or one that you could teach us? Send us a message!
Share
Follow


