
Features


 By
Peg R.
By
Peg R.

Learn how-to create backgrounds using a focal point with Peg from from Peg's Crafting Corner and use the technique to make a Halloween card.
-
 Step 1
Lay the mask or stencil onto the cardstock making sure it is secure on the paper. You don't want it to move when you are applying the ink. If necessary, use a spray adhesive to stick it down. Have some fun and create your own stencils using a die cut machine. You can use both pieces that are cut from them.
-
 Step 2
Add the ink onto the mask or stencil using the blending tool. Be sure to start in a circular motion off of the project and move onto it while still moving in the circular motion so that you don't pull up the mask/stencil.
-
Step 3
Begin by cutting a piece of cardstock that will be the front portion of your card. The white cardstock used measures 5" x 6", but this can be adjusted to fit the card base that you are using. Keep in mind that this will be divided into sections so it will need to be smaller than the size of the card base so that it and the patterned paper will fit onto the base.
-
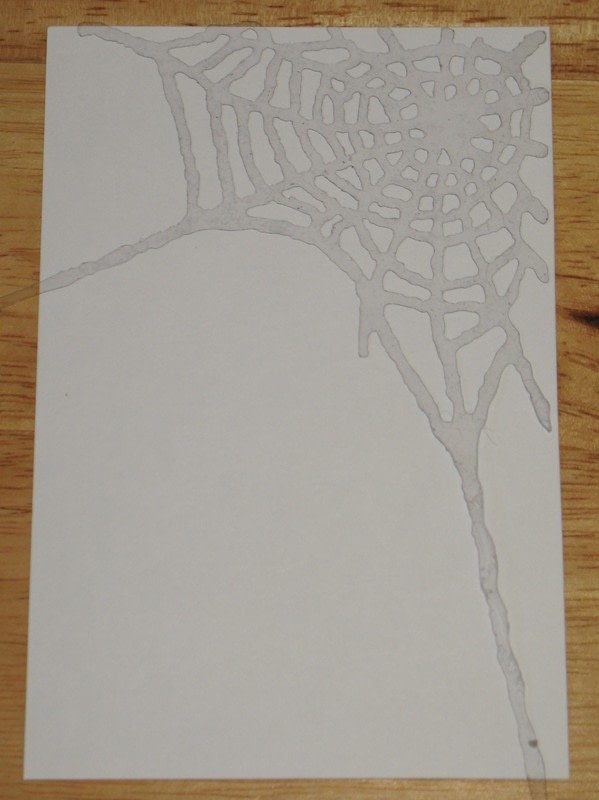
 Step 4
This gives you an idea of what you will have after your piece has been inked.
-
 Step 5
Use additional stamps to add any details you want on the piece.
-
 Step 6
Cut the focal piece into strips. The strips for the 5" x 6" piece should measure 3/4" each. Try adding a different look by cutting the pieces into horizontal strips or cut it from corner to corner. Have fun and experiment and found out what you like.
-
 Step 7
Stamp on the sentiment now or you can do it before you cut the piece into strips whichever is easiest for you.
-
Step 8
Now assemble the card using the accompanying instructions," Assembling Your Simple Way to Give A New Look" tutorial.


Got the hang of this technique?
Put your new skill to the test with this tutorial:
Is there a certain technique you'd love to learn or one that you could teach us? Send us a message!
Share
Follow
Comments


