
Features


 By
Jessica O.
By
Jessica O.

Learn how-to frame with washi tape with Jessica from Zakka Life and make some washi tape framed photos.
-
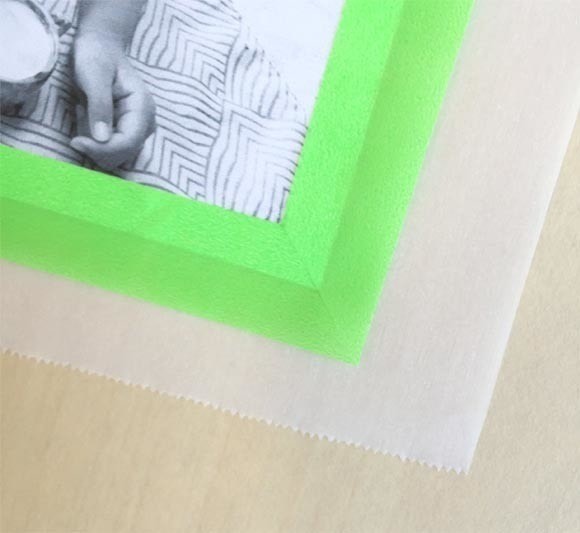
 Step 1
Lay a piece of parchment paper down for your crafting surface. Place your photo on top of it. Now, place four pieces of tape on the sides of your photo. The tape should only cover the border and hang half way off the sides of the photo. All four corners of tape should overlap. Refer to the picture above.
-
 Step 2
Lift up one corner of the tape and cut the tape corner to corner. You’re only cutting the tape, not the photo.
-
 Step 3
After you cut the tape, it should look like the photo above. You’ll now have two little pieces of tape on each side that can be removed. Carefully peel these off.
-
 Step 4
When you pull off the two small pieces of tape, you will get a perfect mitered corner. Repeat these steps for all corners of your picture.
-
 Step 5
Peel the entire piece off you parchment paper and attach it to your wrapped gift. Done.


Got the hang of this technique?
Put your new skill to the test with this tutorial:
Is there a certain technique you'd love to learn or one that you could teach us? Send us a message!
Share
Follow
Comments


