

About
Take it to the next level!
This summer dress is very easy and can change depending on the design you choose. This is just one look because I'm more of a simple and funtional person. So that'll show up in the clothes I make, but you can add fabric flowers and all sorts of decoration. Go wild!
The whole design and added detail took about twenty minutes. So if you have old t-shirts lying around, breathe some life into them. Unless you're like my mom and uses all the old clothes in the house to wipe the floor or as a door mat. ^^
Red lines mean cut.
Blue lines mean sew.
Green lines mean added detail.
Business side: means the wrong side or basically where all the work is (stitches and stuff)
Party side: the fun side or right side, where every one will see what it looks like
-
 Susan G. favorited Summer Fun
17 Jun 16:21
Susan G. favorited Summer Fun
17 Jun 16:21
-
Dee D. added Summer Fun to clothes
05 Jun 20:24
-
Debi added Summer Fun to Dress Ideas
30 Oct 05:02
-
Rhonda G. favorited Summer Fun
08 Jul 19:18
-
 WaterAngel added Summer Fun to Dresses/Outfits
09 May 02:18
WaterAngel added Summer Fun to Dresses/Outfits
09 May 02:18
-
Shannon W. added Summer Fun to clothes
15 Feb 22:12
-
 cristinakilljoyway favorited Summer Fun
03 Jan 22:42
cristinakilljoyway favorited Summer Fun
03 Jan 22:42
-
Marie P. favorited Summer Fun
02 Aug 13:47
You Will Need
-
 Step 1
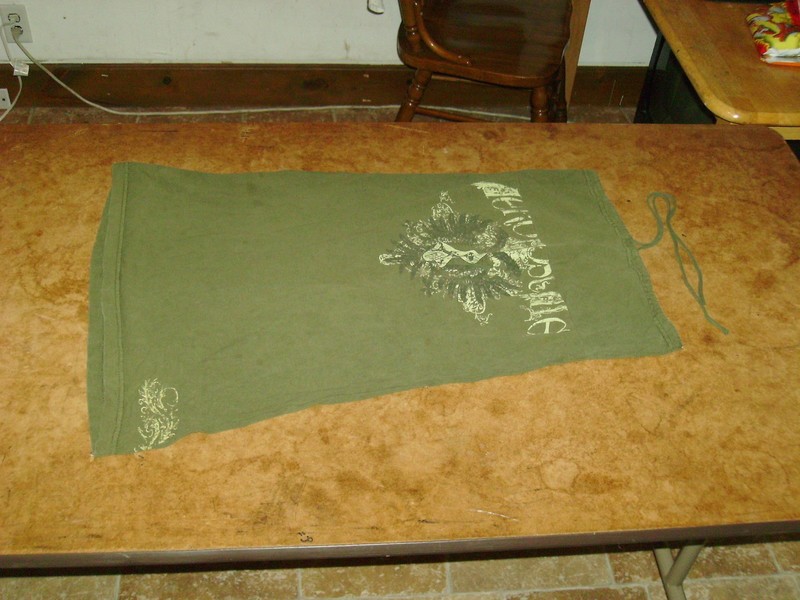
This is what my dress looked like before. It was shapeless and boring. Sorry big and busty girls, if you like this dress. You'll need extra padding in the bust area. ^^;
-
 Step 2
To make that shape for those of you who like that style of dress. Simply take a T shirt, fold it in half vertically so that the sleeves match up. Cut a horizontal line underneath the sleeves. This is the bottom of your dress.If you want a more shapely fit, cut a diagonal line from the top of the dress to the corner of the dress. Make sure not to undercut the top or else it might be too small. Measure under your bust and add some seam allowance.
-
 Step 3
Now cut off the sleeves and square off the curve so that you have a striaght piece of fabric. This will be your top. For all those big and busty girls, make sure to add extra fabric length wise and width wise; as well as doubling up (meaning a facing piece and a lining piece of fabric). You don't want your girls to be jumping out and saying hello to the world while you're rocking your dress, now do you!?
-
 Step 4
Then sew the top pieces to the bottom pieces and then place them business side out. Sew together and there go. Flip it back to the party side and now you have your very own dress.
I also put a drawstring on the top. All you have to do is sew a drawstring pouch- fold back the hem and sew. Then cut two tiny slits and insert ribbon or fabric.
-
 Step 5
I've had this dress for almost the whole summer and decided it needed some spicing up. So I simply cut a new hem and added darts. With the left over fabric, I added a small ruffle to the bottom.
-
 Step 6
Darts: Fold fabric in half where you want the dart and then sew a diagonal line (like the side of a triangle), but leave the bottom open.
Ruffle: After you square off your fabric (if its not squared off), you can either gather it as you go along or make small pleats. Just make sure that if you're using a sewing machine, fold the pleats in the direction that you're sewing.
-
 Step 7
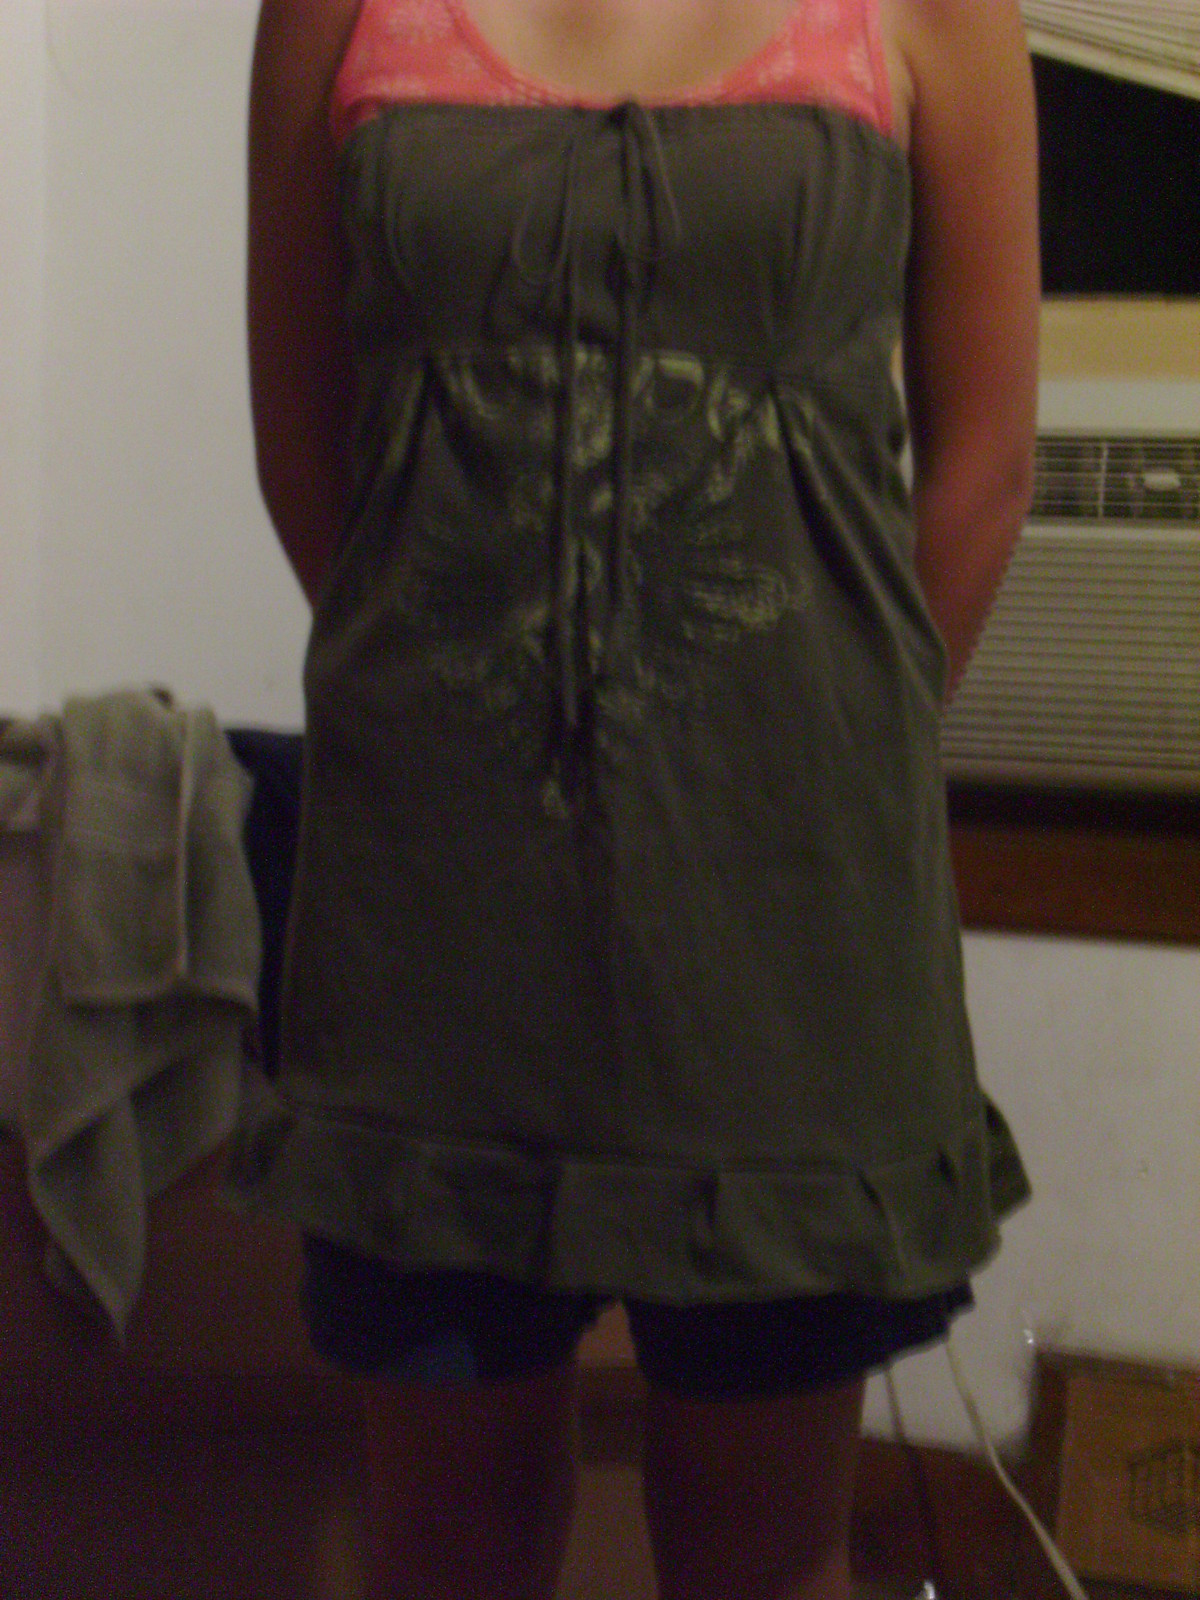
Here's a look at what the finished product looks like.
Now, you can any kind of detail you like. You can turn this into a double drawstring halter or even a braided srapeless!
Double drawstring halter:
-Sew the dress to completion and instead of putting one draw string. Put two, one over each side to even out the pull of the string. This mimics a tank top look. Tie together in the back.Braided strapless:
-You can either make a braided piece with left over fabric or buy one, what ever you like. Then all you have to do is hand stitch or sew it on. Now in the back, you can cut a line down the middle and leave the braid on up till that point. That way, when you tie it in the back, it gives the illusion of a cut out.